This post may contain affiliate links. Please read our disclosure policy.
Quick and easy skillet honey garlic chicken breast. Seared chicken breast in an Asian honey garlic sauce. Made in less than 15 minutes!
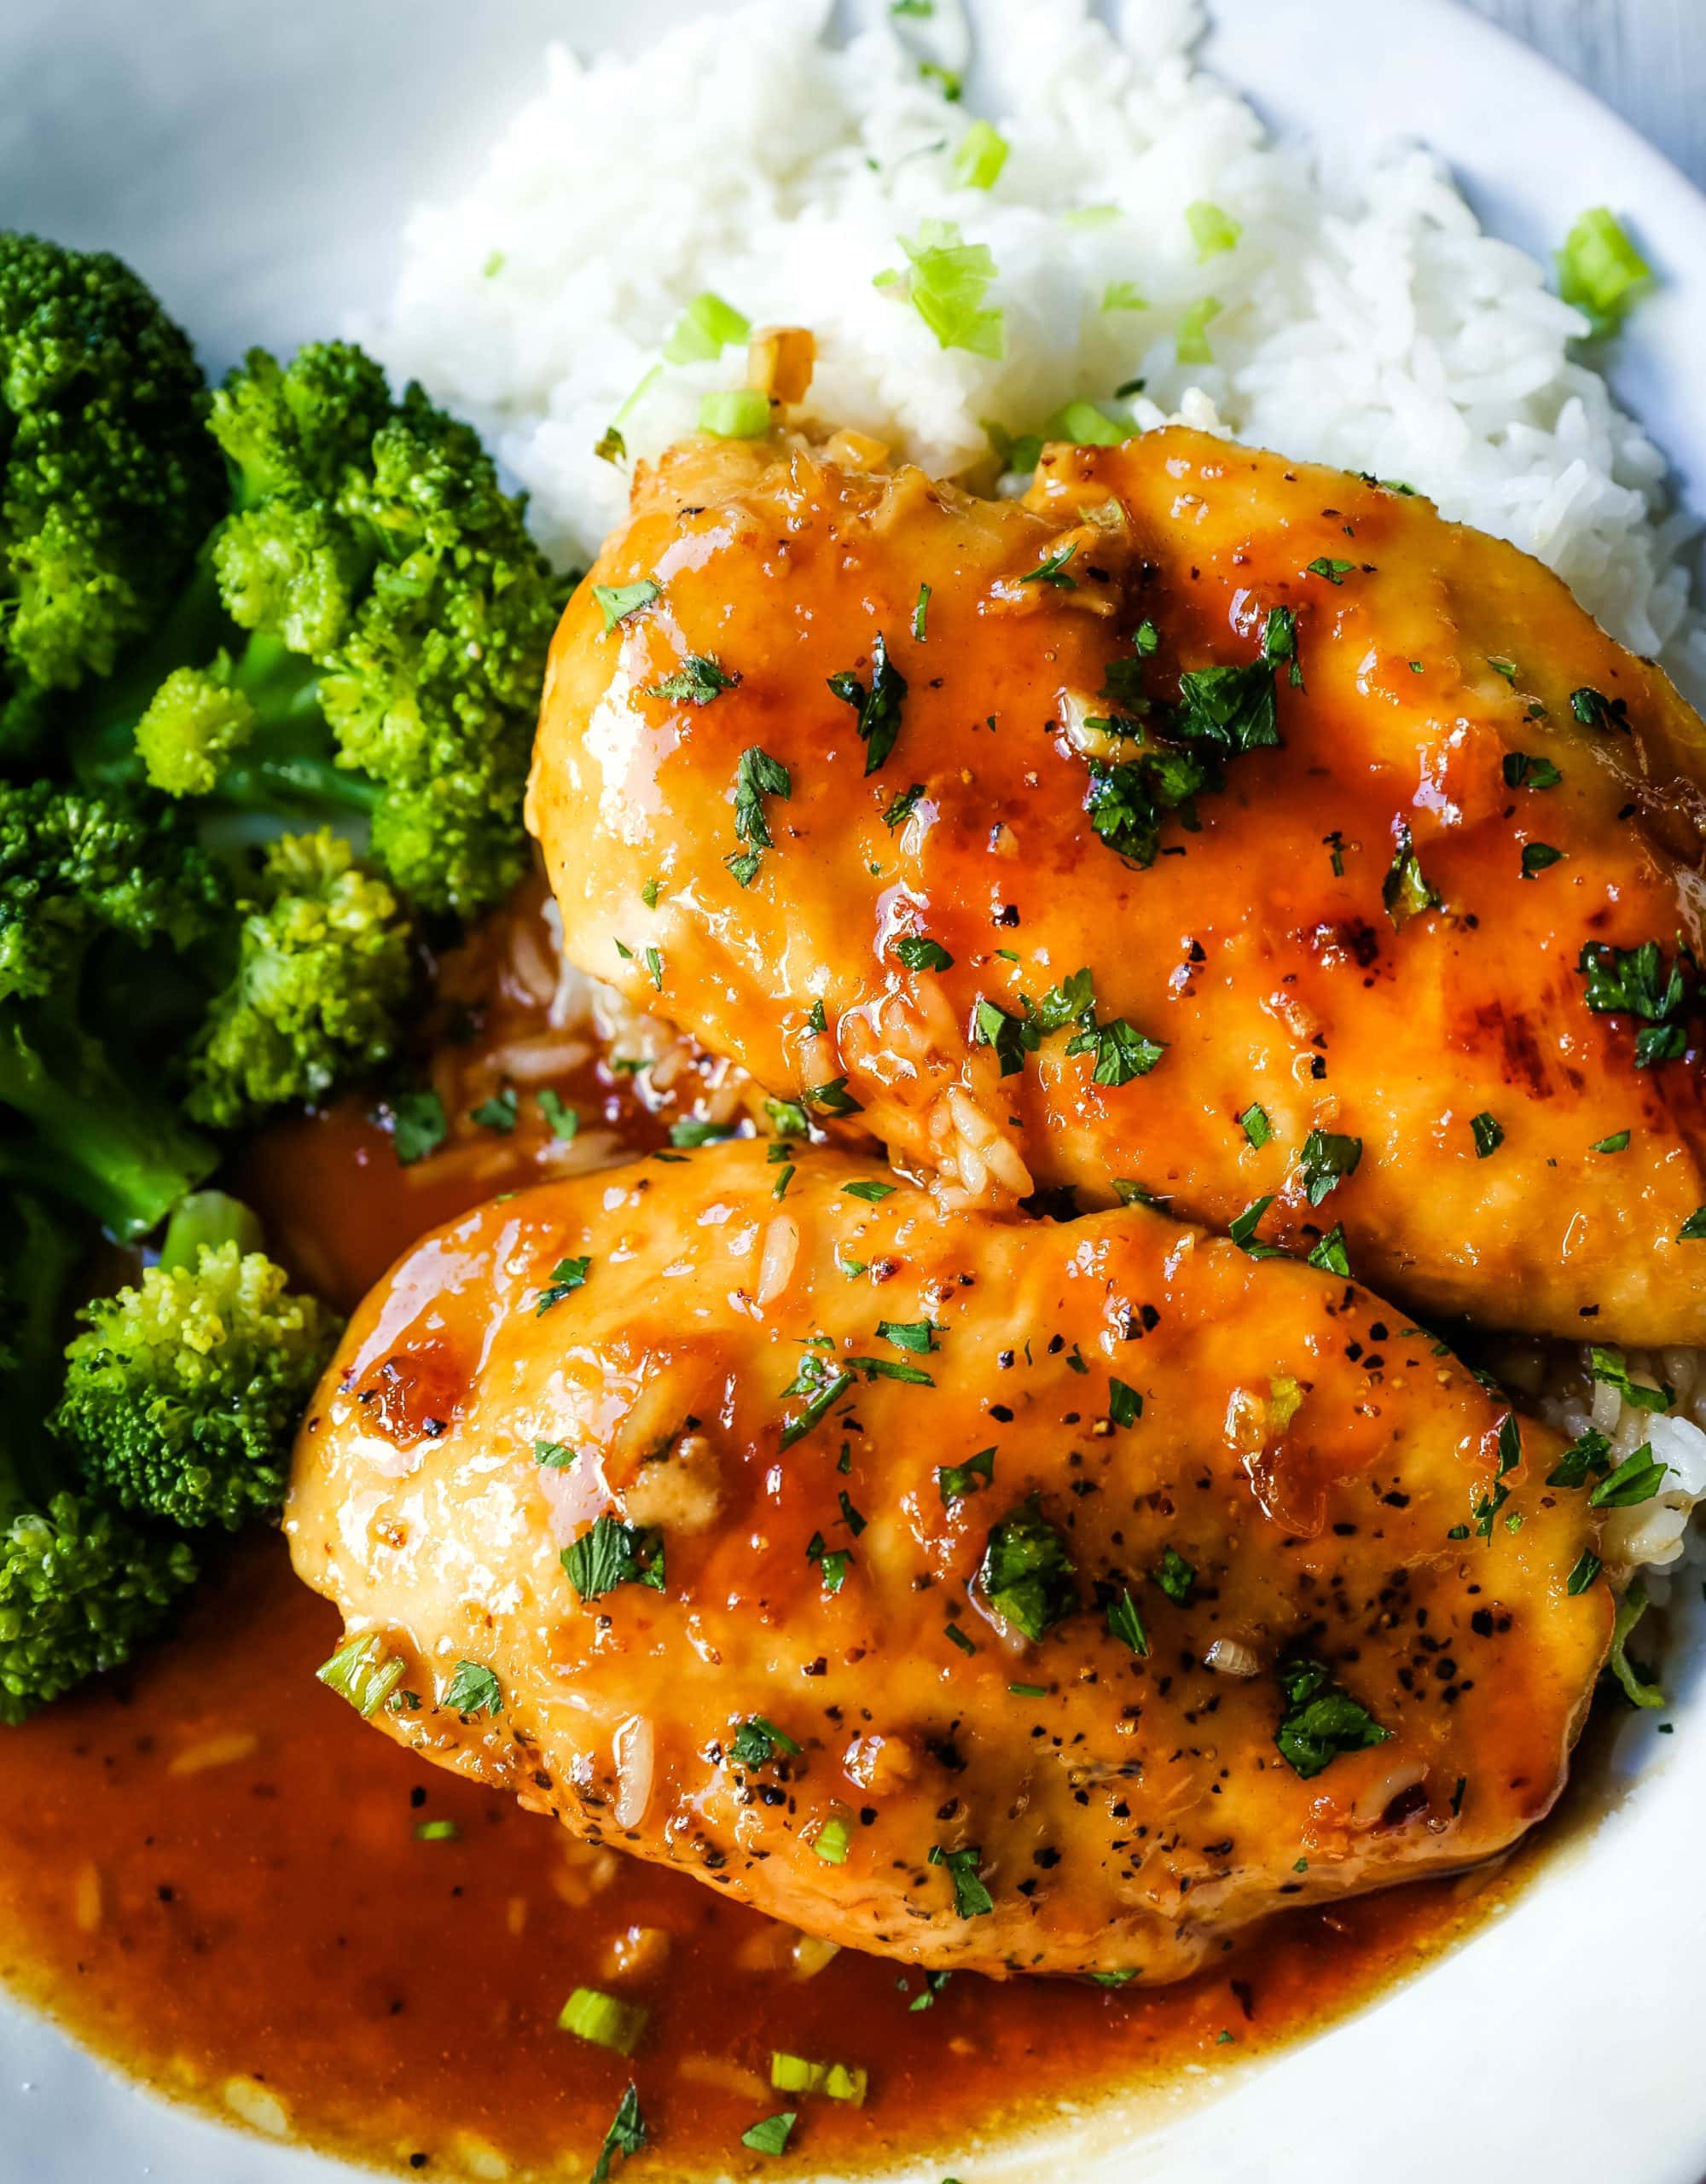
Honey Garlic Chicken
Who else loves 15-minute dinners? I have been focusing on recipes that take little prep and are so quick and easy to whip up on a busy weeknight.
Since my daughter, Sierra, is beginning her Junior year in college and is balancing taking a full load, working two jobs, and trying to eat well, I am always sending her new dinner recipe ideas. They have to be quick with very little prep and with ingredients that are most likely in her pantry already.
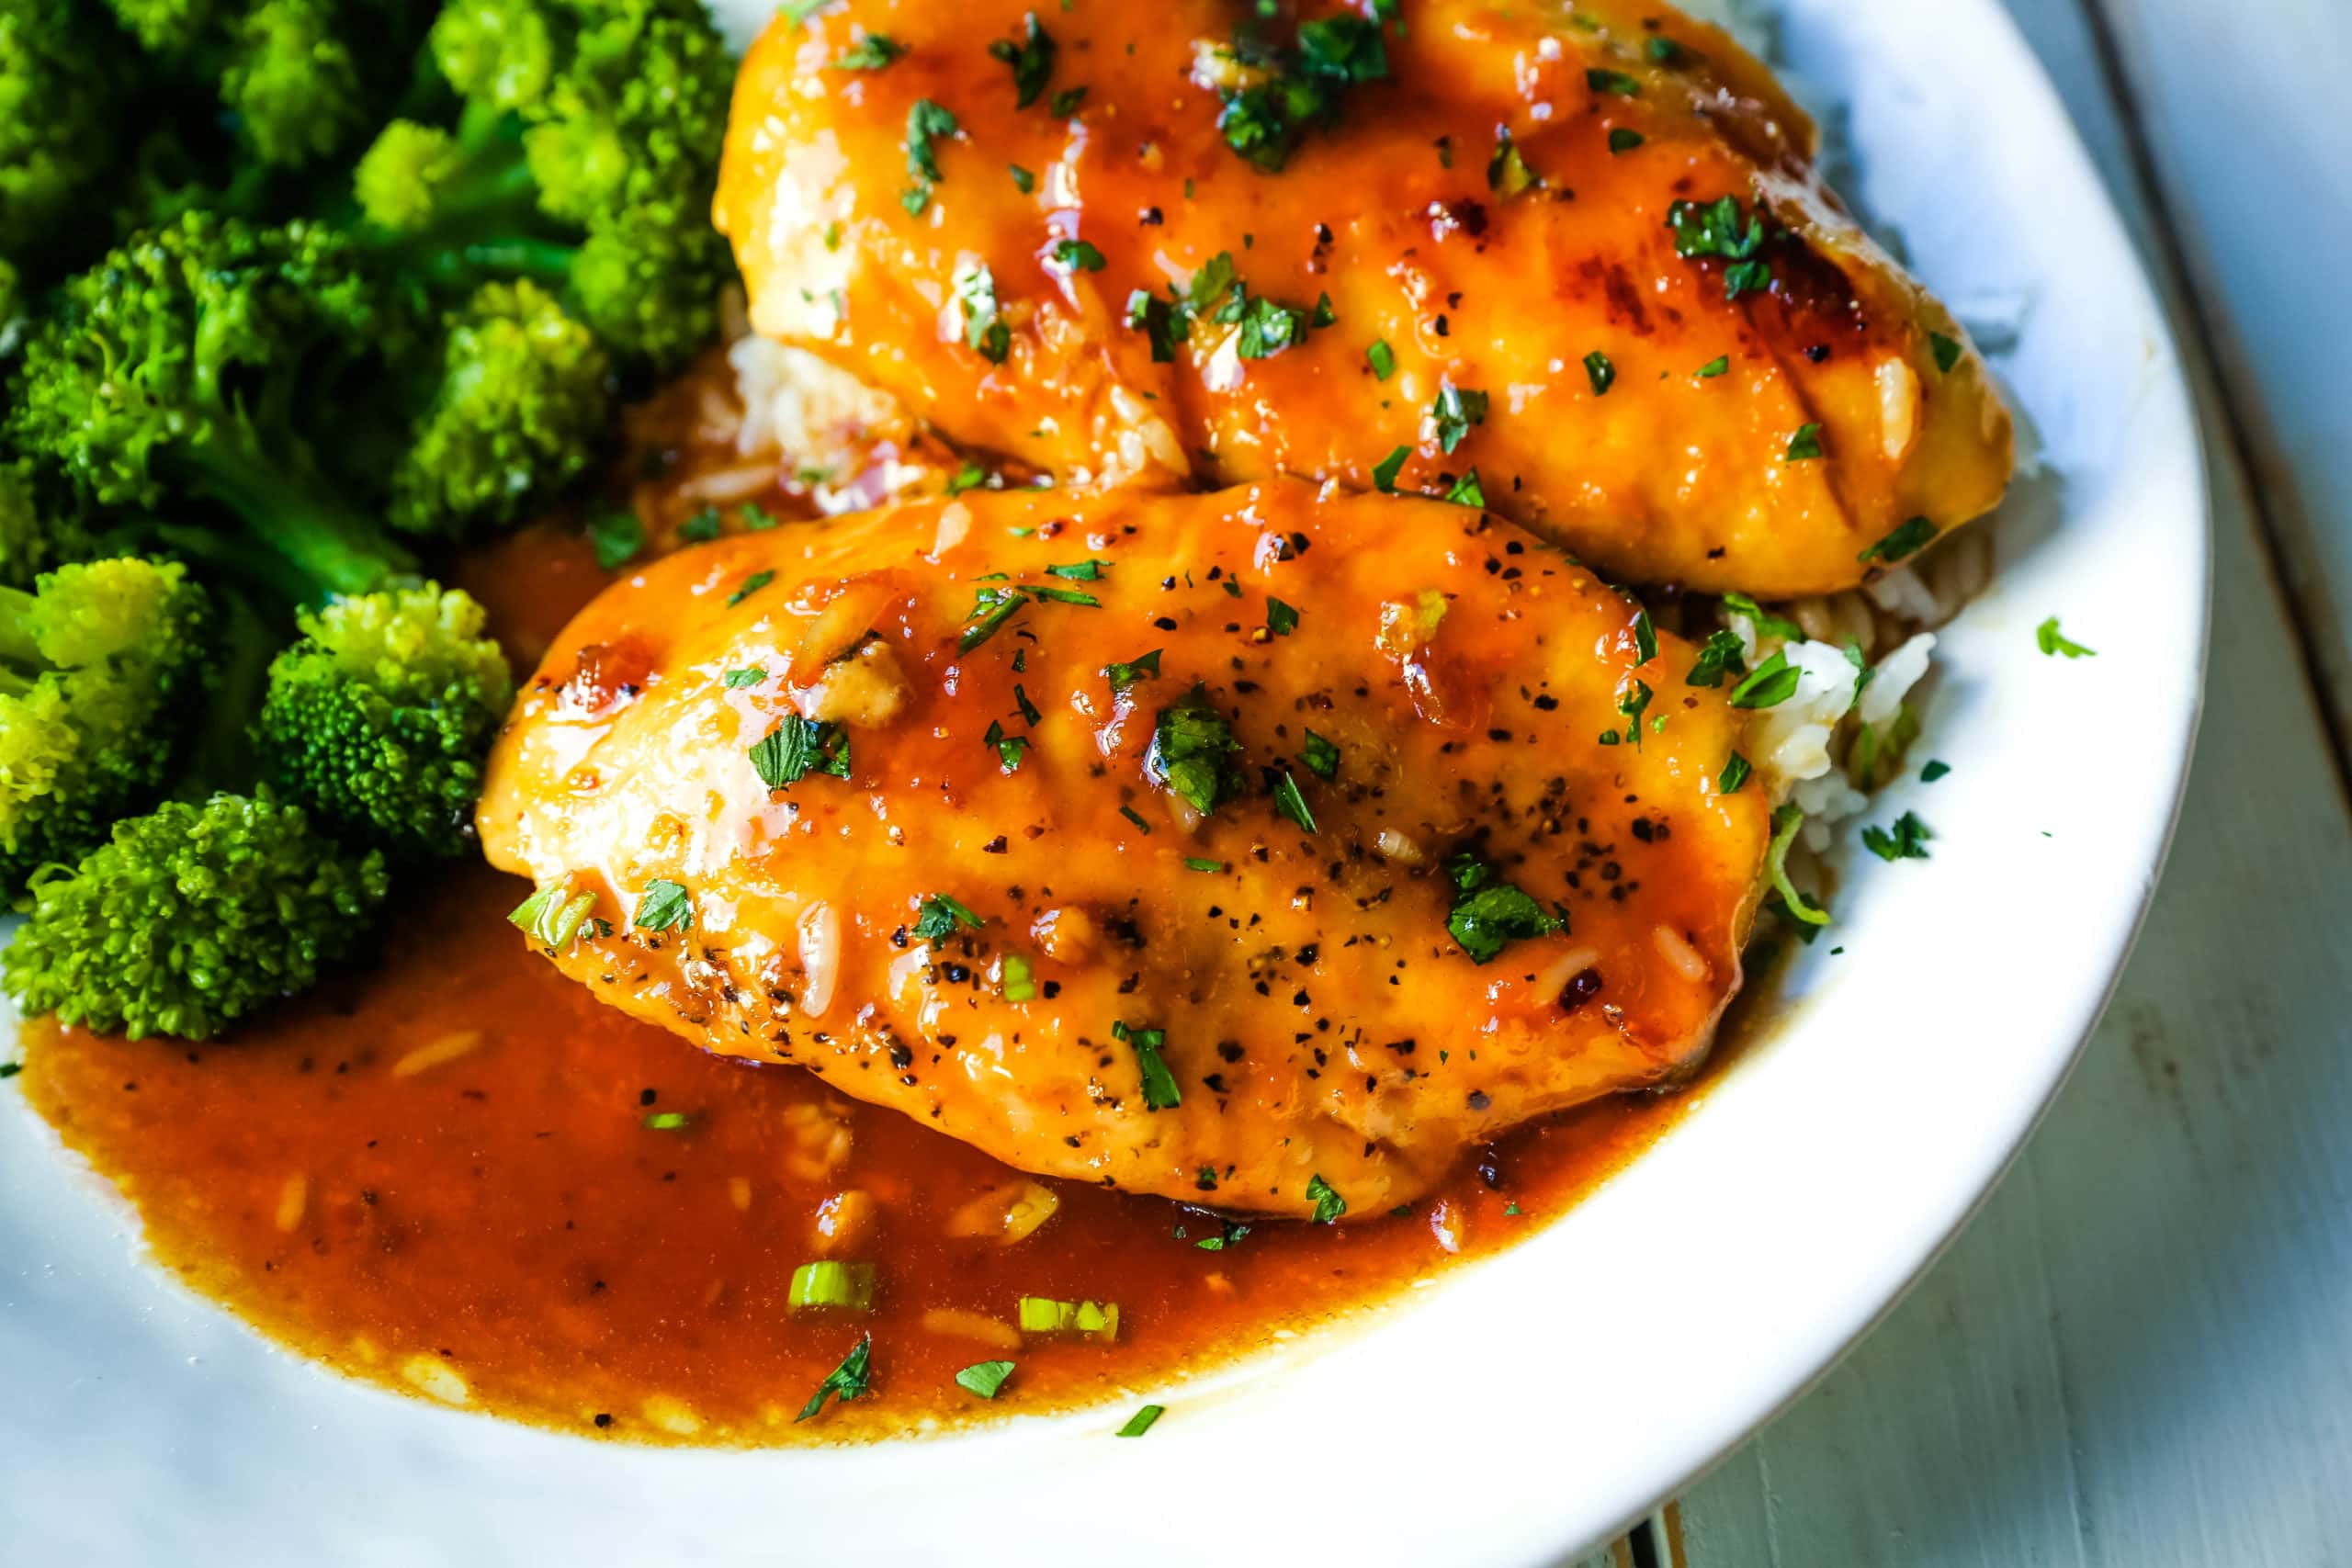
This Honey Garlic Chicken is made by sauteeing chicken in butter. The sauce is made with sauteed garlic, butter, honey, apple cider vinegar, and soy sauce. That’s it! It literally takes less than 15 minutes from start to finish.
This Sticky Honey Garlic Chicken is crazy delicious with a velvety sauce that you will want to drink! It checks off all of the boxes and can be made in less than 15 minutes. If you throw some rice in a rice cooker and you will have a full meal. I love to serve it with steamed broccoli or edamame. This 15-Minute Chicken will hopefully be a staple in your home in no time at all!
I suggest using thin-sliced chicken breasts. I buy them from the grocery store already sliced in half and it makes the chicken cook so much quicker and more evenly. If you have regular chicken breasts, you can carefully slice the chicken in half lengthwise.
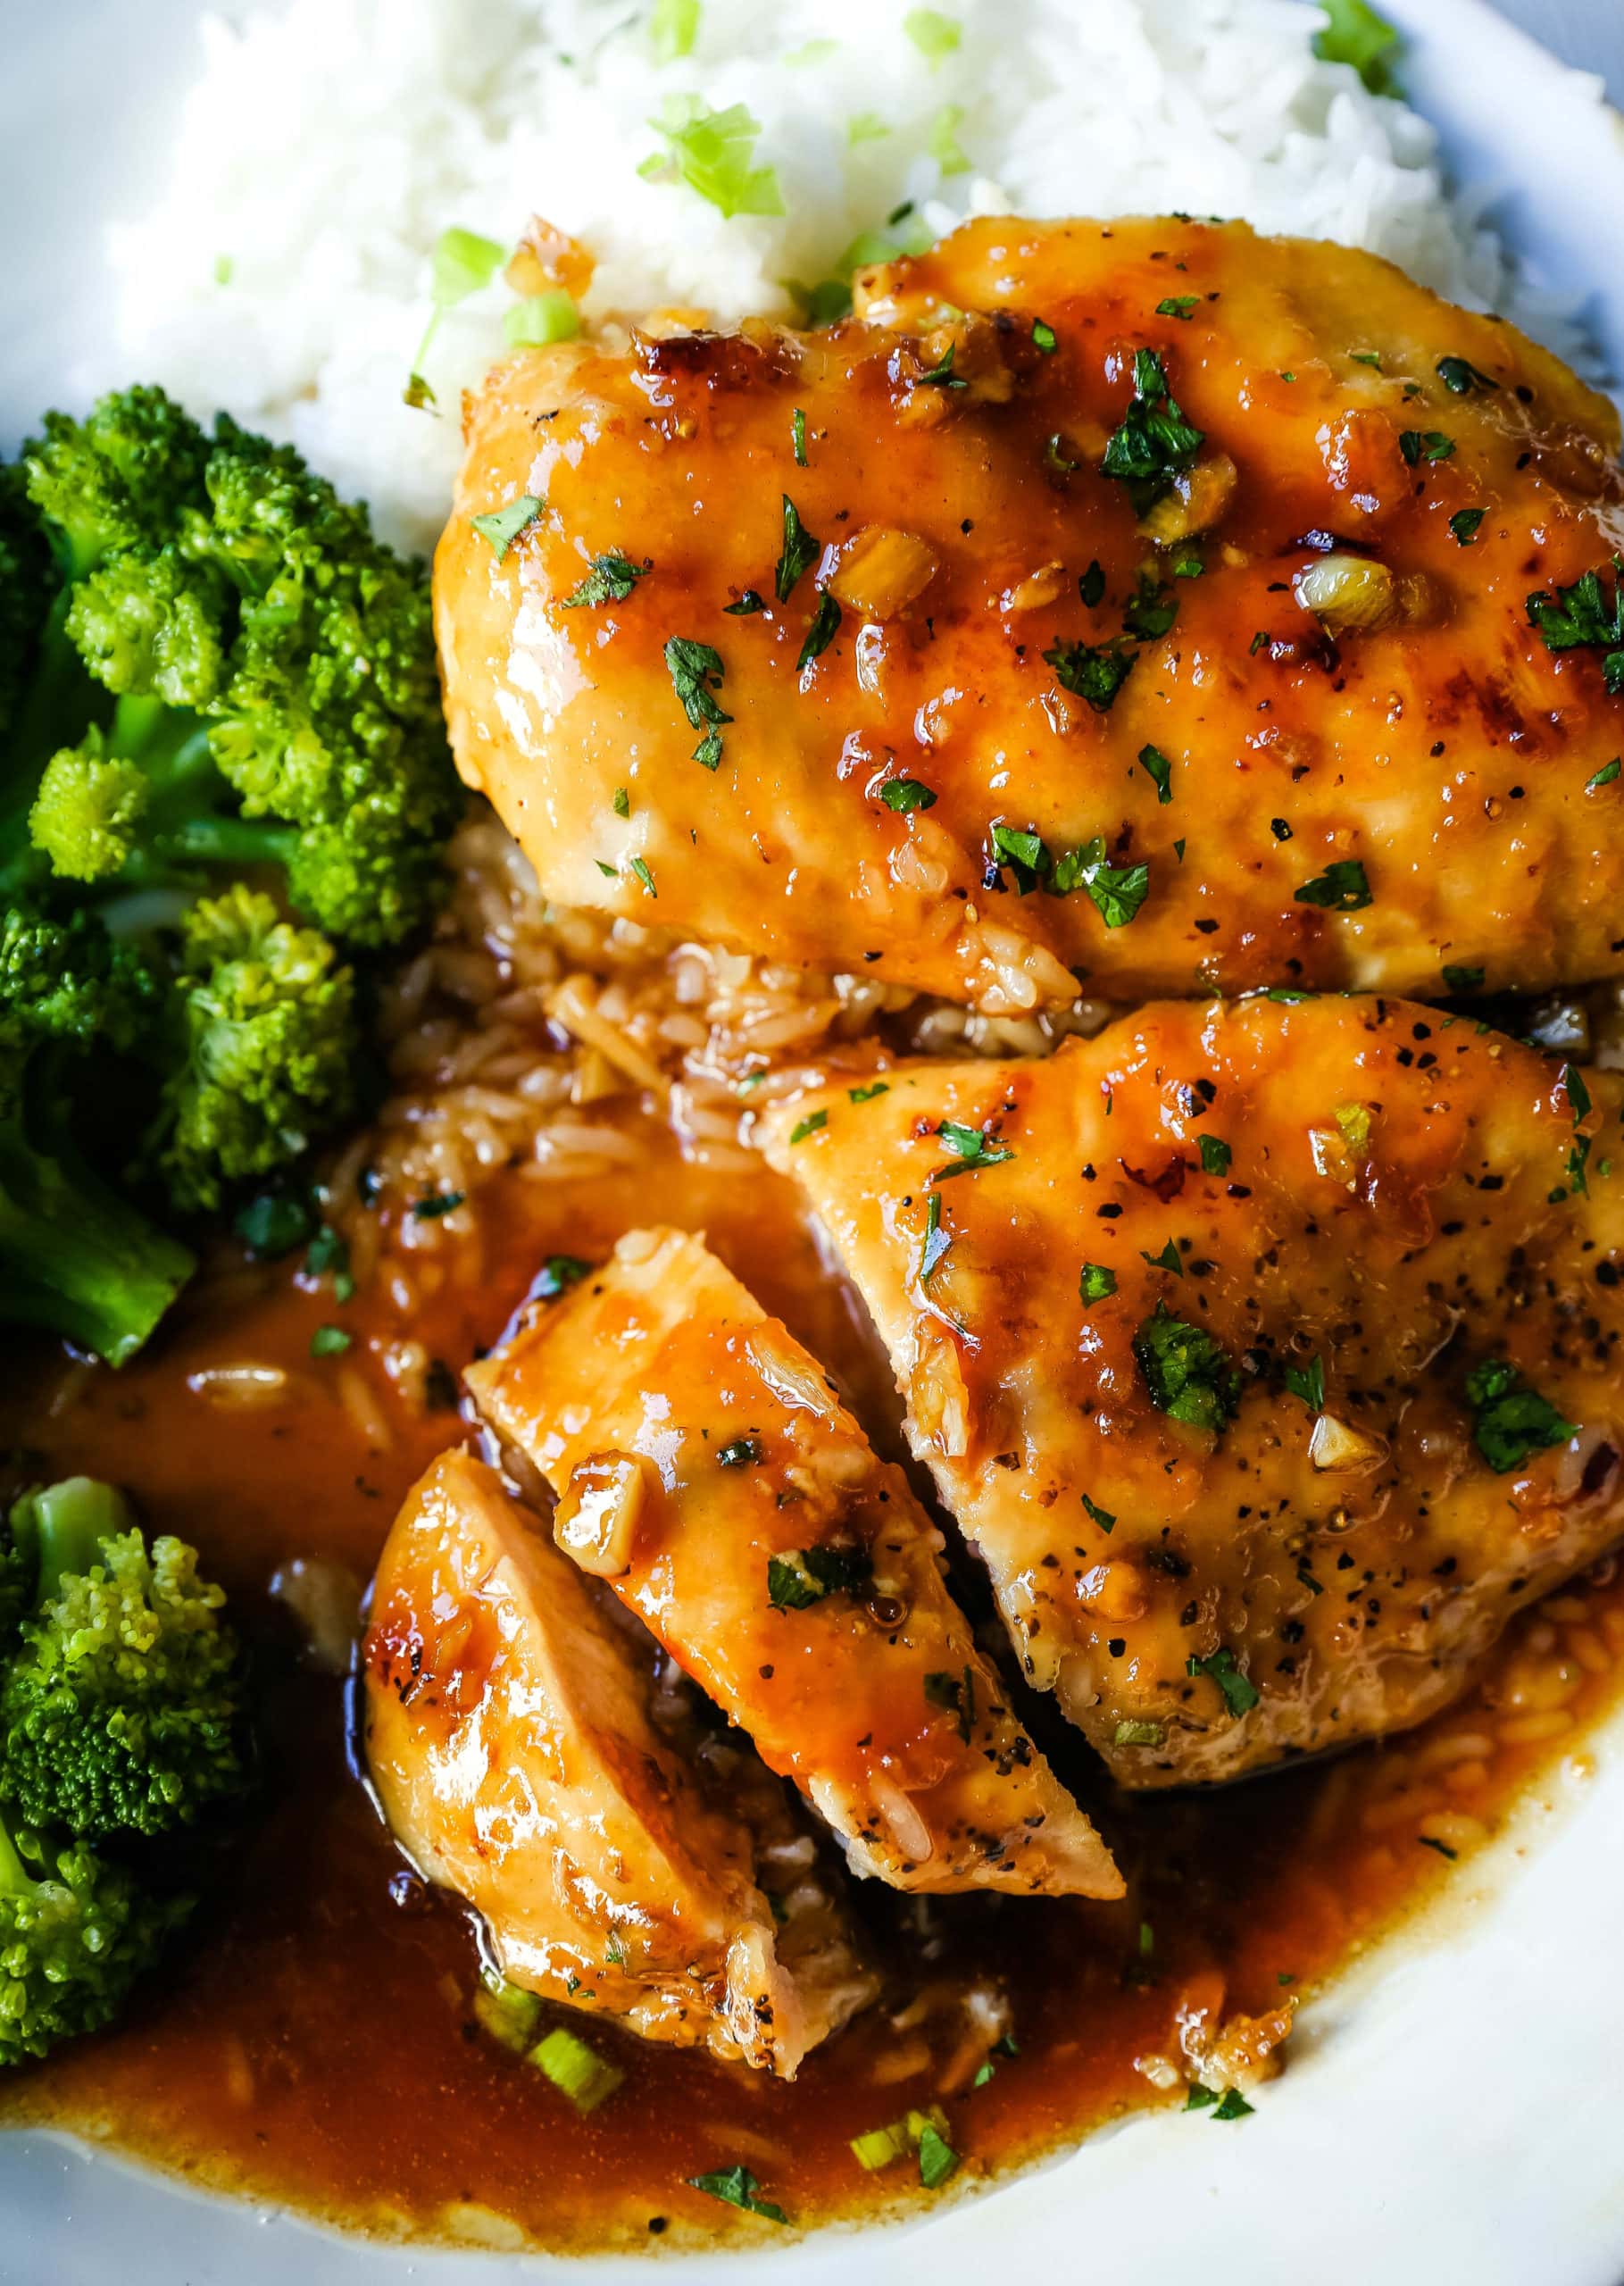
How to make Quick and Easy Skillet Honey Garlic Chicken:
- Start by using thin-sliced chicken breasts. Sprinkle both sides of the chicken with salt and pepper. You want to be generous with the seasonings so the chicken doesn’t just rely on the sauce for flavor. It can stand on its own!
- Dip the chicken in flour before adding to the skillet. This helps the sauce to adhere to the chicken and not just slip off. If you want to make it gluten-free, dip it in cornstarch or forego the flour altogether. It will taste amazing!
- Cook in salted butter for about 3-4 minutes per side. Add remaining butter and saute garlic for 1 minute. You don’t want to cook the garlic for too long or it can become bitter. Add the remaining ingredients and let it simmer until the sauce begins to thicken.
- Remove from heat and coat the chicken in the sauce. Serve with rice, potatoes, or a side of vegetables.
What to serve with Honey Garlic Chicken:
- Creamy Mashed Potatoes
- Crispy Smashed Potatoes
- Homemade Macaroni and Cheese
- Shredded Sauteed Zucchini with Parmesan
Popular Chicken Recipes:
Pin this now to find it later
Pin It
Honey Garlic Chicken
Equipment
Ingredients
- 1 to 1 1/4 1b. Chicken Breast (about 4 thinly sliced chicken breasts or 2 large sliced in half)
- Salt and Pepper (sprinkle on both sides of chicken)11/
- 1/4 cup Flour*
- 4 Tablespoons Salted Butter
- 3 Garlic Cloves (minced)
- 1 Tablespoon Apple Cider Vinegar
- 1 Tablespoon Soy Sauce
- 1/3 cup Honey (plus more for drizzling, if desired)
Instructions
- Generously sprinkle thinly sliced chicken breast with salt and pepper on both sides. Heat a large skillet over medium-high heat. Add 2 Tablespoons of butter to the skillet and let melt.
- Dredge both sides of the chicken breast into the flour. Repeat with all breasts. Place in a hot skillet and cook for 3-4 minutes per side.
- Add the remaining 2 Tablespoons of butter and garlic. Cook for 1 minute. Add apple cider vinegar, soy sauce, and honey. Let sauce chicken for 3-4 minutes (or longer if needed). Make sure chicken is fully cooked through and no longer pink.
- Remove from heat and coat the chicken with the sauce. Serve with rice, potatoes, or vegetables.
Notes
Nutrition information is automatically calculated, so should only be used as an approximation.






This recipe is AMAZING! Even kid and toddler approved! I diced the chicken (my cooking and serving preference) so I used a little extra butter, and I used gluten free flour. I will definitely make this again! Thanks for the recipe!
I am so glad your family loved this recipe. Thank you for making it Jennifer. 🙂