This post may contain affiliate links. Please read our disclosure policy.
How to make the best red velvet cake with cream cheese frosting. Homemade Red Velvet Cake is soft, tender, and fluffy with the creamiest and most decadent cream cheese frosting. It is no wonder that it is one of the most popular cake recipes and this is the perfect recipe.
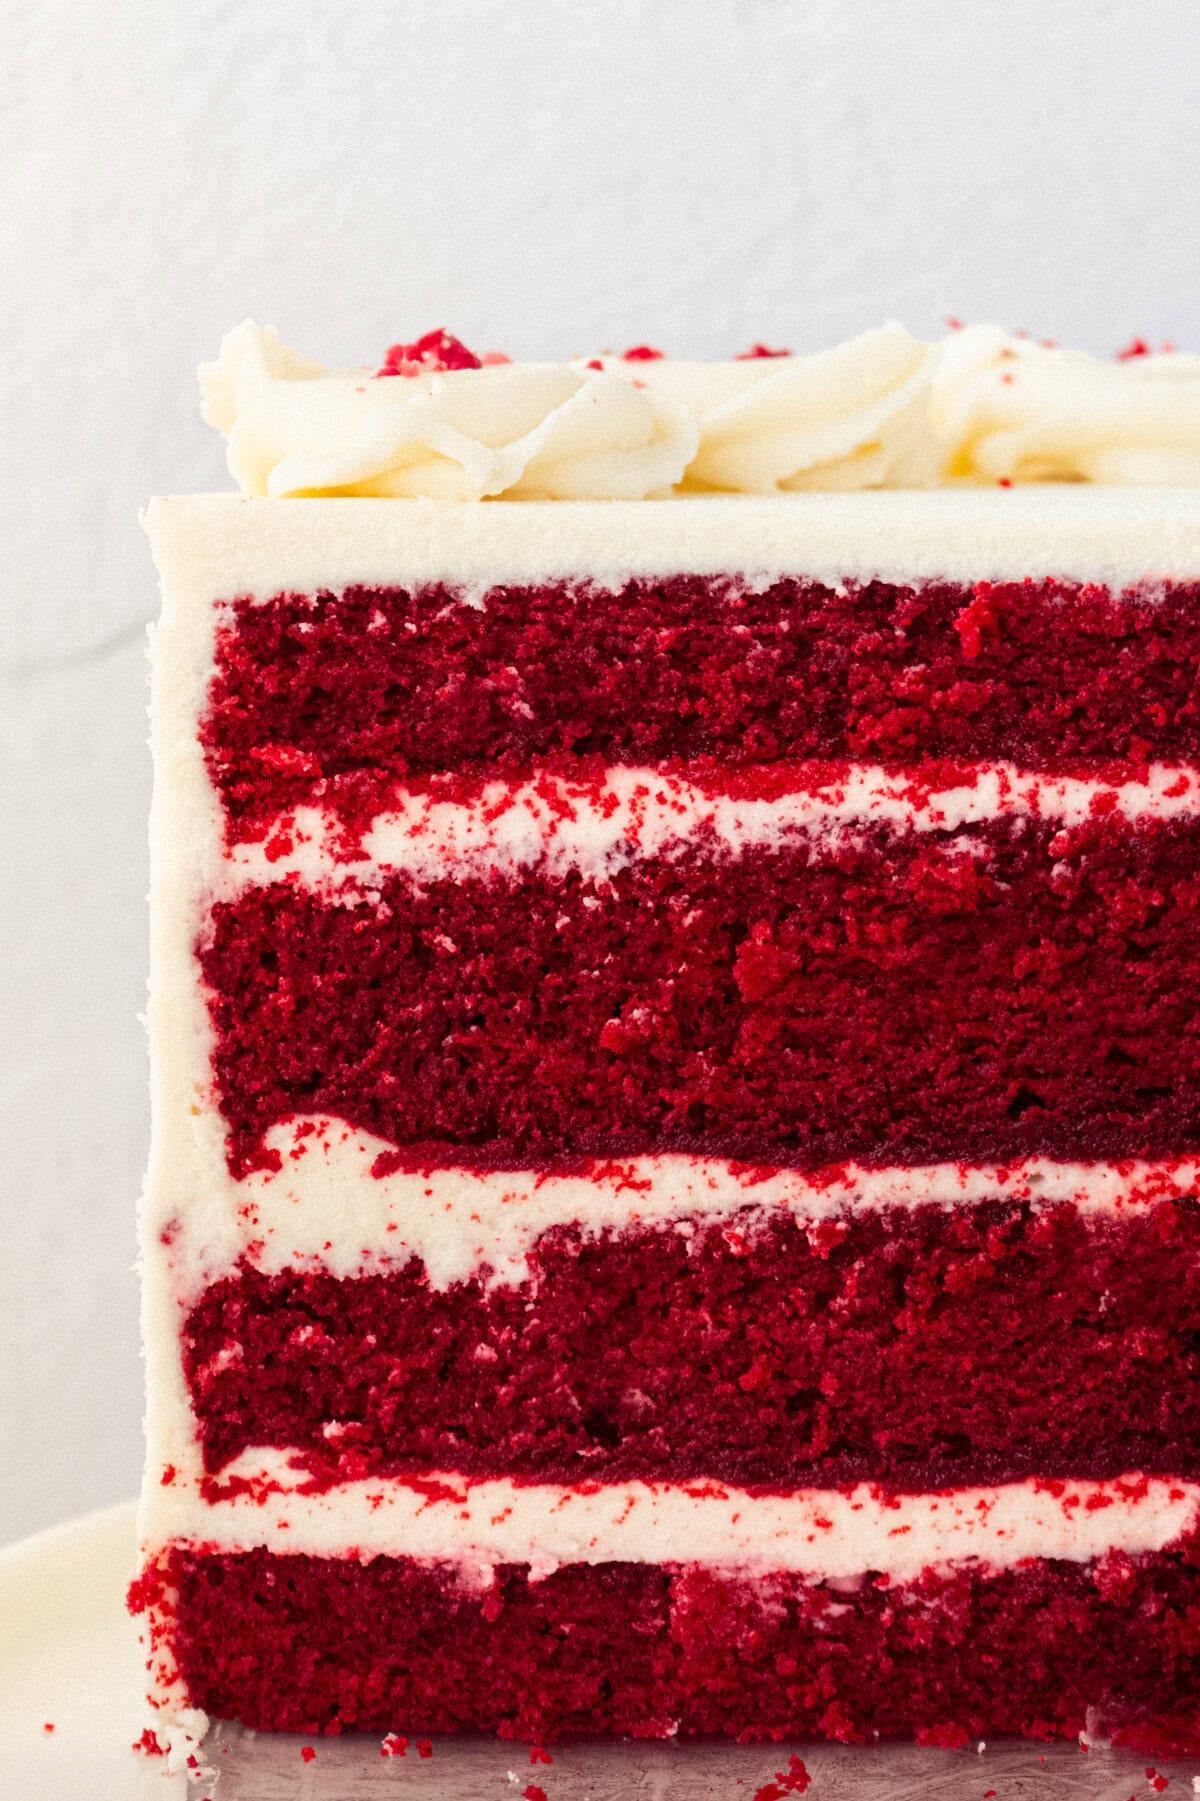
I have been a quest to figure out how to make the Perfect Red Velvet Cake. I have to admit that I have made A LOT of red velvet cakes in the process. All of the recipes were good but I was looking for an out-of-this-world recipe. I am picky about my cakes and am determined to create a recipe that will be the only red velvet cake I make in my future.
I have always been a red velvet cake fan but there are some that are just better than others. I was looking for a deep, rich flavor and a tender, moist crumb with a sweet creamy cream cheese frosting. This Red Velvet Cake recipe is by far the BEST red velvet cake I have ever tried. Now it is time to share it with you!

Since Christmas is one week away, this is such a beautiful cake to serve on Christmas Eve or Christmas day. The red and white colors are so vibrant and perfectly represent the season.
I am sharing my tips, tricks, and baking advice with you below so you can make the best red velvet cake ever. When making cakes, there is a rhyme and reason to even the order of adding the ingredients. After much testing, this creates the best tasting red velvet cake.

What Red Velvet Cake Tastes Like and Why People Love It:
Red velvet cake is famously soft, with a delicate and moist crumb and a tender texture. It has a light cocoa note, balanced by tanginess from the buttermilk and a hint of vanilla. Red Velvet Cake is famous for its thick, rich cream cheese frosting, which pairs perfectly with the flavor of the red velvet cake.

Red Velvet Cake Ingredients:
- Cake or All-Purpose Flour: Provides structure to the cake. Cake flour has a lower gluten percentage so it creates a more tender crumb.
- Cocoa Powder: Adds a hint of chocolate flavor and contributes to the cake’s signature hue (in combination with food coloring).
- Granulated Sugar: Sweetens the cake and helps achieve a tender crumb.
- Unsalted Butter and Oil: Butter adds flavor and richness and oil keeps the cake moist and tender.
- Eggs: Contribute moisture, structure, and a rich flavor. Eggs also help bind the ingredients together.
- Buttermilk: Adds tang and moisture, activates baking soda, and contributes to the cake’s tender crumb. Its acidity helps bring out the red color and subtle chocolate notes.
- Red Food Coloring: Gives the cake its classic vibrant red hue. Gel or paste varieties offer a more intense color with less liquid.
- Vanilla Extract: Complements cocoa and adds depth of flavor.
- Baking Soda: Leavening agents that help the cake rise, ensuring a fluffy, airy crumb.
CREAM CHEESE FROSTING:
For extra thick layers of frosting, you can 1 1/2 times the cream cheese frosting recipe.
- Cream Cheese:
- Butter:
- Powdered Sugar:
- Vanilla Extract or Vanilla Bean Paste:

What does buttermilk do in cakes?
Buttermilk is one of the star ingredients in red velvet cake. The acidity works with leavening agents like baking soda to create carbon dioxide, resulting in a light and airy cake. It also imparts a subtle tanginess that enhances the overall flavor, keeping the cake from being too sweet. Most importantly, buttermilk contributes to that distinctive “velvet” texture—moist, tender, and utterly delicious.

How to make the Best Red Velvet Cake:
- Preheat oven to 350 degrees. Generously grease or spray two 9-inch cake pans or three 8-inch cake pans with non-stick cooking spray. For extra insurance, line the bottom of the cake pans with a circle of parchment paper. Cut it to fit snugly, then grease and flour as usual. The parchment creates a barrier that makes it especially easy to lift the cake out.

- Using a stand mixer or hand mixer, stir together flour, sugar, cocoa powder, baking soda, and salt. Beat the butter into the flour mixture, one cube at a time. Continue to beat until it resembles coarse crumbs.

- In a small bowl, whisk together eggs, buttermilk, oil, red food coloring, and vanilla. Add the buttermilk mixture to dry ingredients and beat the batter until thoroughly mixed. Take a spatula and scrape the sides of the bowl.

- Spread into greased cake pans and smooth tops with a spatula.
- Bake for 16-22 minutes, depending on the depth of pans. If the cake layers are thin, they will cook for less time than the thicker layers.

- Let the cakes cool. Run a knife around edge of cake pan and flip over. See below about freezing the cake layers before frosting to make it smoother.

HOW TO MAKE CREAM CHEESE FROSTING:
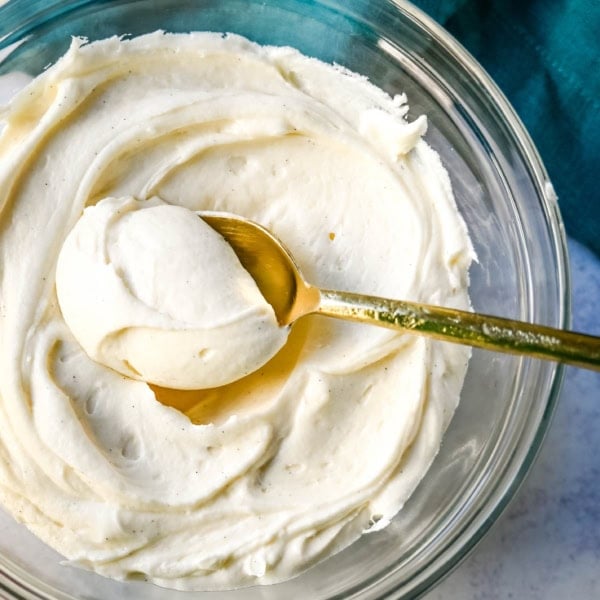
I share a comprehensive recipe post on how to make the best homemade cream cheese frosting if you are looking for more tips and tricks.
- In a large mixing bowl, cream together softened cream cheese and butter until light and fluffy, about 3-5 minutes. If using a Kitchenaid mixer, use the whisk attachment. Add powdered sugar and mix until creamy. Stir in vanilla extract or vanilla bean paste.
- Frost the cooled red velvet cake layers with cream cheese frosting. Spread a layer of cream cheese frosting on bottom layer before placing another cake layer on top. Then continue to frost the entire cake. See below for tips of frosting the red velvet cake with cream cheese frosting.
How to remove the cake from the pans:
Cool in the Pan First: Let the cakes rest in the pans for about 10-15 minutes after baking. This helps them set and avoids crumbling.
Run a Knife Around the Edges: Gently loosen the sides with a butter knife.
Invert Onto a Rack: Place a cooling rack on top of the pan and flip it over. Gently lift the pan away. If lined properly, the cake should release cleanly.

Tips on frosting red velvet cake:
- Level the Layers: If the tops are domed, use a serrated knife to level them. This gives you a stable, even surface.
- Apply a Crumb Coat: A thin layer of frosting (the crumb coat) “glues” down loose crumbs and provides a smooth surface for the final coating. Chill the crumb-coated cake for about 15-30 minutes before applying the final, thicker layer of frosting.
- Finish with a Generous Layer of Frosting: Spread the frosting evenly, working from top to sides. Smooth with an offset spatula for a polished look.
Why a Crumb Coat?
A crumb coat prevents those pesky red crumbs from mixing with the final layer of frosting. It ensures a clean, professional-looking cake without visible crumb specks.
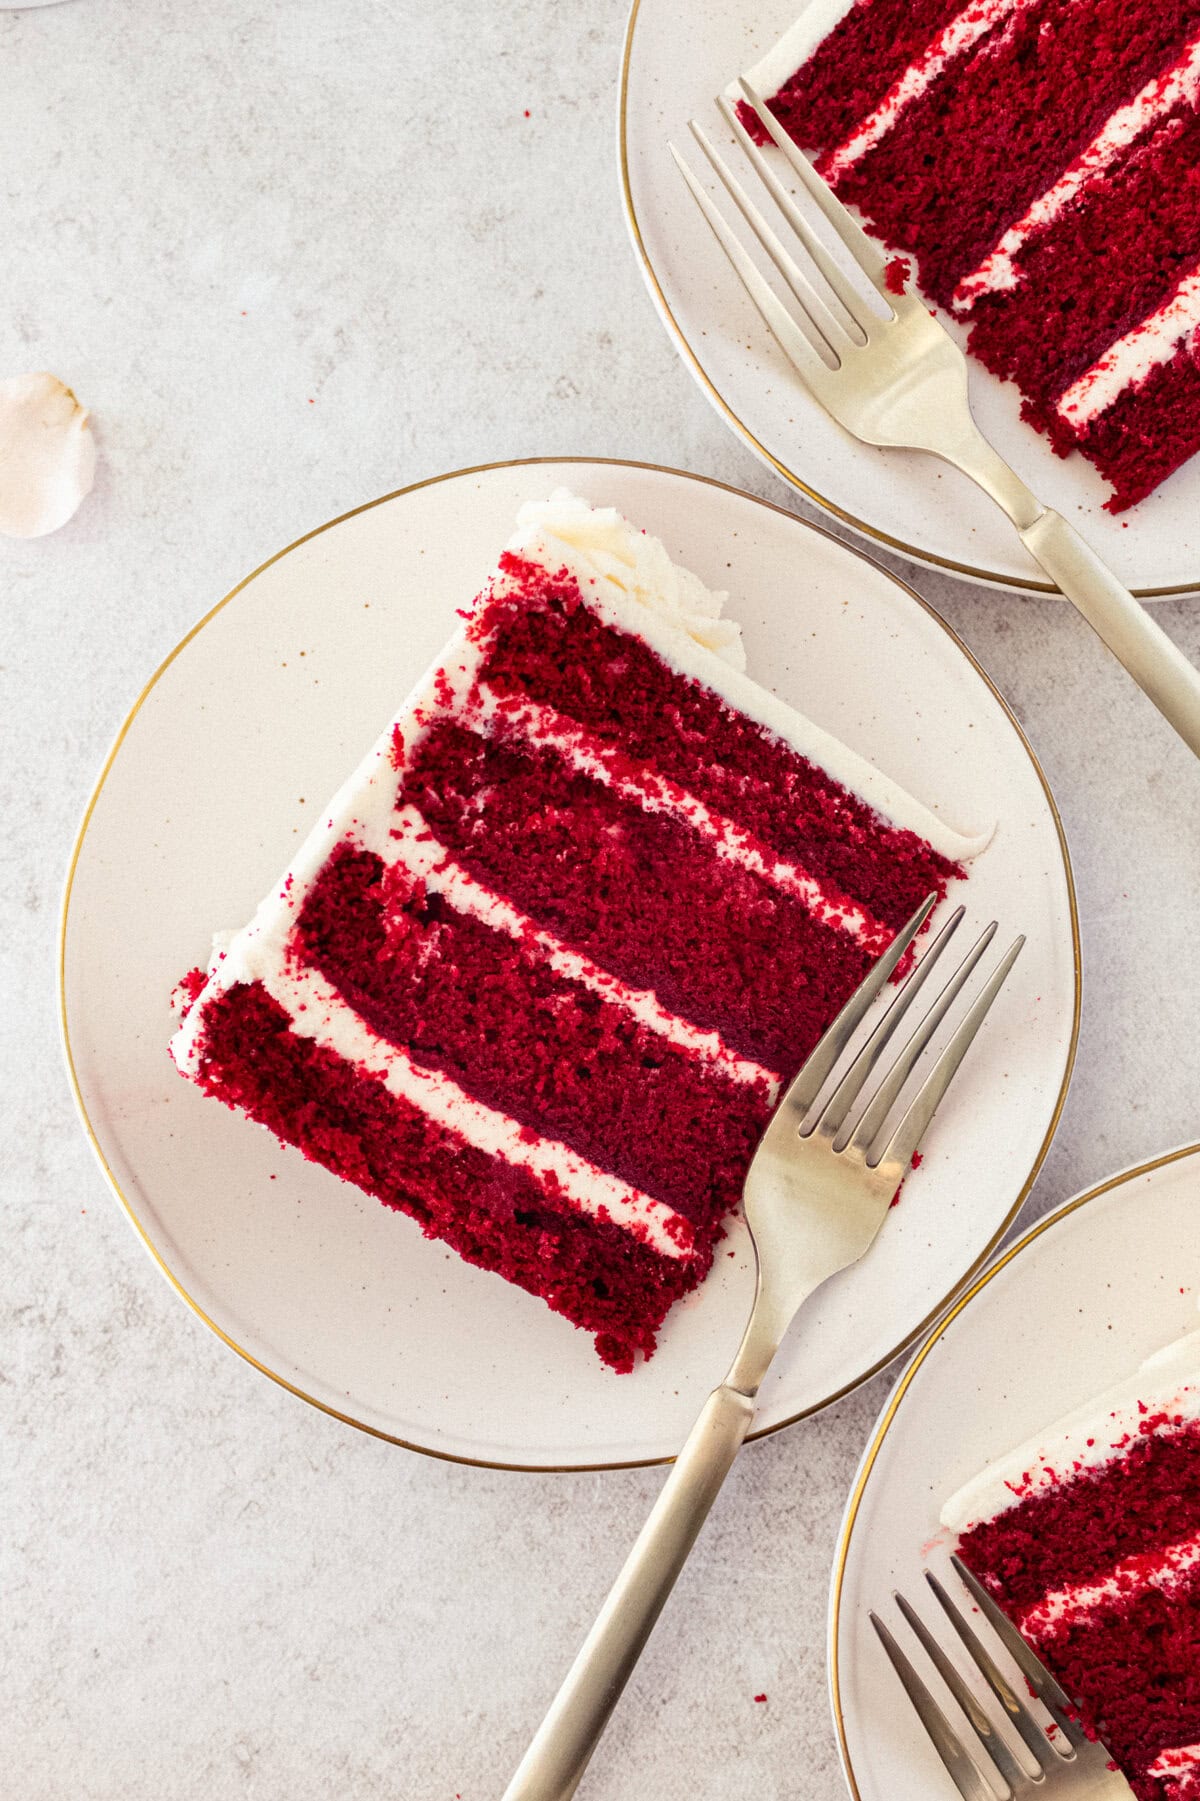
Why it may be beneficial to freeze the cake layers before frosting:
Freezing cake layers for an hour or two (or even overnight) firms them up, making them easier to handle and frost without tearing or crumbling. Cold cake layers are sturdier, allowing for smoother frosting application.
Frequently Asked Questions (FAQ’s):
Can I use a different type of food coloring?
Gel or paste coloring is ideal because it provides a vibrant hue without adding excess liquid. Liquid food coloring works but may be less intense.
My cake seems dry. What went wrong?
Overbaking is the most common culprit. Check the cake a few minutes before the recommended bake time. Also, ensure accurate measuring of ingredients…especially flour.
Can I use a different frosting?
Cream cheese frosting is traditional, but you can use buttercream if you prefer. The tanginess of cream cheese frosting, however, pairs beautifully with the subtle cocoa flavor of red velvet cake.
What kind of baking pans should I use for homemade red velvet cake?
I suggest using light-colored cake pans. I like to use three 8-inch cake pans or two 9-inch cake pans. My favorite brand is USA cake pans.
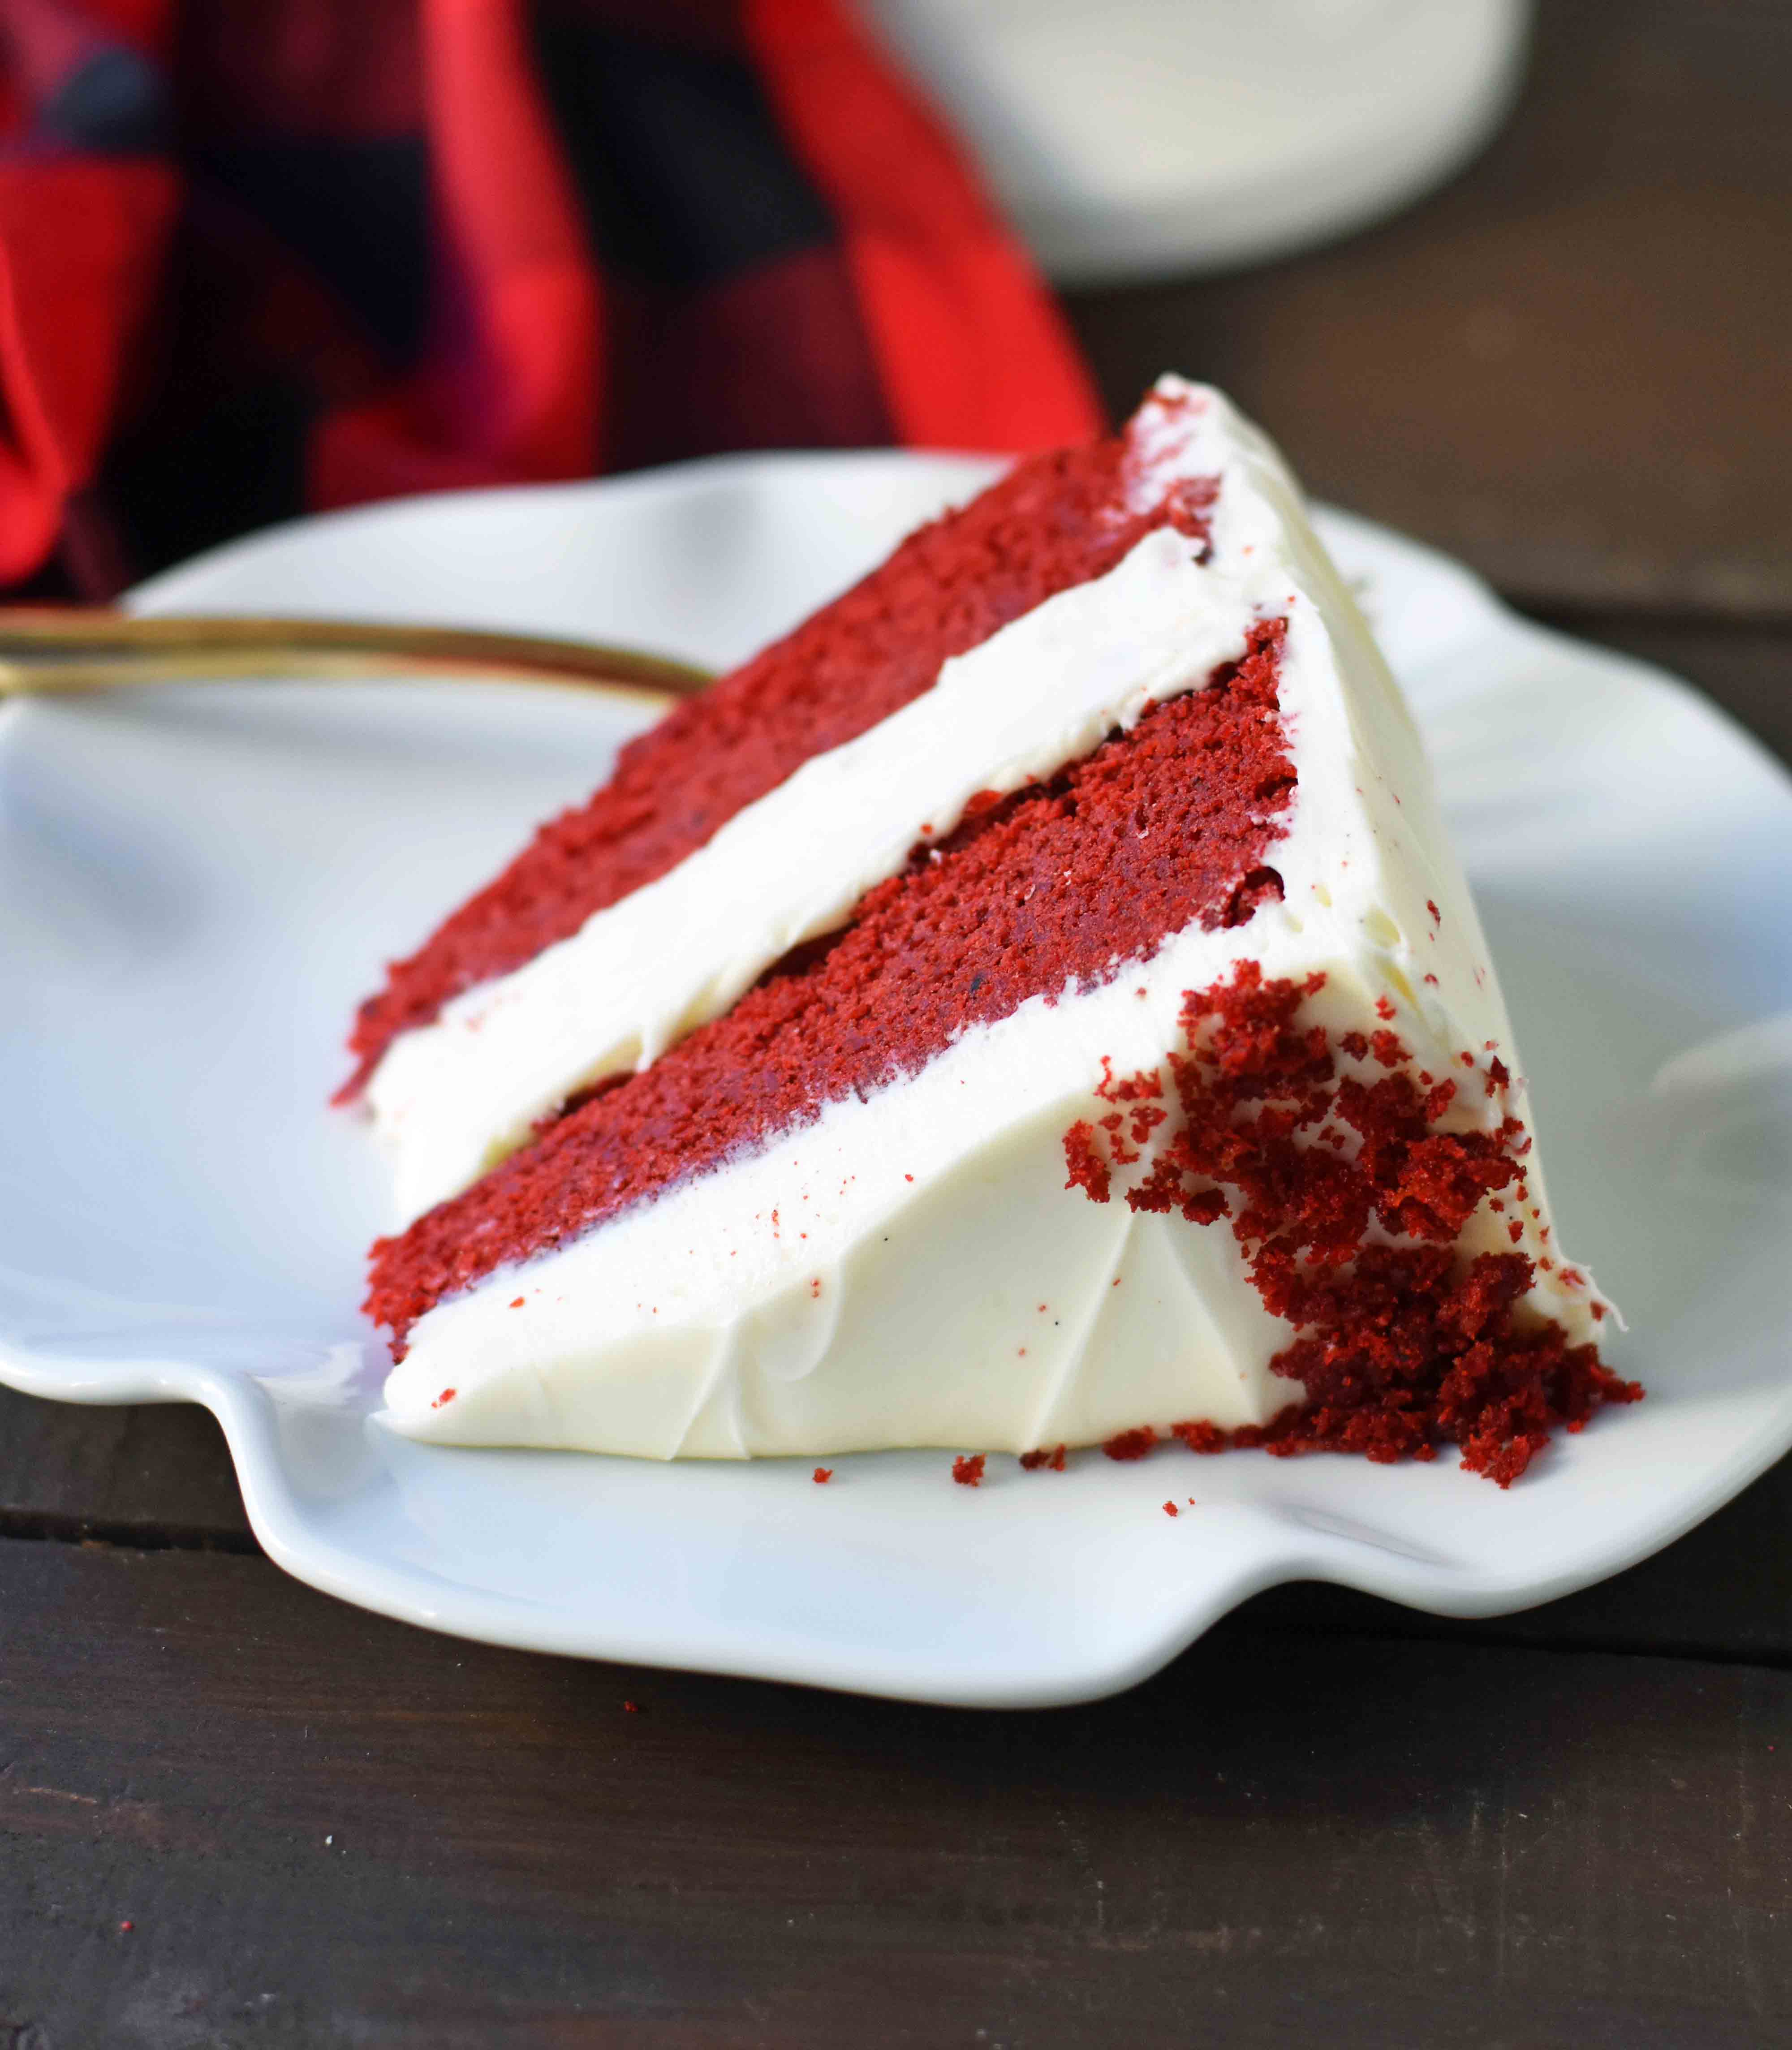
Tips and tricks for making perfect Red Velvet Cake:
- Use a combination of sweet cream Butter and Oil. This is when you get the best of both worlds. Both butter and oil will provide a moist texture to the cake but butter brings the flavor where oil elevates the texture. I have tried using just one of them and found that the best cake is when both butter and oil are used together.
- Use Buttermilk. Buttermilk is one of my favorite ingredients to use in baked goods. It is such a game changer and makes such a difference in the texture of the cake. It is worth it to buy buttermilk (you can use the remaining in my buttermilk pancakes or ricotta pancakes).
- Use Cake Flour. Cake flour has less gluten than all-purpose flour which creates a more tender crumb. You can find cake flour in all grocery stores. I buy it in bulk in grocery stores that sell items in bins (Winco, Sprouts, etc).
- Use a combination of Butter and Cream Cheese in Frosting. A smooth, creamy, and sweet cream cheese frosting is unlike anything else. I love to use a mix of butter and cream cheese as butter brings some richness and the cream cheese adds a subtle tang. Adding powdered sugar is the finishing touch.
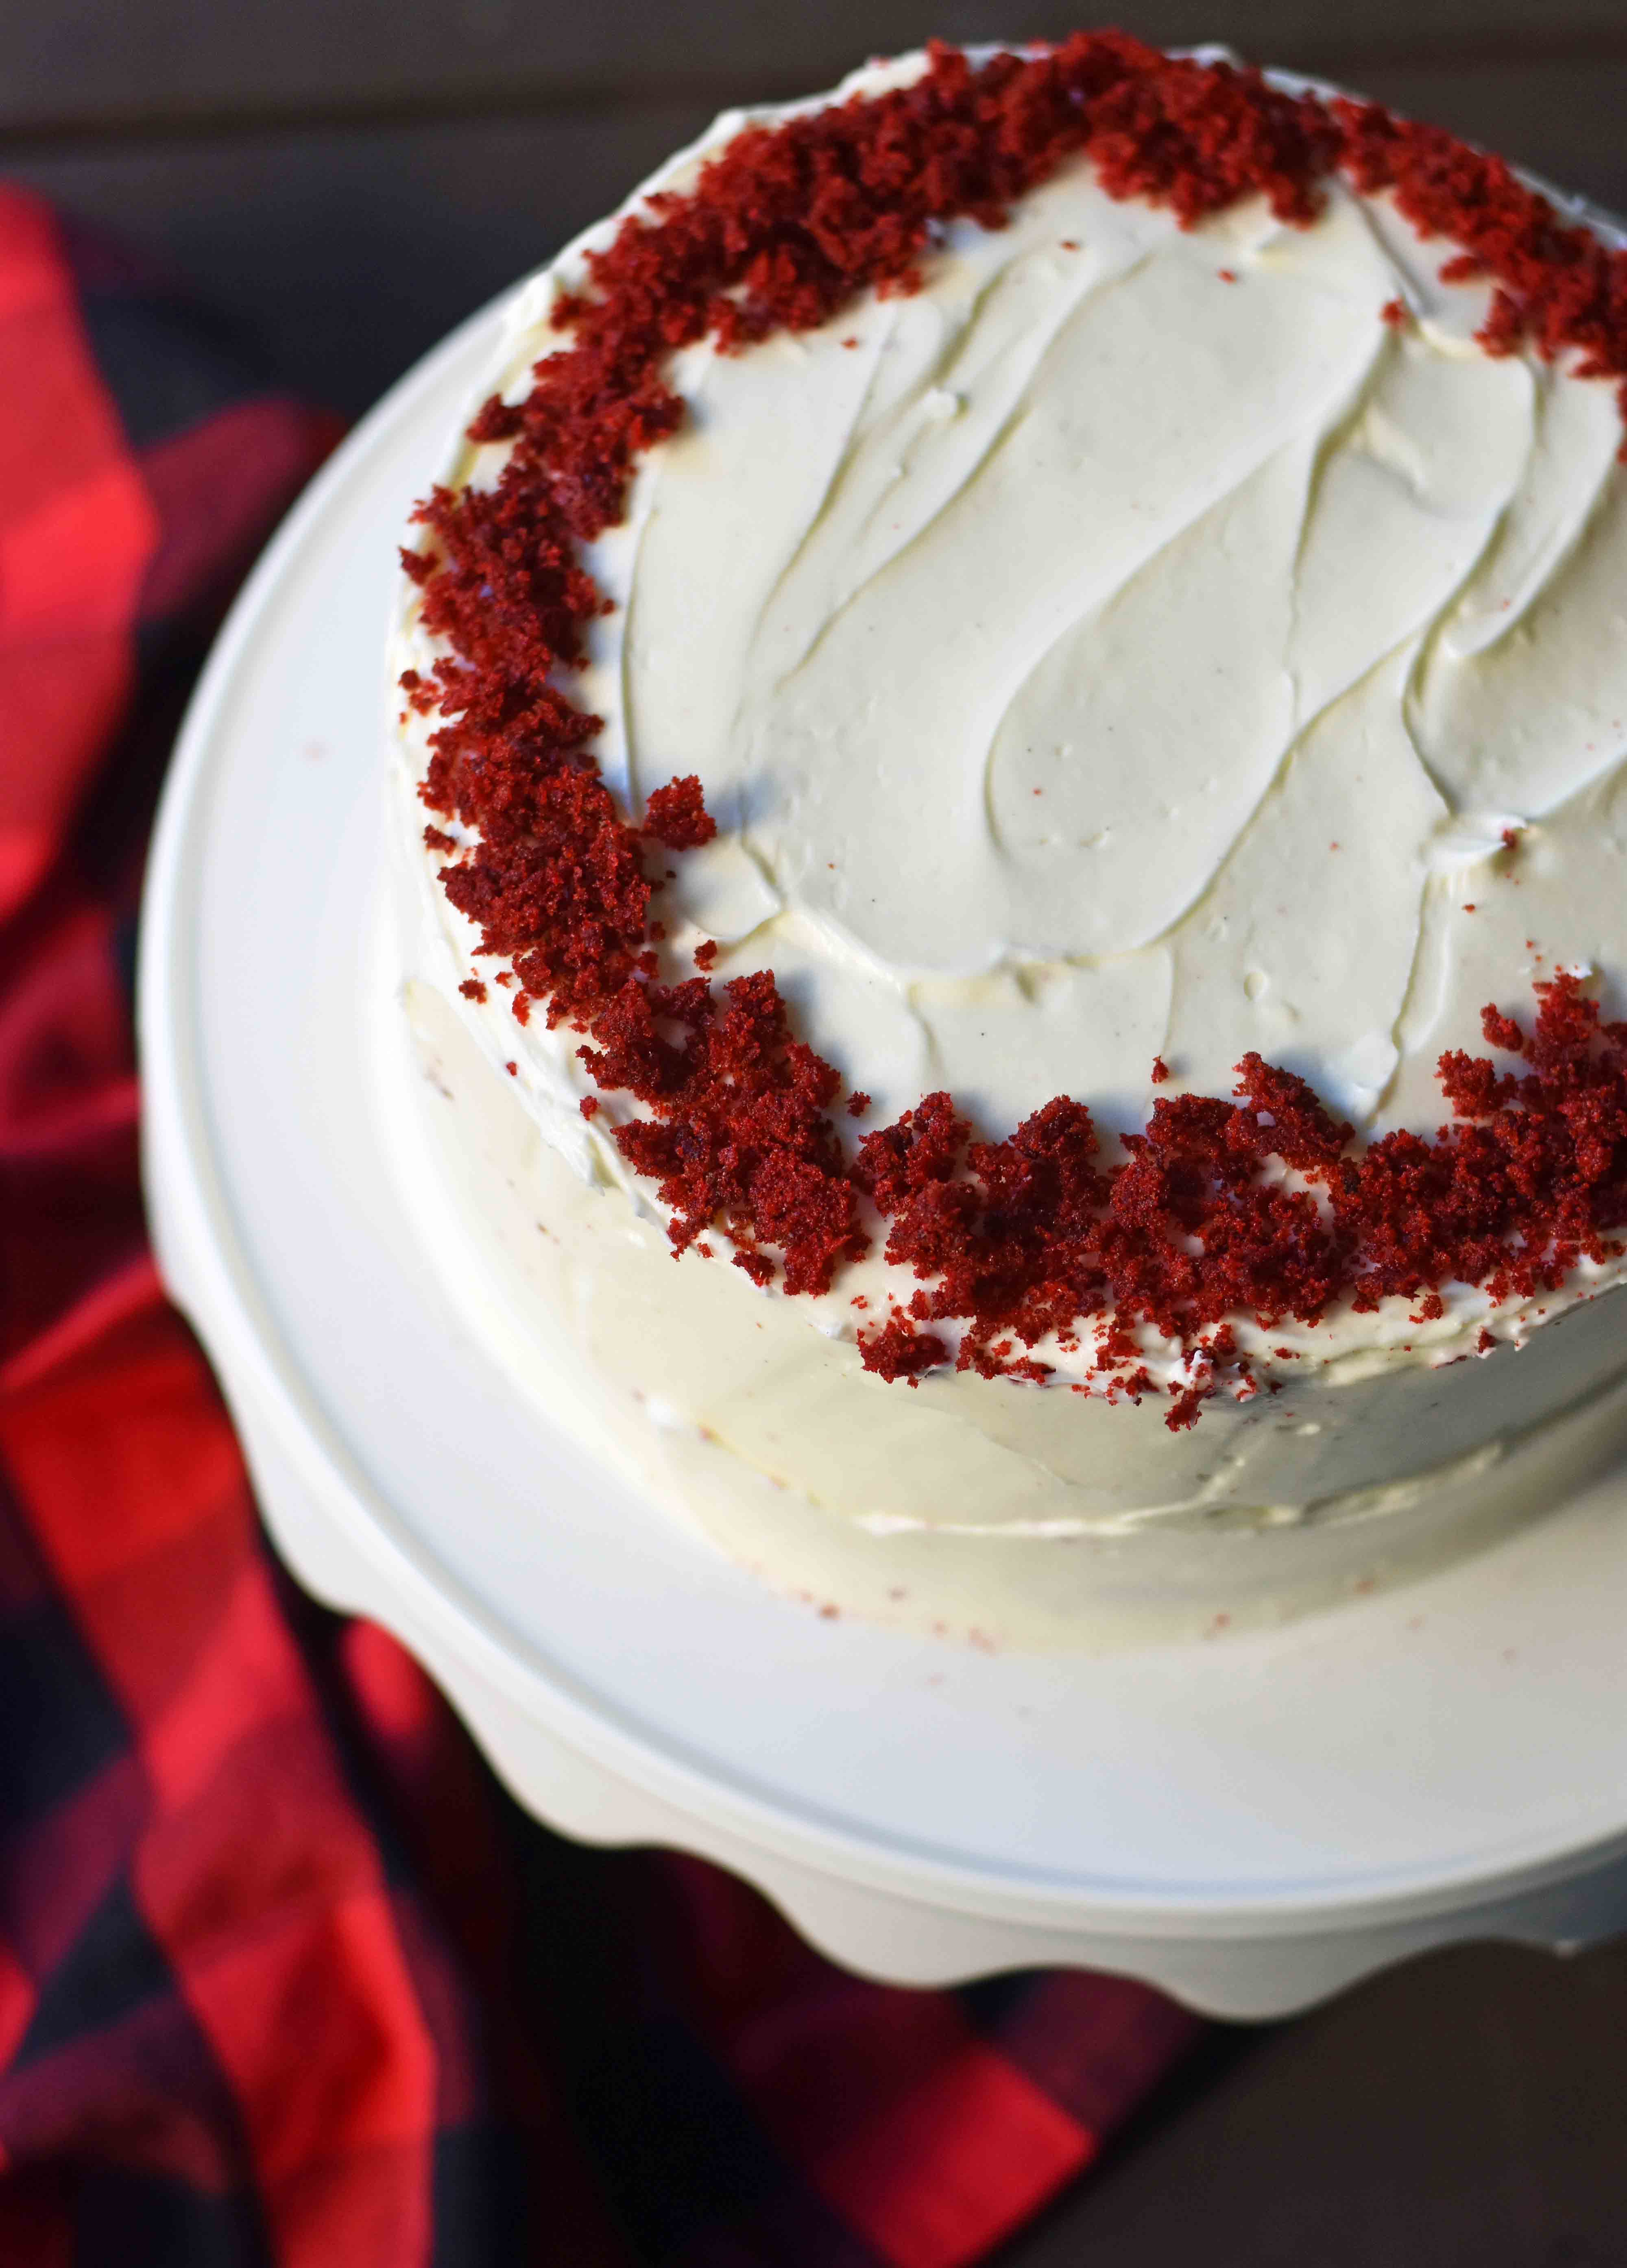
Few cakes inspire as much affection as a classic red velvet cake. Its vibrant red color, tender crumb, and subtle cocoa flavor have made it a favorite for birthdays, holidays, and celebrations. I hope you love it and if you do, please leave a comment below.
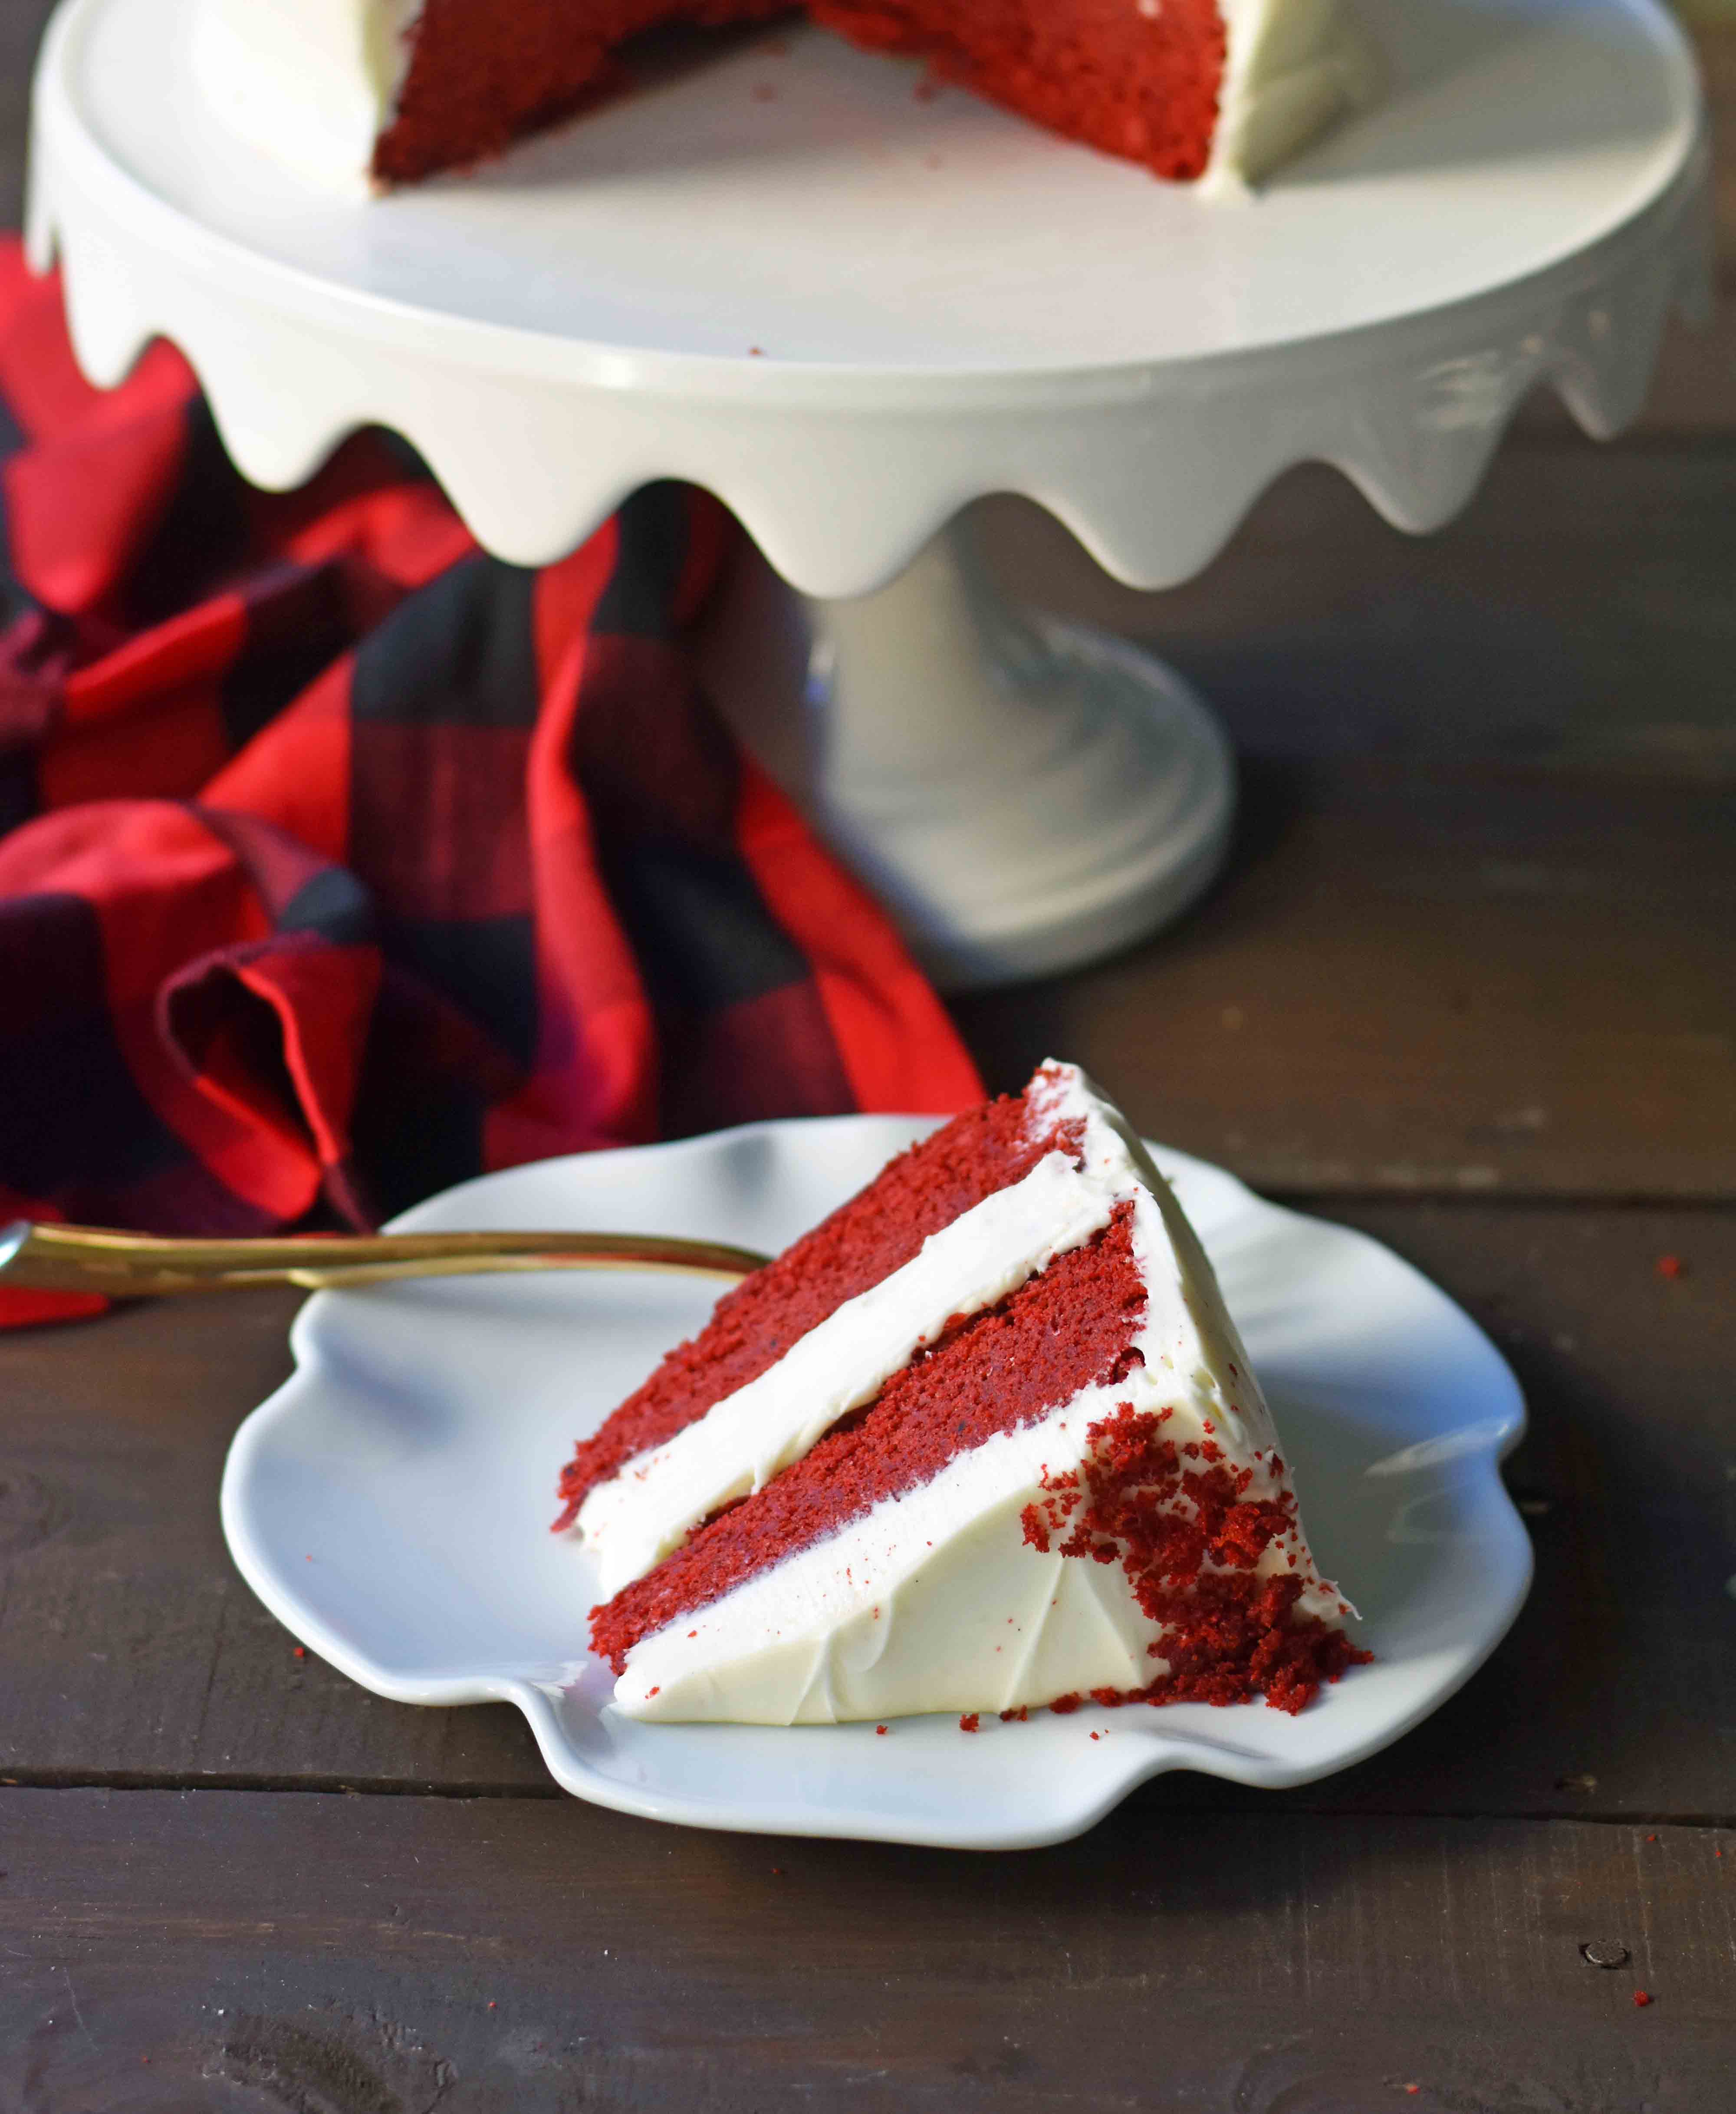
Here are some of my favorite classic cakes on Modern Honey:
Love at First Sight Chocolate Cake — a moist, rich chocolate cake with chocolate fudge frosting. A 5-star rated cake!
Yellow Birthday Cake with Milk Chocolate Frosting — this cake recipe has a secret ingredient to make the cake light and fluffy with a killer chocolate frosting.
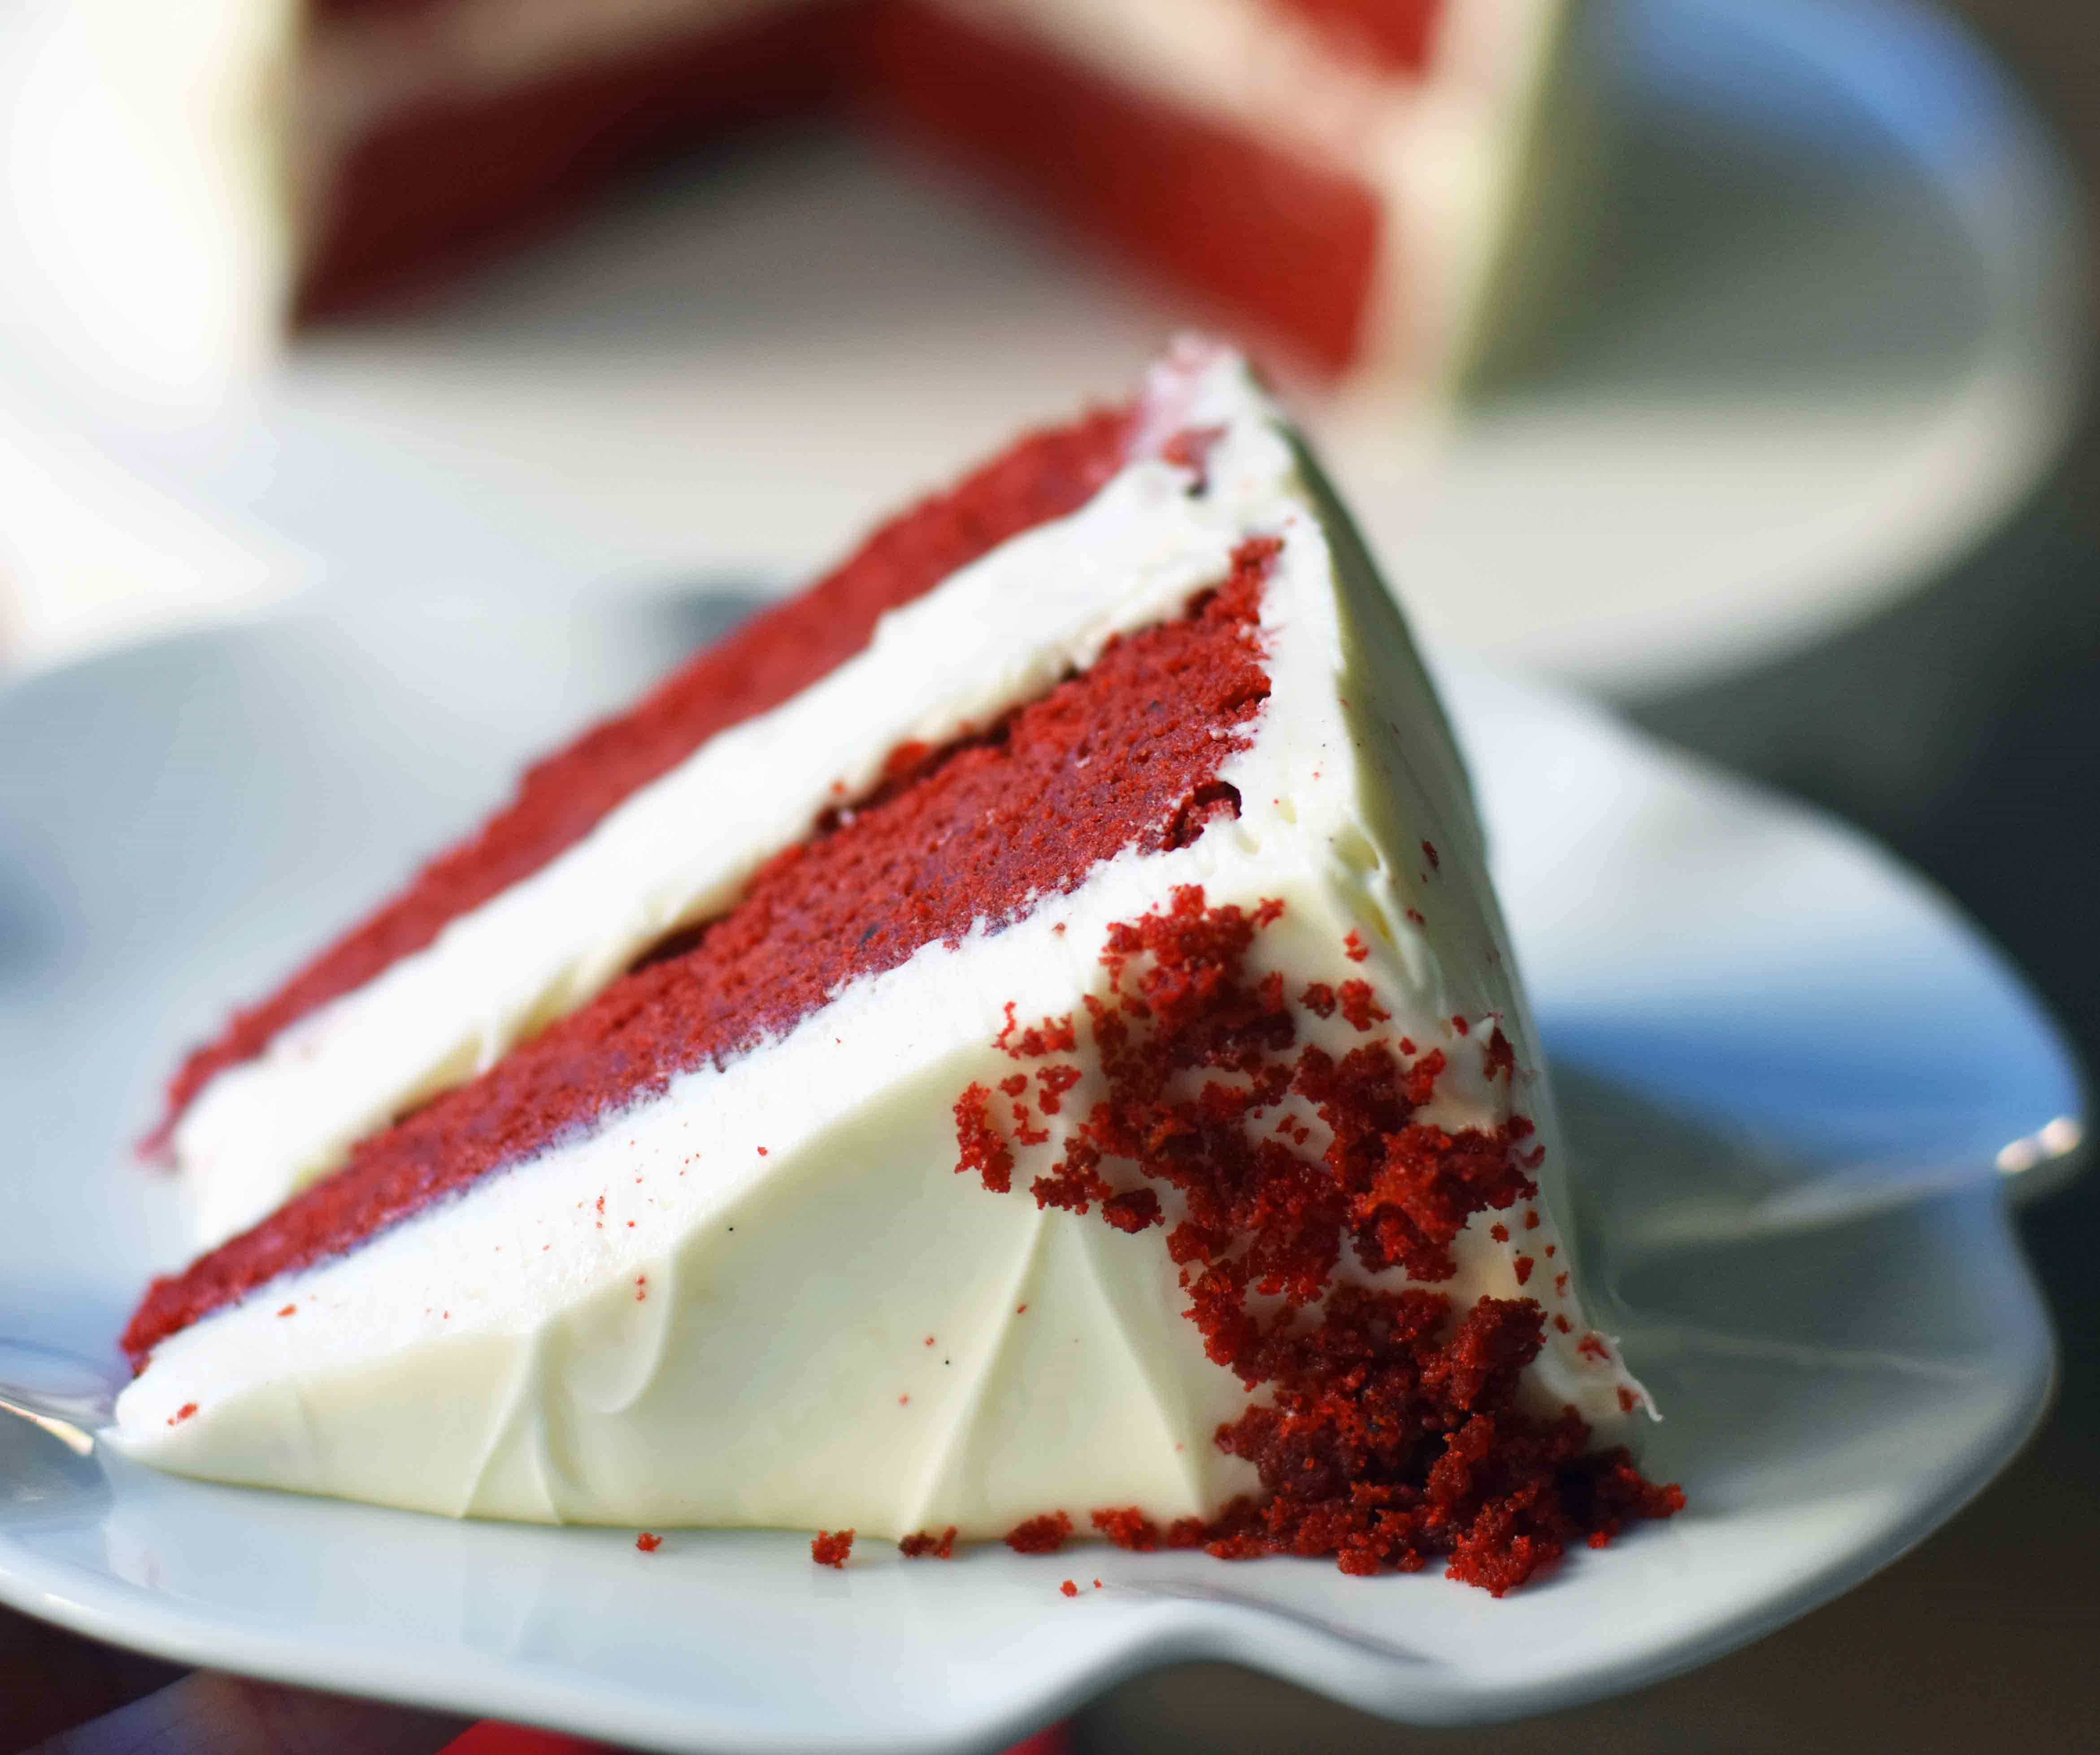
Popular Cake Recipes:

Pin this now to find it later
Pin It
Red Velvet Cake
Equipment
Ingredients
- 3 cups Cake Flour (or all-purpose flour)
- 1 3/4 cups Sugar
- 3 Tablespoons Unsweetened Cocoa Powder
- 1 teaspoon Baking Soda
- 1/4 teaspoon Salt
- 1/2 cup Butter cut into cubes
- 3 Eggs
- 1 cup Buttermilk
- 3/4 cup Canola Oil
- 1 – 2 Tablespoons Red Food Coloring may do less depending on preference
- 1 Tablespoon Pure Vanilla Extract
Cream Cheese Frosting:
- (2) 8-ounce pkgs. Cream Cheese (room temperature and softened)
- 12 Tablespoons Butter (3/4 cup or 1 1/2 sticks, softened)
- 4 1/2 cups Powdered Sugar
- 2 teaspoons Vanilla Extract or Vanilla Bean Paste
Instructions
- Preheat oven to 350 degrees.
- In a standing mixer, stir together flour, sugar, cocoa powder, baking soda, and salt.
- Beat the butter into the flour mixture, one cube at a time. Continue to beat until it resembles coarse crumbs.
- In a small bowl, whisk together eggs, buttermilk, oil, red food coloring, and vanilla.
- Add the buttermilk mixture to dry ingredients and beat the batter until thoroughly mixed.
- Take a spatula and scrape the sides of the bowl.
- Spread into two greased 8 or 9-inch cake pans and smooth tops with a spatula.
- Bake for 16-22 minutes, depending on the depth of pans. If the cake layers are thin, they will cook for less time than the thicker layers.
- Let cakes cool. Run a knife around edge of cake pan and flip over. Frost with cream cheese frosting.
- To make frosting:
- In a large mixing bowl, cream together softened cream cheese and butter until light and fluffy, about 3-5 minutes. If using a Kitchenaid mixer, use the whisk attachment.
- Add powdered sugar and mix until creamy.
- If using a vanilla bean, split vanilla bean in half and use the tip of the knife to scrape the vanilla bean paste from each side of the vanilla bean pod.
- If using vanilla extract, add to frosting and stir until combined.
- Spread on cooled red velvet cake. Cover tightly.
Video
Nutrition information is automatically calculated, so should only be used as an approximation.
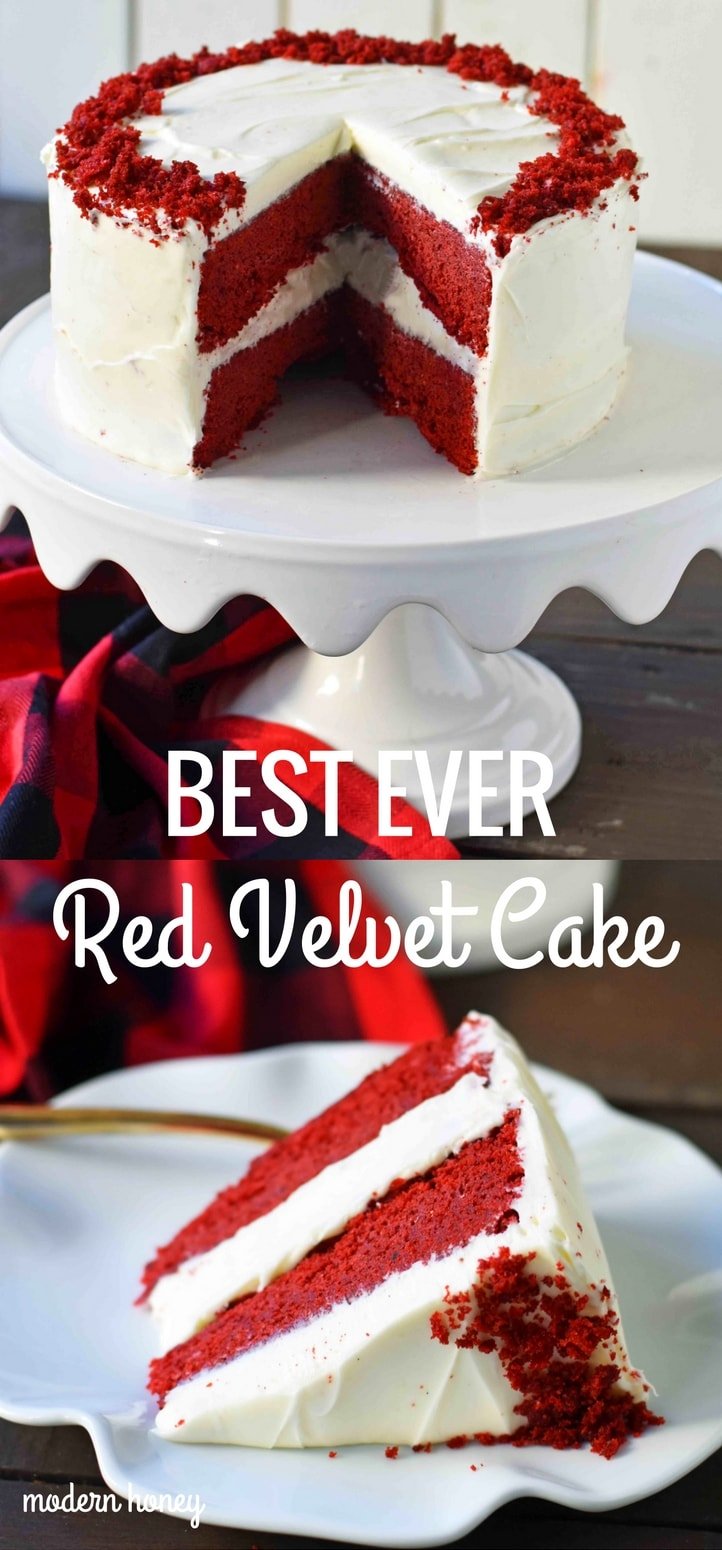
Happy Baking, my friends! xo


Should I refrigerate the cake once it’s frosted? I have it in an airtight container. Thanks!!! Can’t wait to try it!!!
Hi… can you please let me know what is the one cup measurements that you use…. some Ppl use 240 ml while others use 250ml? Thanks! Also for unsalted butter I need to add .5 teaspoon of salt? Thanks a ton for your reply.
Hi,
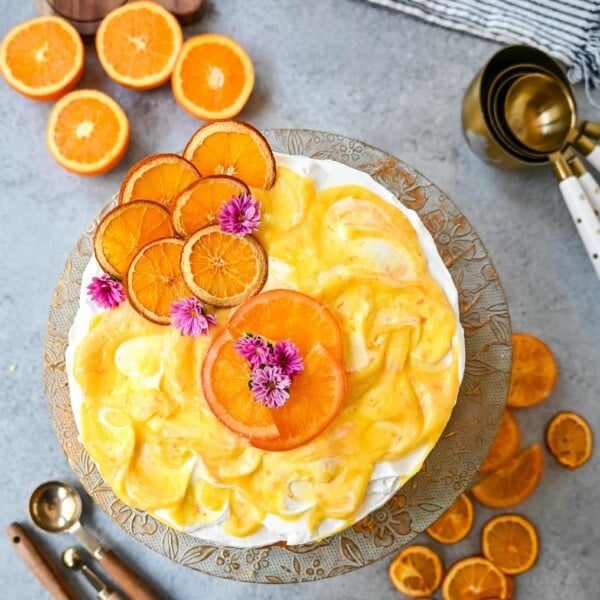
Your cake looks awesome. I’m confused what exactly is on the top of your cake that looks so beautiful. I want to make it for Christmas so if you cook walk me through that I would appreciate it 🙂
Thanks
Cassandra
When I made this, I got flustered because a couple of things weren’t specific enough for me: 1.) If using a standup mixer, is it best to use the whisk or the paddle attachment? 2.) You didn’t specify whether or not the (salted) butter that went into the cake was supposed to be softened. 3.) What size “cubes” for the butter? 4.) Approximately how long are you supposed to beat the batter? 5.) You didn’t flour the pans, which I thought was a requirement for most cakes. I like for recipes to be specific, as cakes are so easy to ruin if you aren’t an experienced baker. I have made my fair share of tough, crusty, and sunken cakes as well as the ones that were half stuck to the pan! I “guessed” my way through this one, changing from the paddle to the whisk, when I saw that the room temperature (which is what many recipes specify), 4 cubes of 2 tablespoon – sized butter chunks (which I guessed at, because if you divide the 8 tablespoons of butter in a stick by the largest denominator, you would have 4, and it would have taken me forever to add one cube at a time if I had cut the butter into the 1/2″ size cubes I normally use for making pie crusts or biscuits) were not mixing well into the dry ingredients. I then guessed at a medium-high speed, then stopped mixing when everything was incorporated, even though I worried about not whether or not there was enough air in the batter. I put parchment circles into the bottoms of my greased, but unfloured pans, and I’m thinking it was a good thing because after I cooled the cakes in the pans for the entire time, the edges were sticking hard and fast to the sides of the pan. I looked online and figured out how to “crumb coat” a cake, which kept me from breaking down into tears when the icing started pulling the crumbs all over everything! On the positive side, the cake was moist, the layers had a good texture, and the icing was delicious. I am writing what I did so I’ll know next time, but it might help someone else if you add specifics for dummies like me! Thanks!
This is a superbly delicious recipe. I used coconut oil instead and also used Bob’s Red Mill 1-1 Gluten Free flour (I have celiac) and it worked great. Nice and fluffy – not too dry.
Hi! What food coloring do you use/would you recommend? I would love to make this for Christmas!
Hi, I’m anxiously waiting to make this cake. I have the standard recipe that my family loves, but it’s basic to me. The recipe was given to me by someone that makes awesome red velvet cakes, but I feel she’s leaving something out- on purpose- it doesn’t have the same flavor. So since you’ve tried several recipes- as I have- trying to find that special taste, I hope my quest will be over. I wanted to know if I can use vegetables oil instead of canola oil?
Thanks for sharing and answering questions
Hi Trina! Hahaha! I have had that same thing happen to me when I asked for a recipe. So funny! I did try out many red velvet cakes and this was definitely our favorite. You can absolutely use vegetable oil rather than canola oil. Wishing you all the best!
Hi. If I am using the 9″ pans instead of 8″ pan, do I need to change the amounts in the recipe?
Thank you!
Hi Elisha! Great question! This recipe works for both 8″ and 9″inch pans, no problem. I use both! If I use 9-inch cake pans, the baking time may be slightly less since the cake layers are thinner. I hope that helps! — Melissa
So I’m generally not a huuuge fan of RVC (probably because they tend to be kinda dry, and again they’d never tasted anything extraordinary to me).
Then I tried this, and have made it 3 more times following. It is just the right type of moist – literally melts in one’s mouth. And taste wise, all the combining elements really come through. Nothing overpowering but the subtle hints of this and that make for a comfort treat.
This cake now rivals with what I feel for my Banana bread and chocolate cake!
I have not tried it together with the cream cheese frosting yet, but I have a good feeling about that already..
PS: I made a slight variation each time I made it after the first time ( using part vanilla, part butterscotch essence – in different proportions, and doubling the amount of flavor the recipe calls for. It comes through & through each time.
Another thing I’ve done differently is use 225ml milk and 15ml white vinegar as a substitute for 1c buttermilk since I can’t find actual buttermilk anywhere here.
I would give this recipe a 5 plus star if I could because in addition to it being a success, I love that this recipe was born following many unsatisfactory recipe attempts, coupled with the fact that it has solved a real problem in the world of red velvet cakes!
@modernhoney, the combination of oil and butter is really the deal maker here!
Awww I love to hear that! Thank you so much for taking the time to write such a kind comment. Also, thank you for sharing your great suggestions. I appreciate it! –Melissa
This cake was a huge success! Thank you so much for the recipe. I made it for my goddaughter’s first birthday. Made it in 9 inch pans and doubled the recipe for a four-layer cake. It truly was divine and maintained its moistness the next day. Thank you again. Perfection!
Thanks, Bianca, for making my night! I am so glad you loved it. So sweet of you to make it for your goddaughter and I hope she loved it. Thanks so much! — Melissa
I find layer cakes so fussy to frost. Would this recipe work for a 9X13 pan. Would I alter the time??
Hi Kerri! They are fussier so I completely understand. You can make it in a 9 x 13 pan. Since it is thicker, it will need to bake for a longer period of time. Keep a close eye on it and use a toothpick or cake tester to check the middle of the cake. I hope that helps! — Melissa
Can you mix the ingredients together without a mixer?
Hi Brandi! You can make it by hand. I haven’t tried it yet but make sure to follow the steps and stir the butter into the flour mixture one cube at a time. Thanks so much! –Melissa