This post may contain affiliate links. Please read our disclosure policy.
Pan Banging Chocolate Chip Cookies
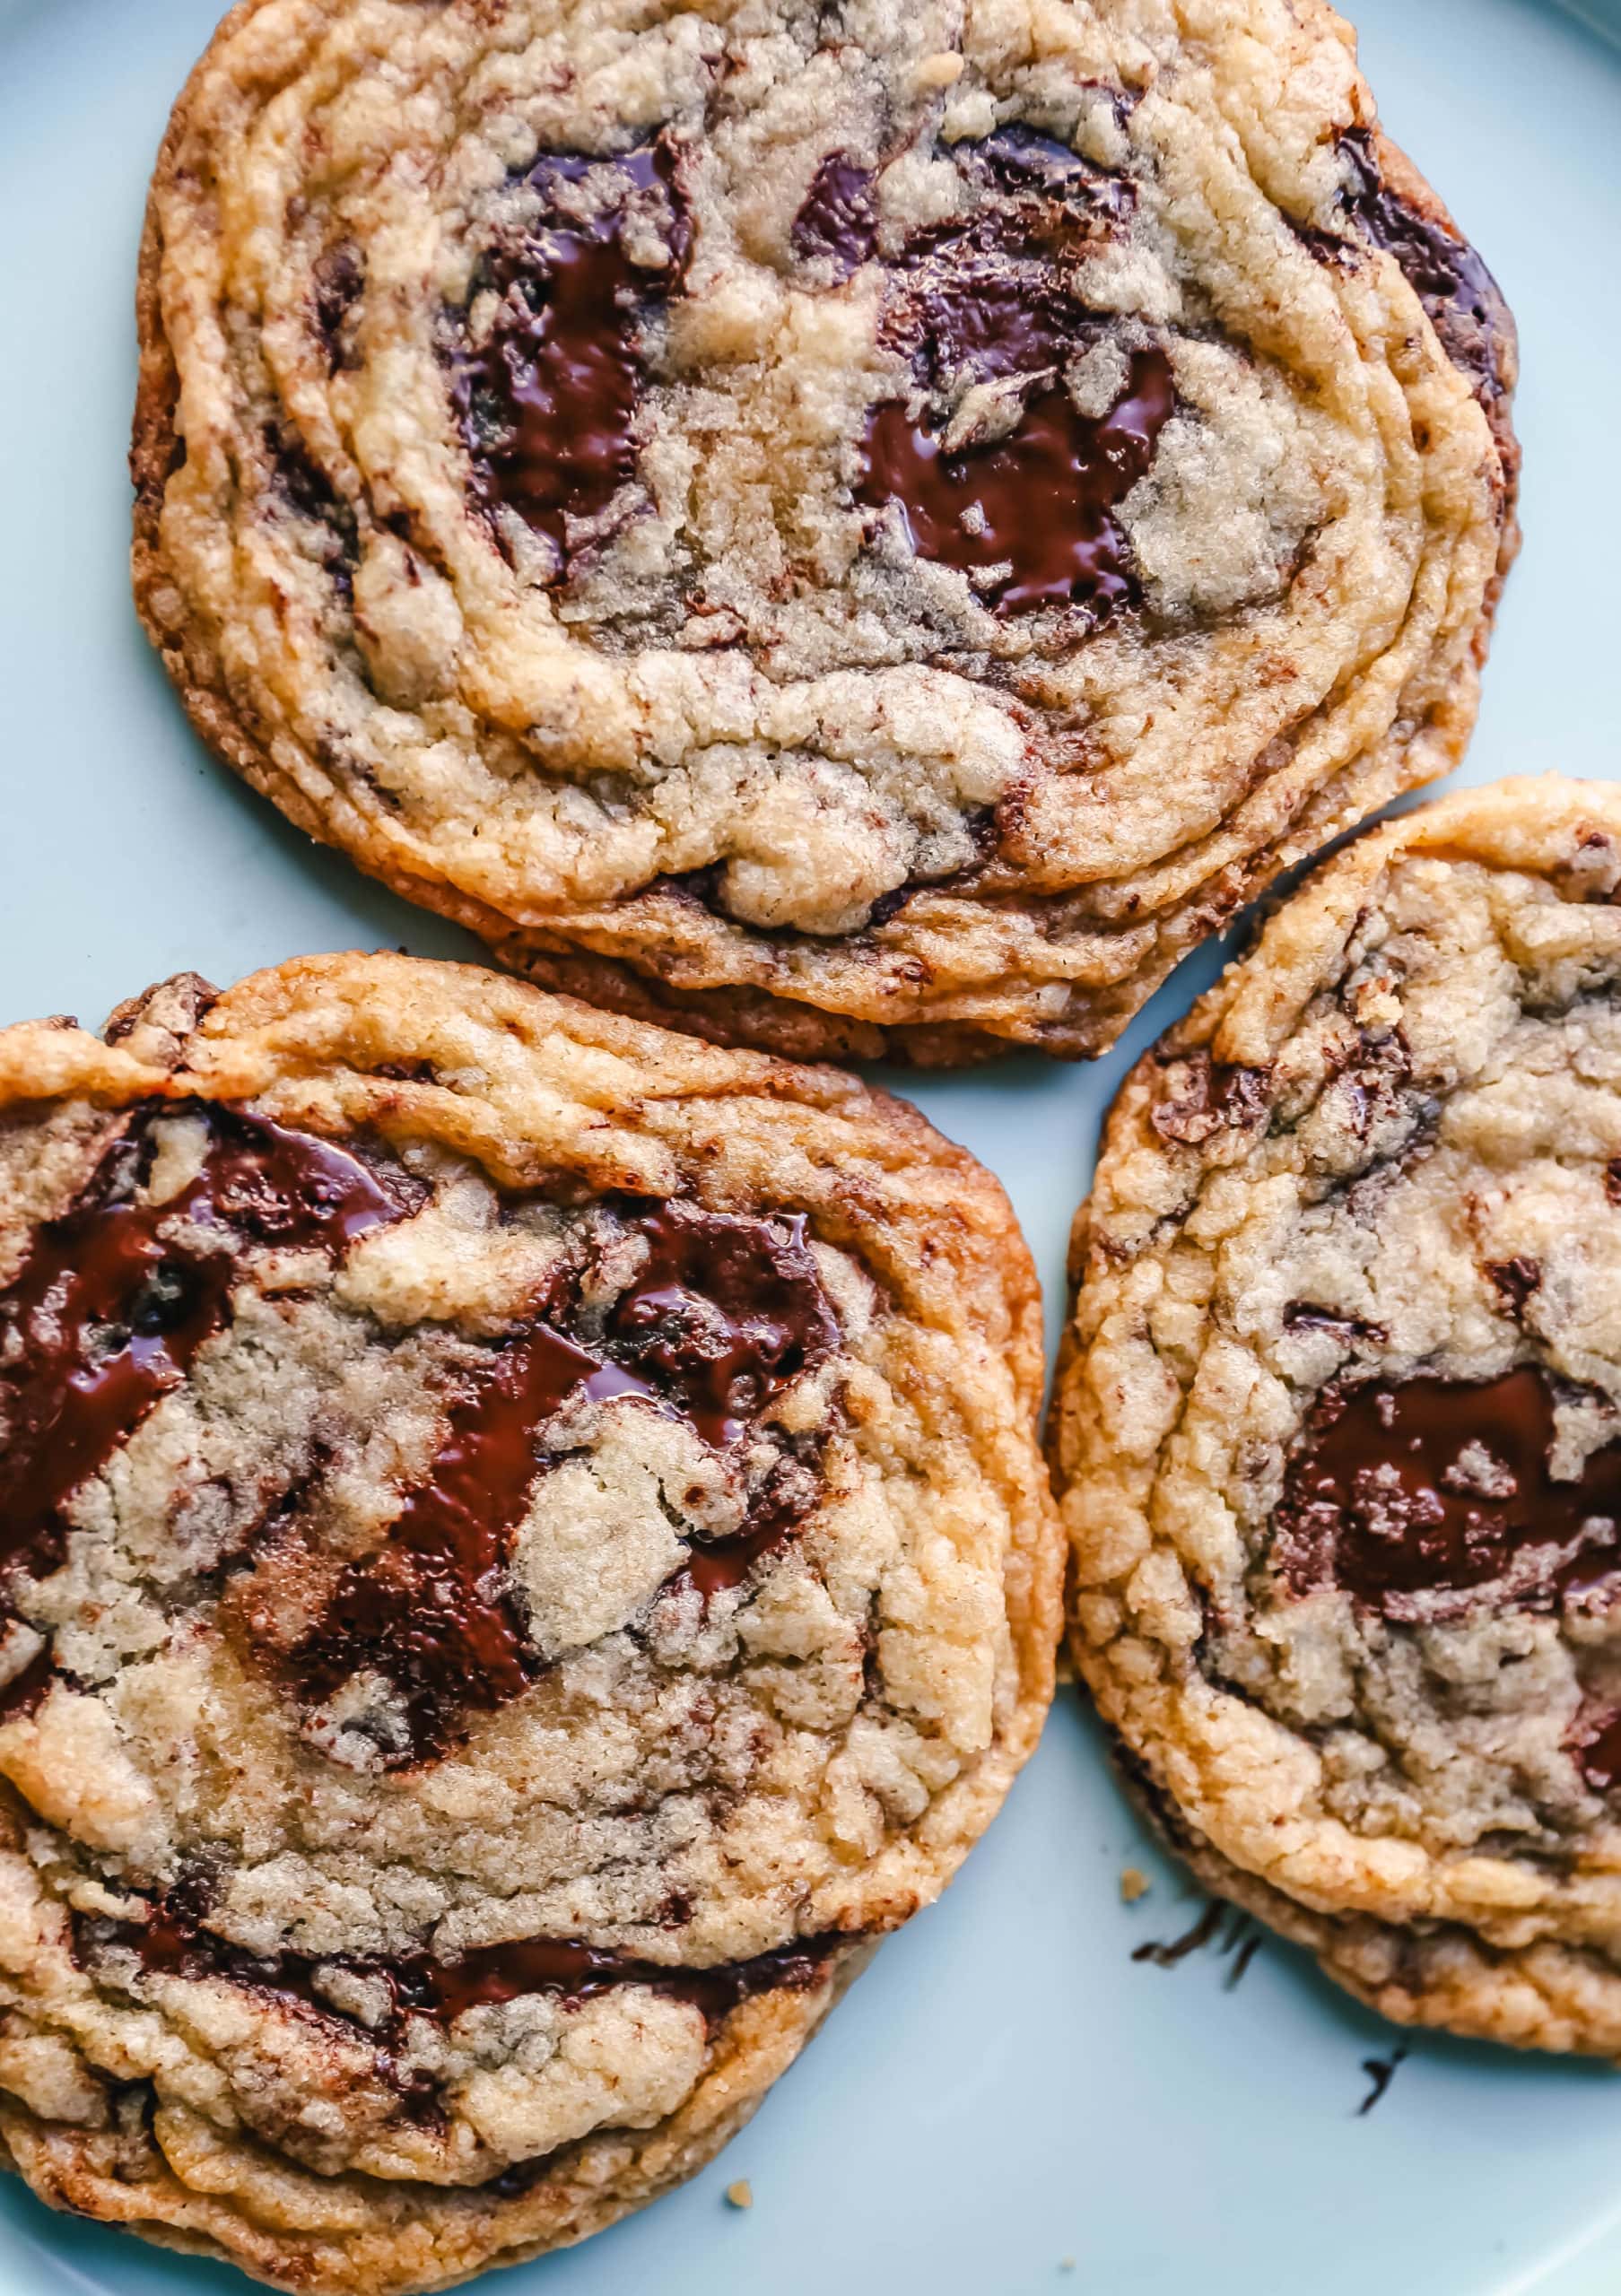
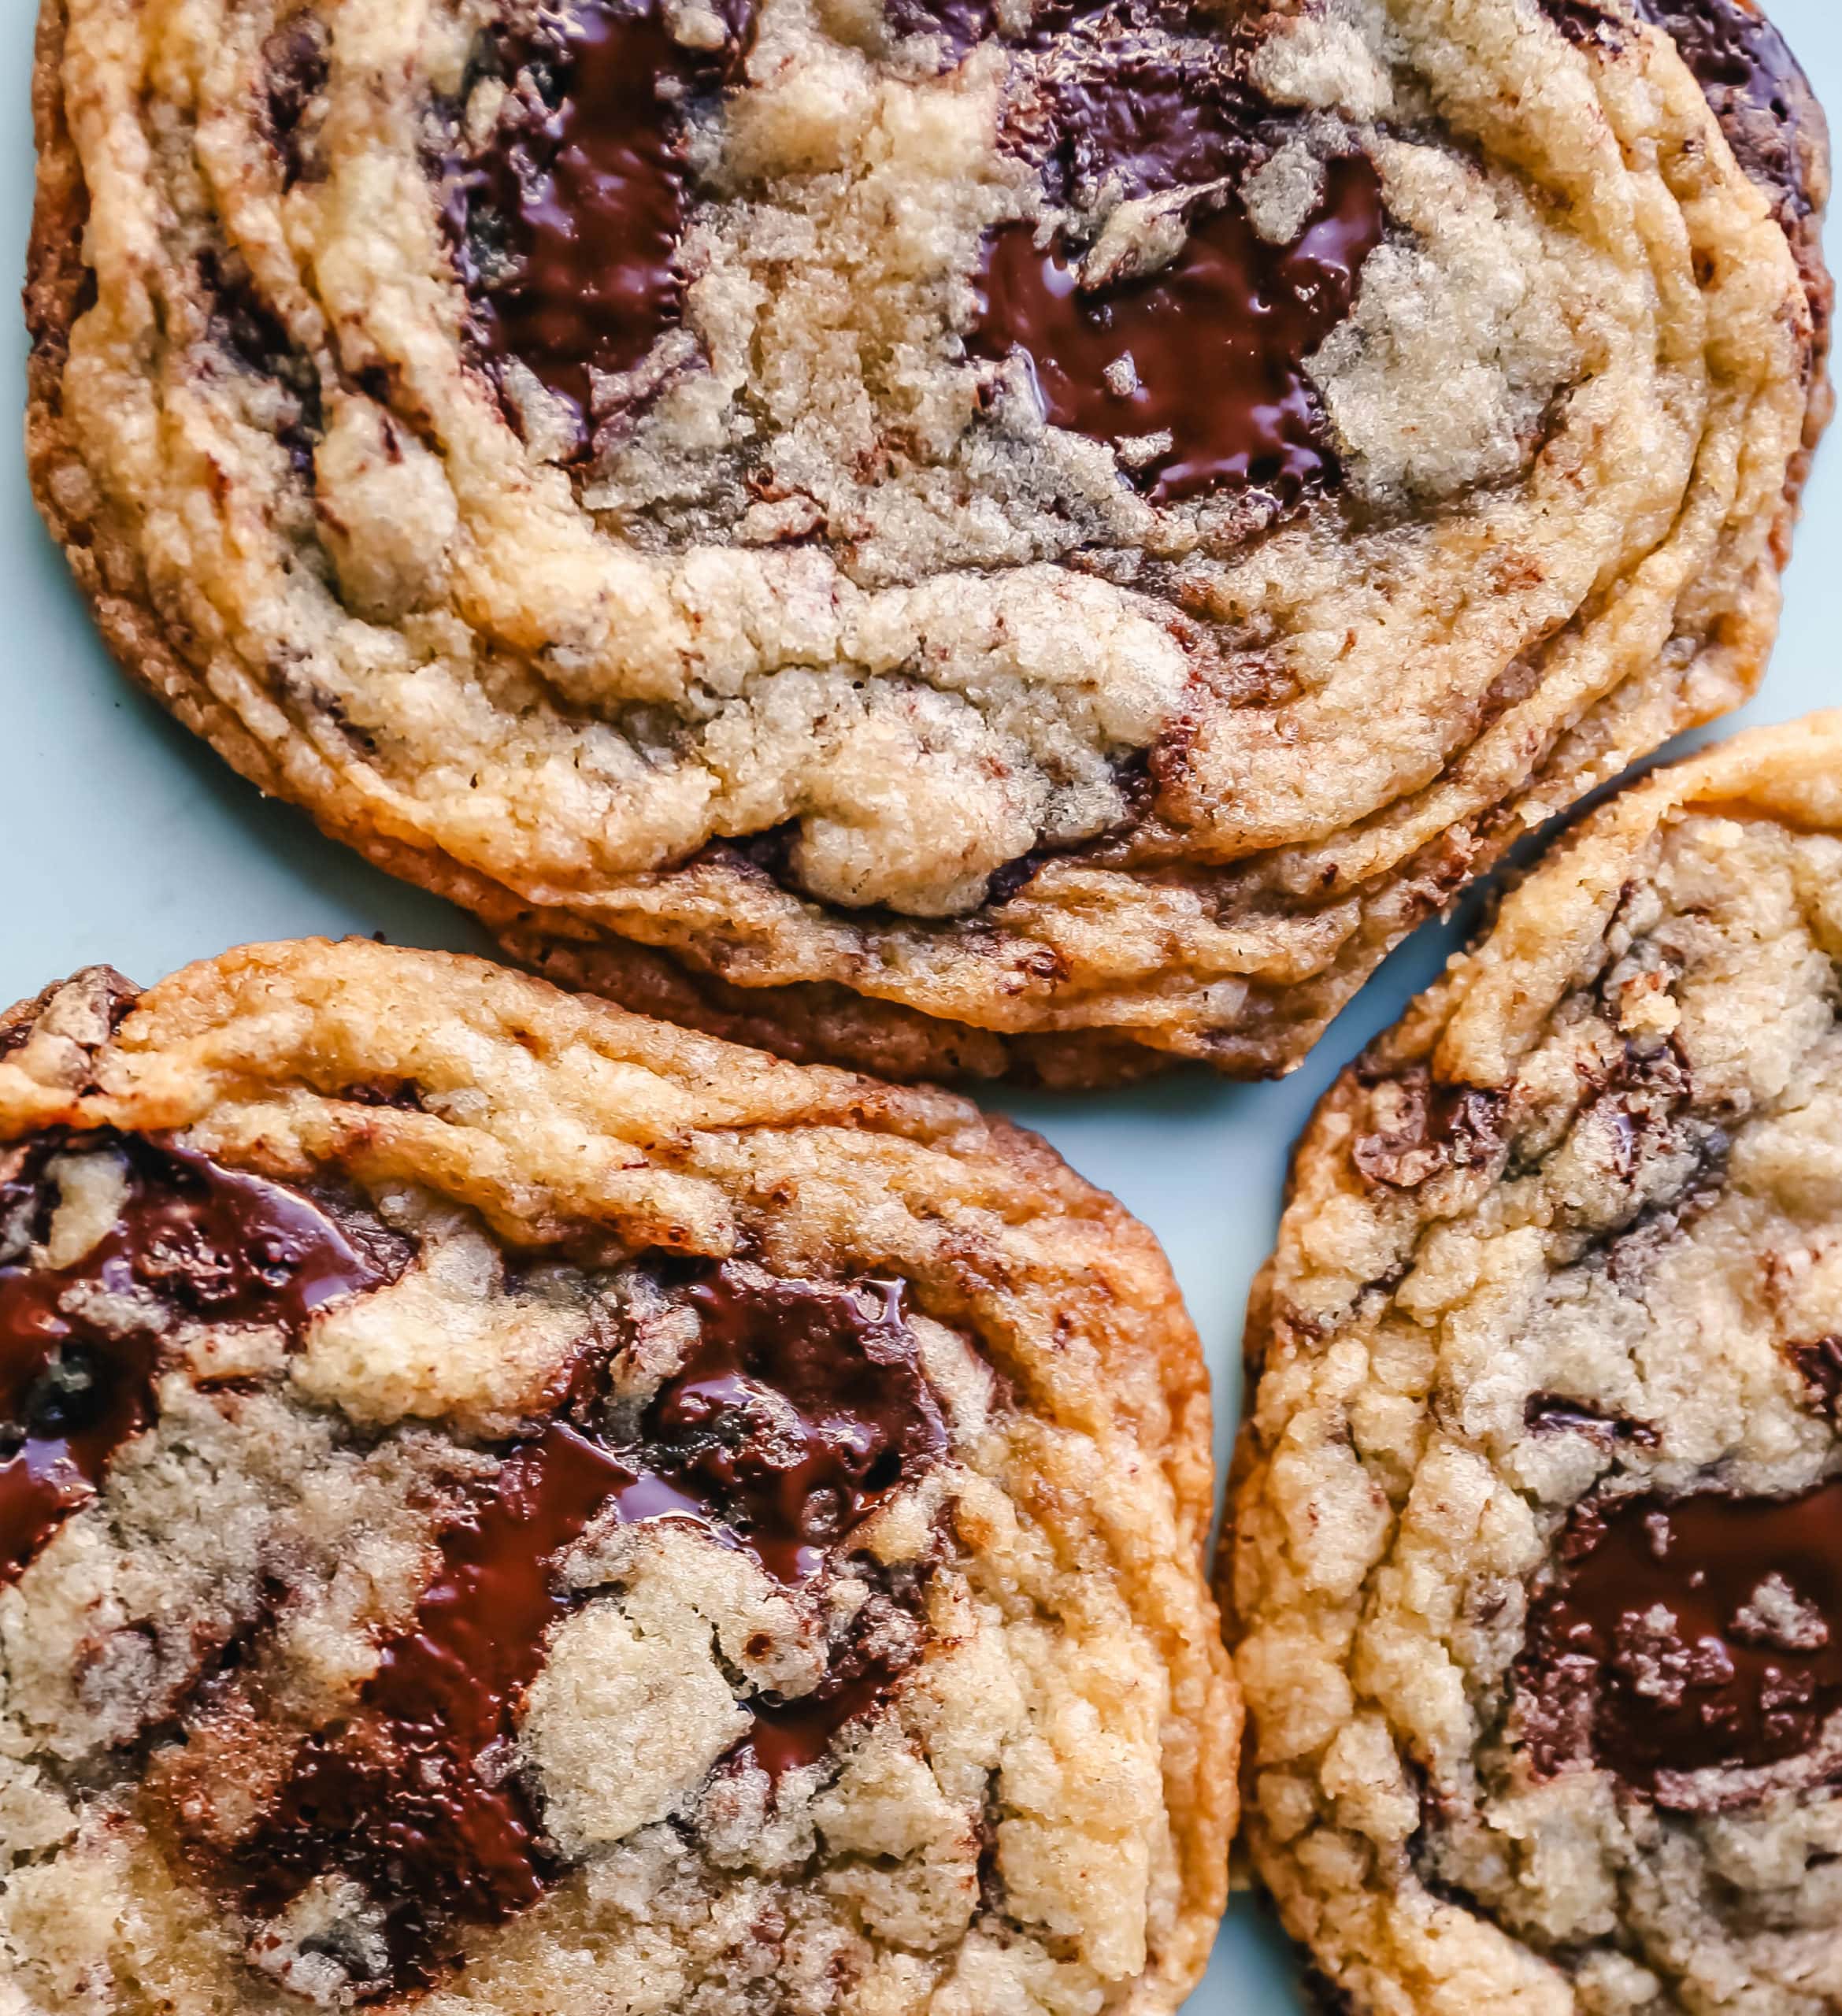
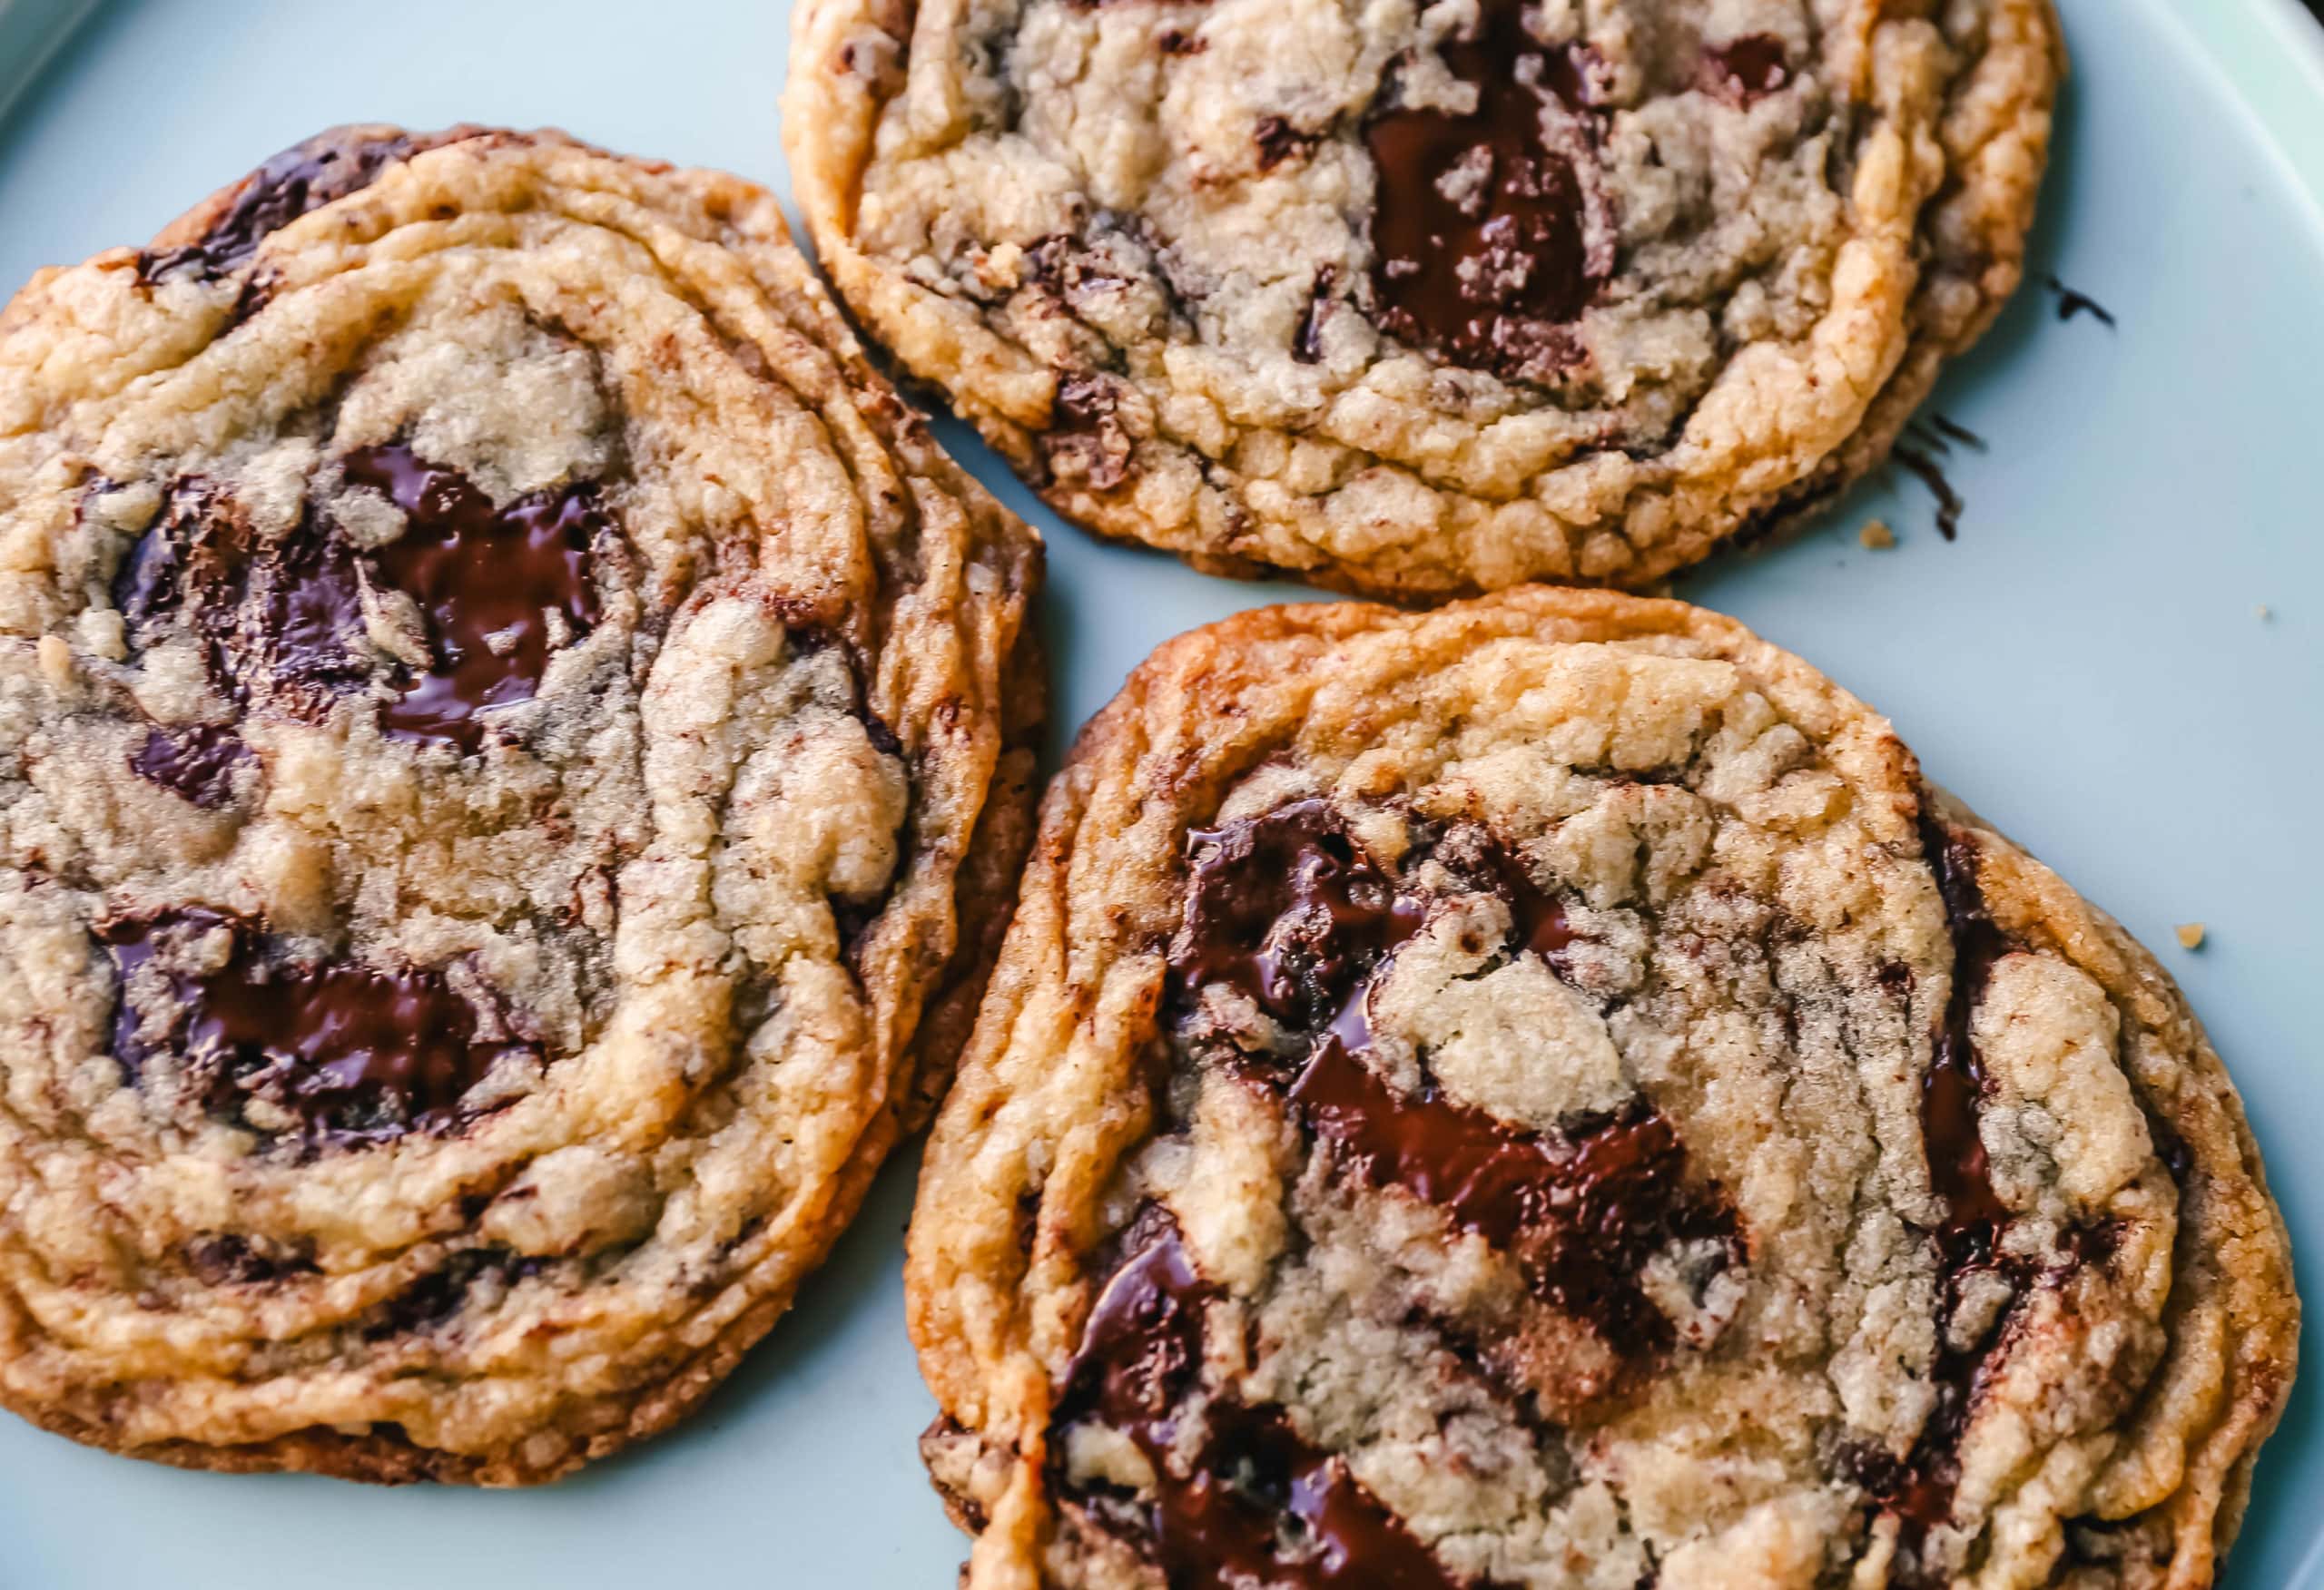
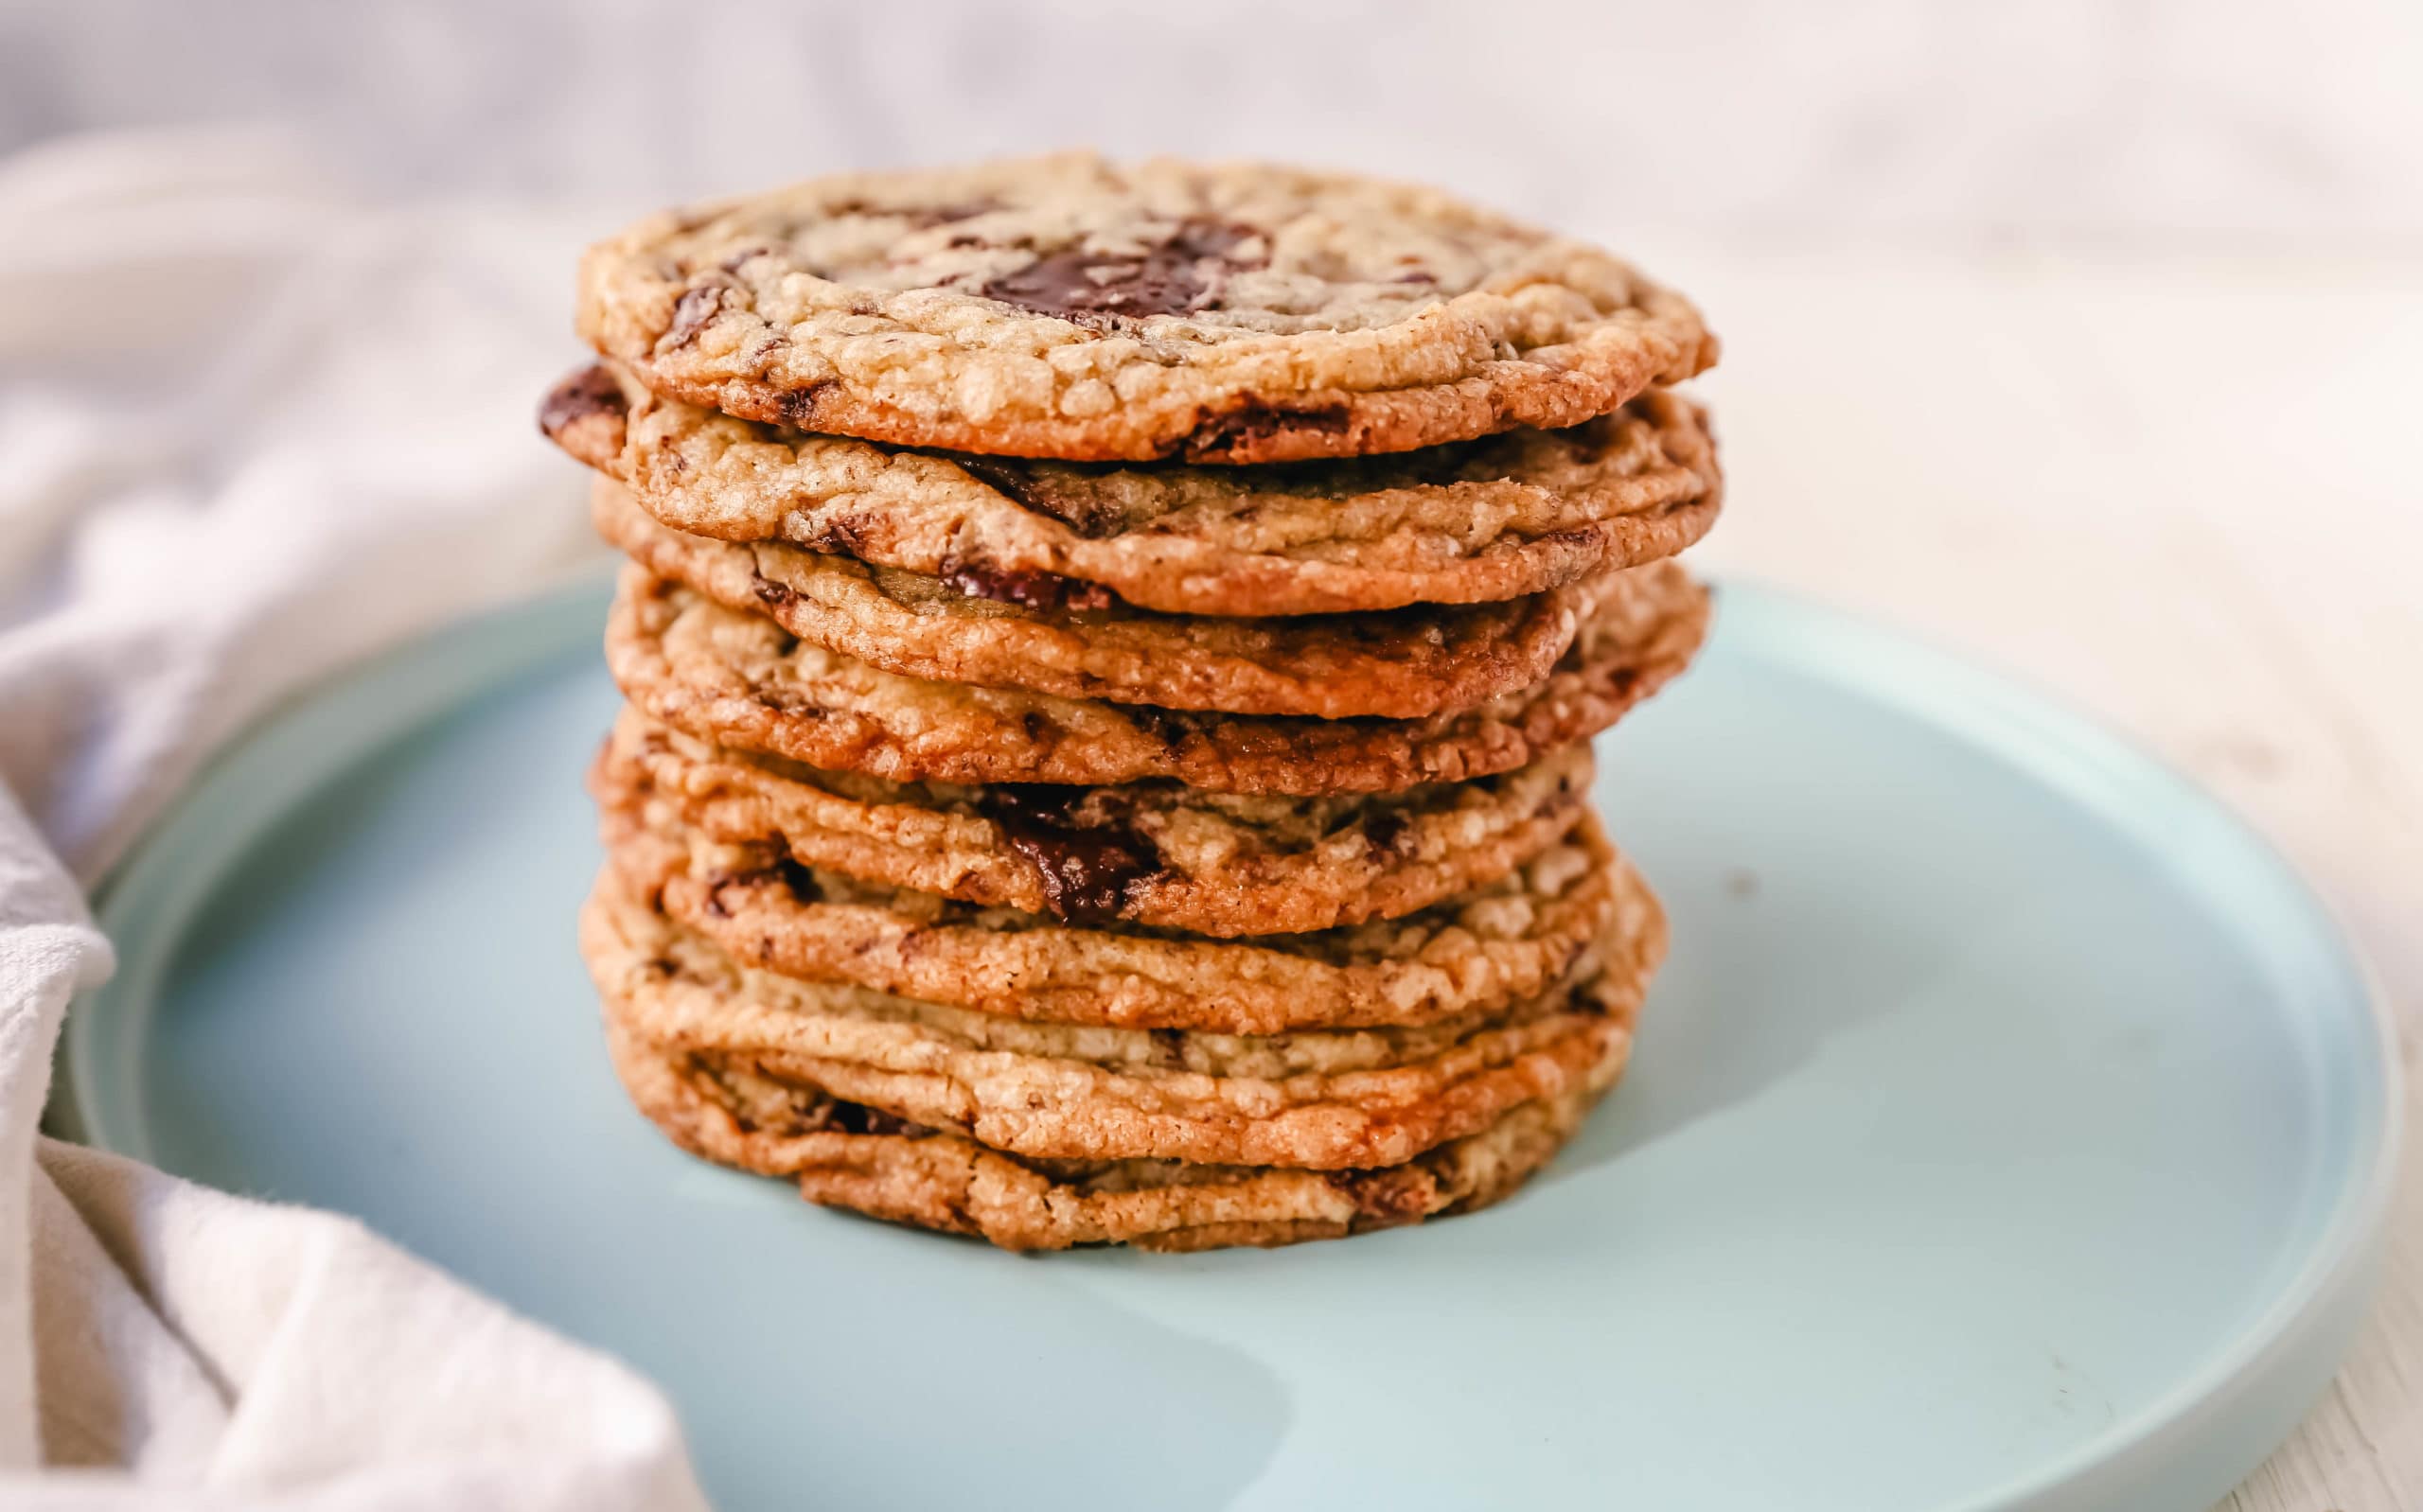
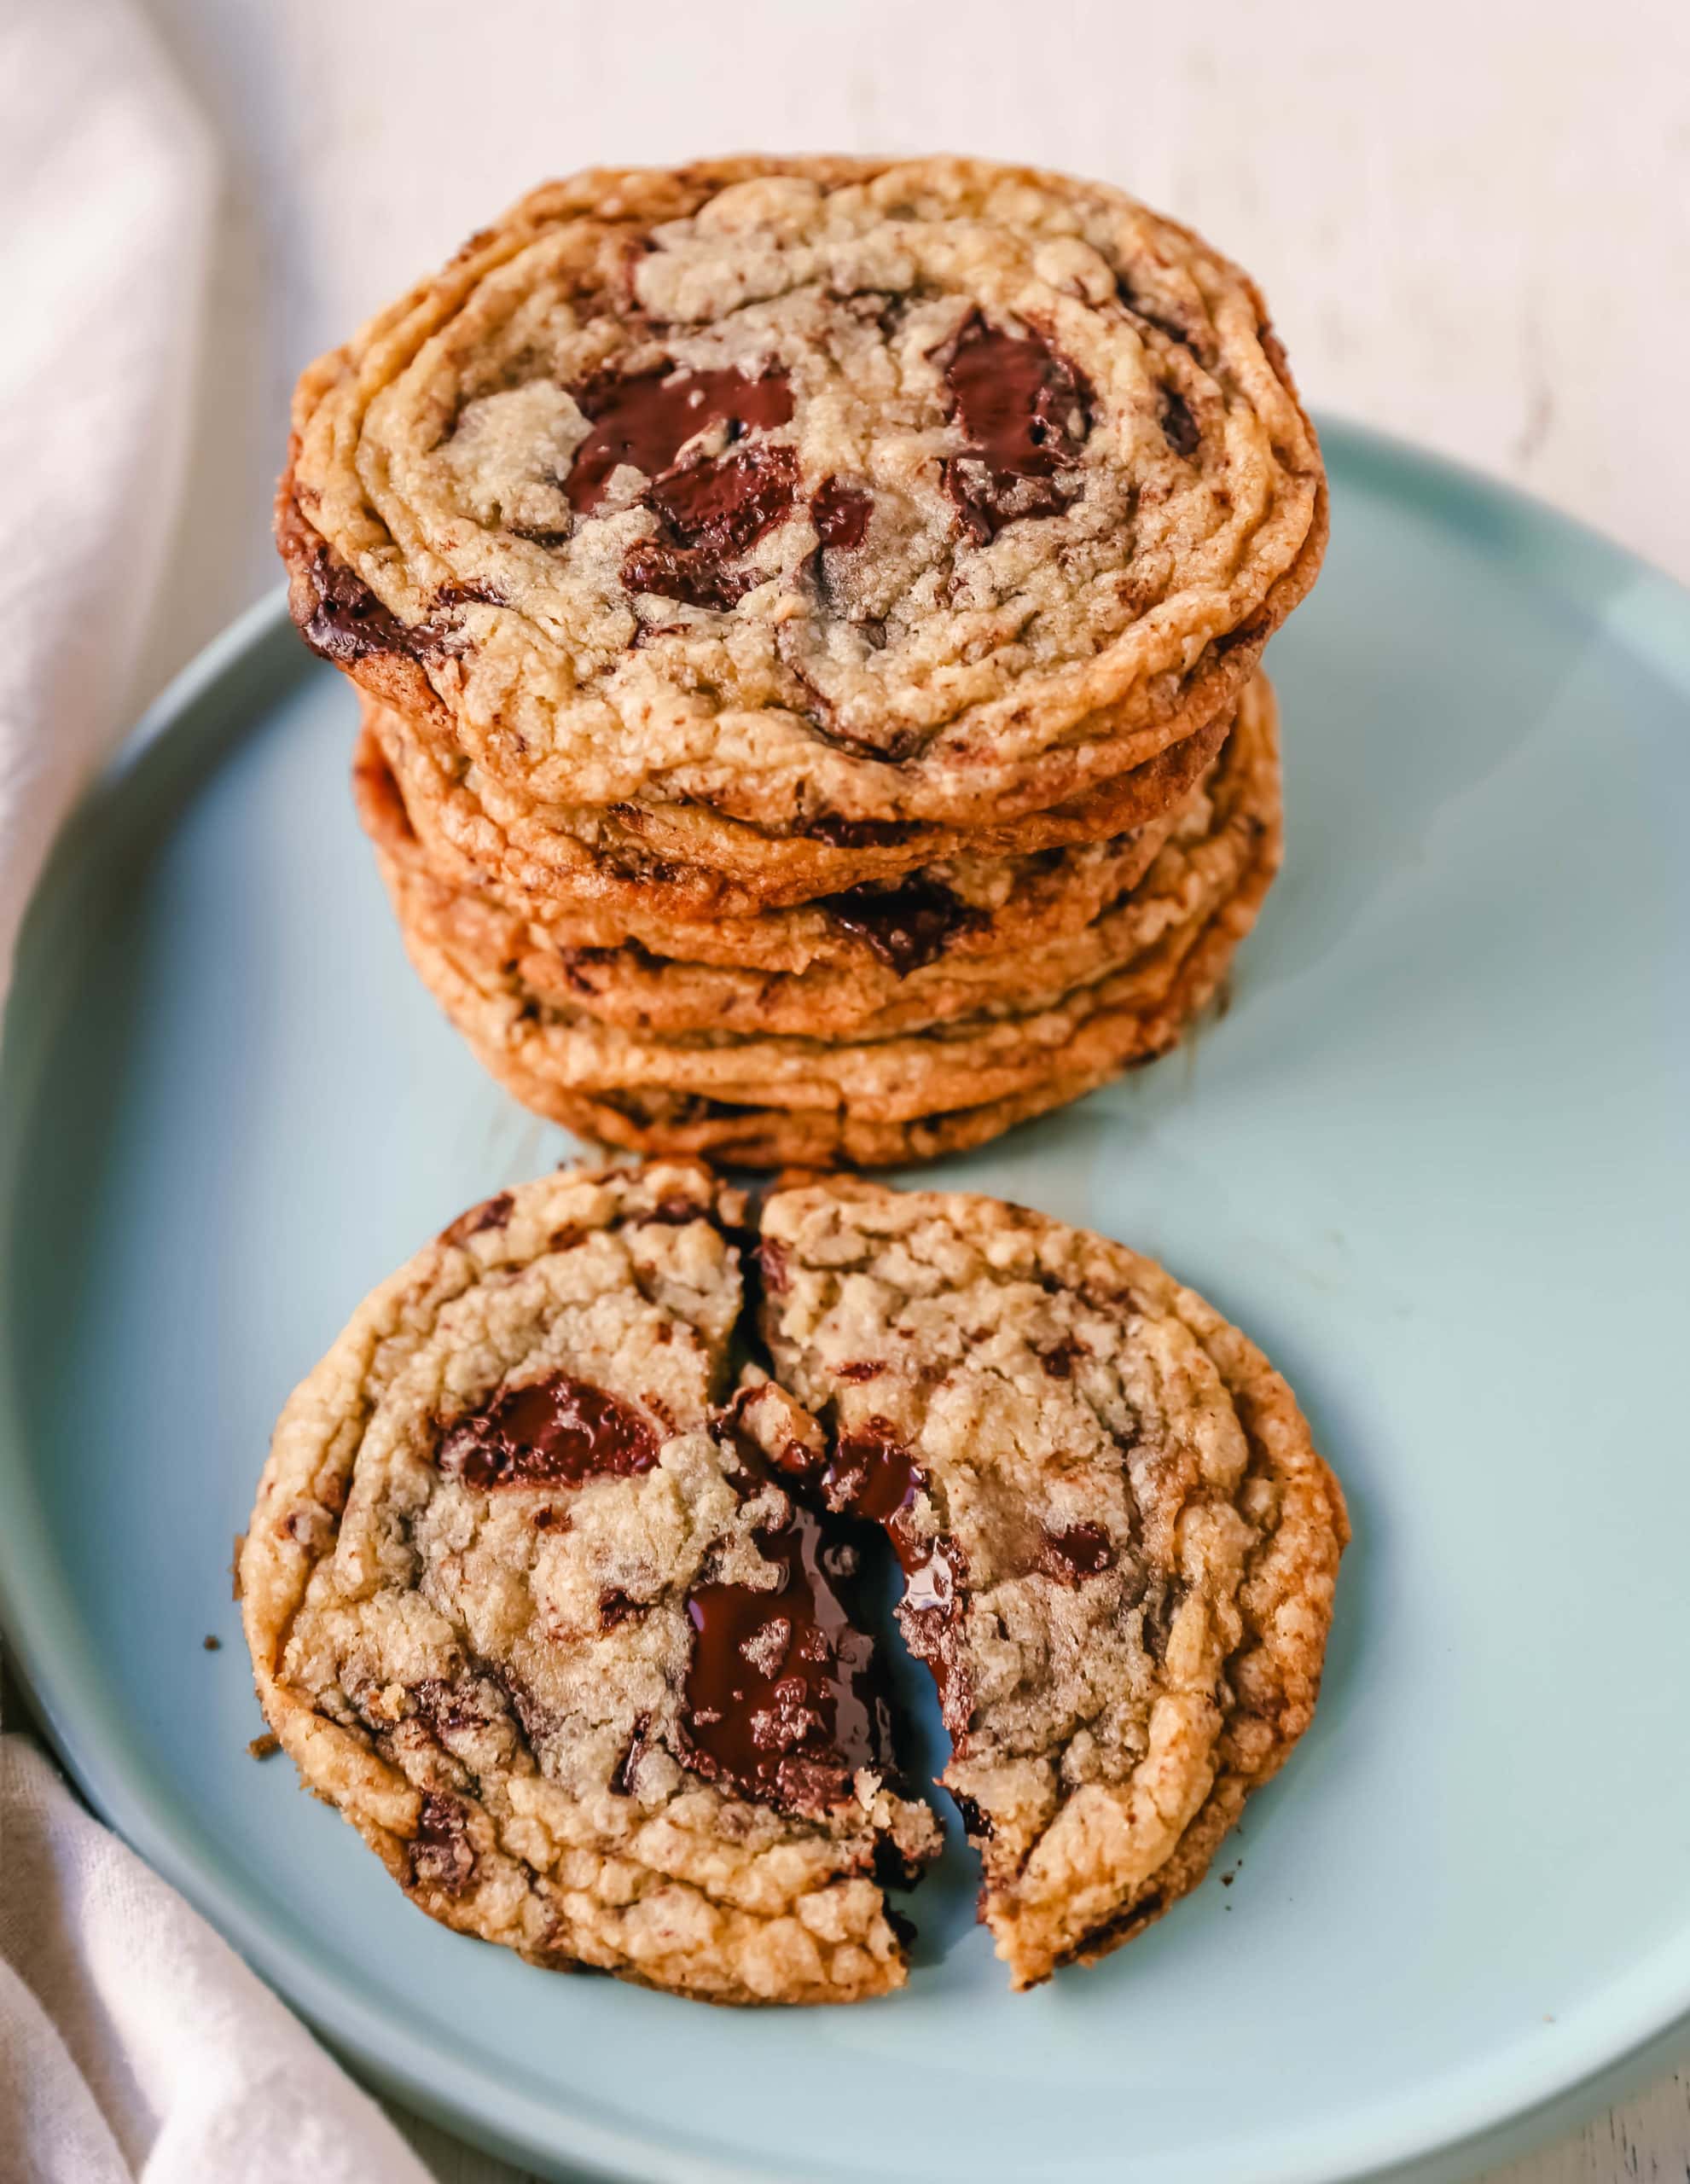
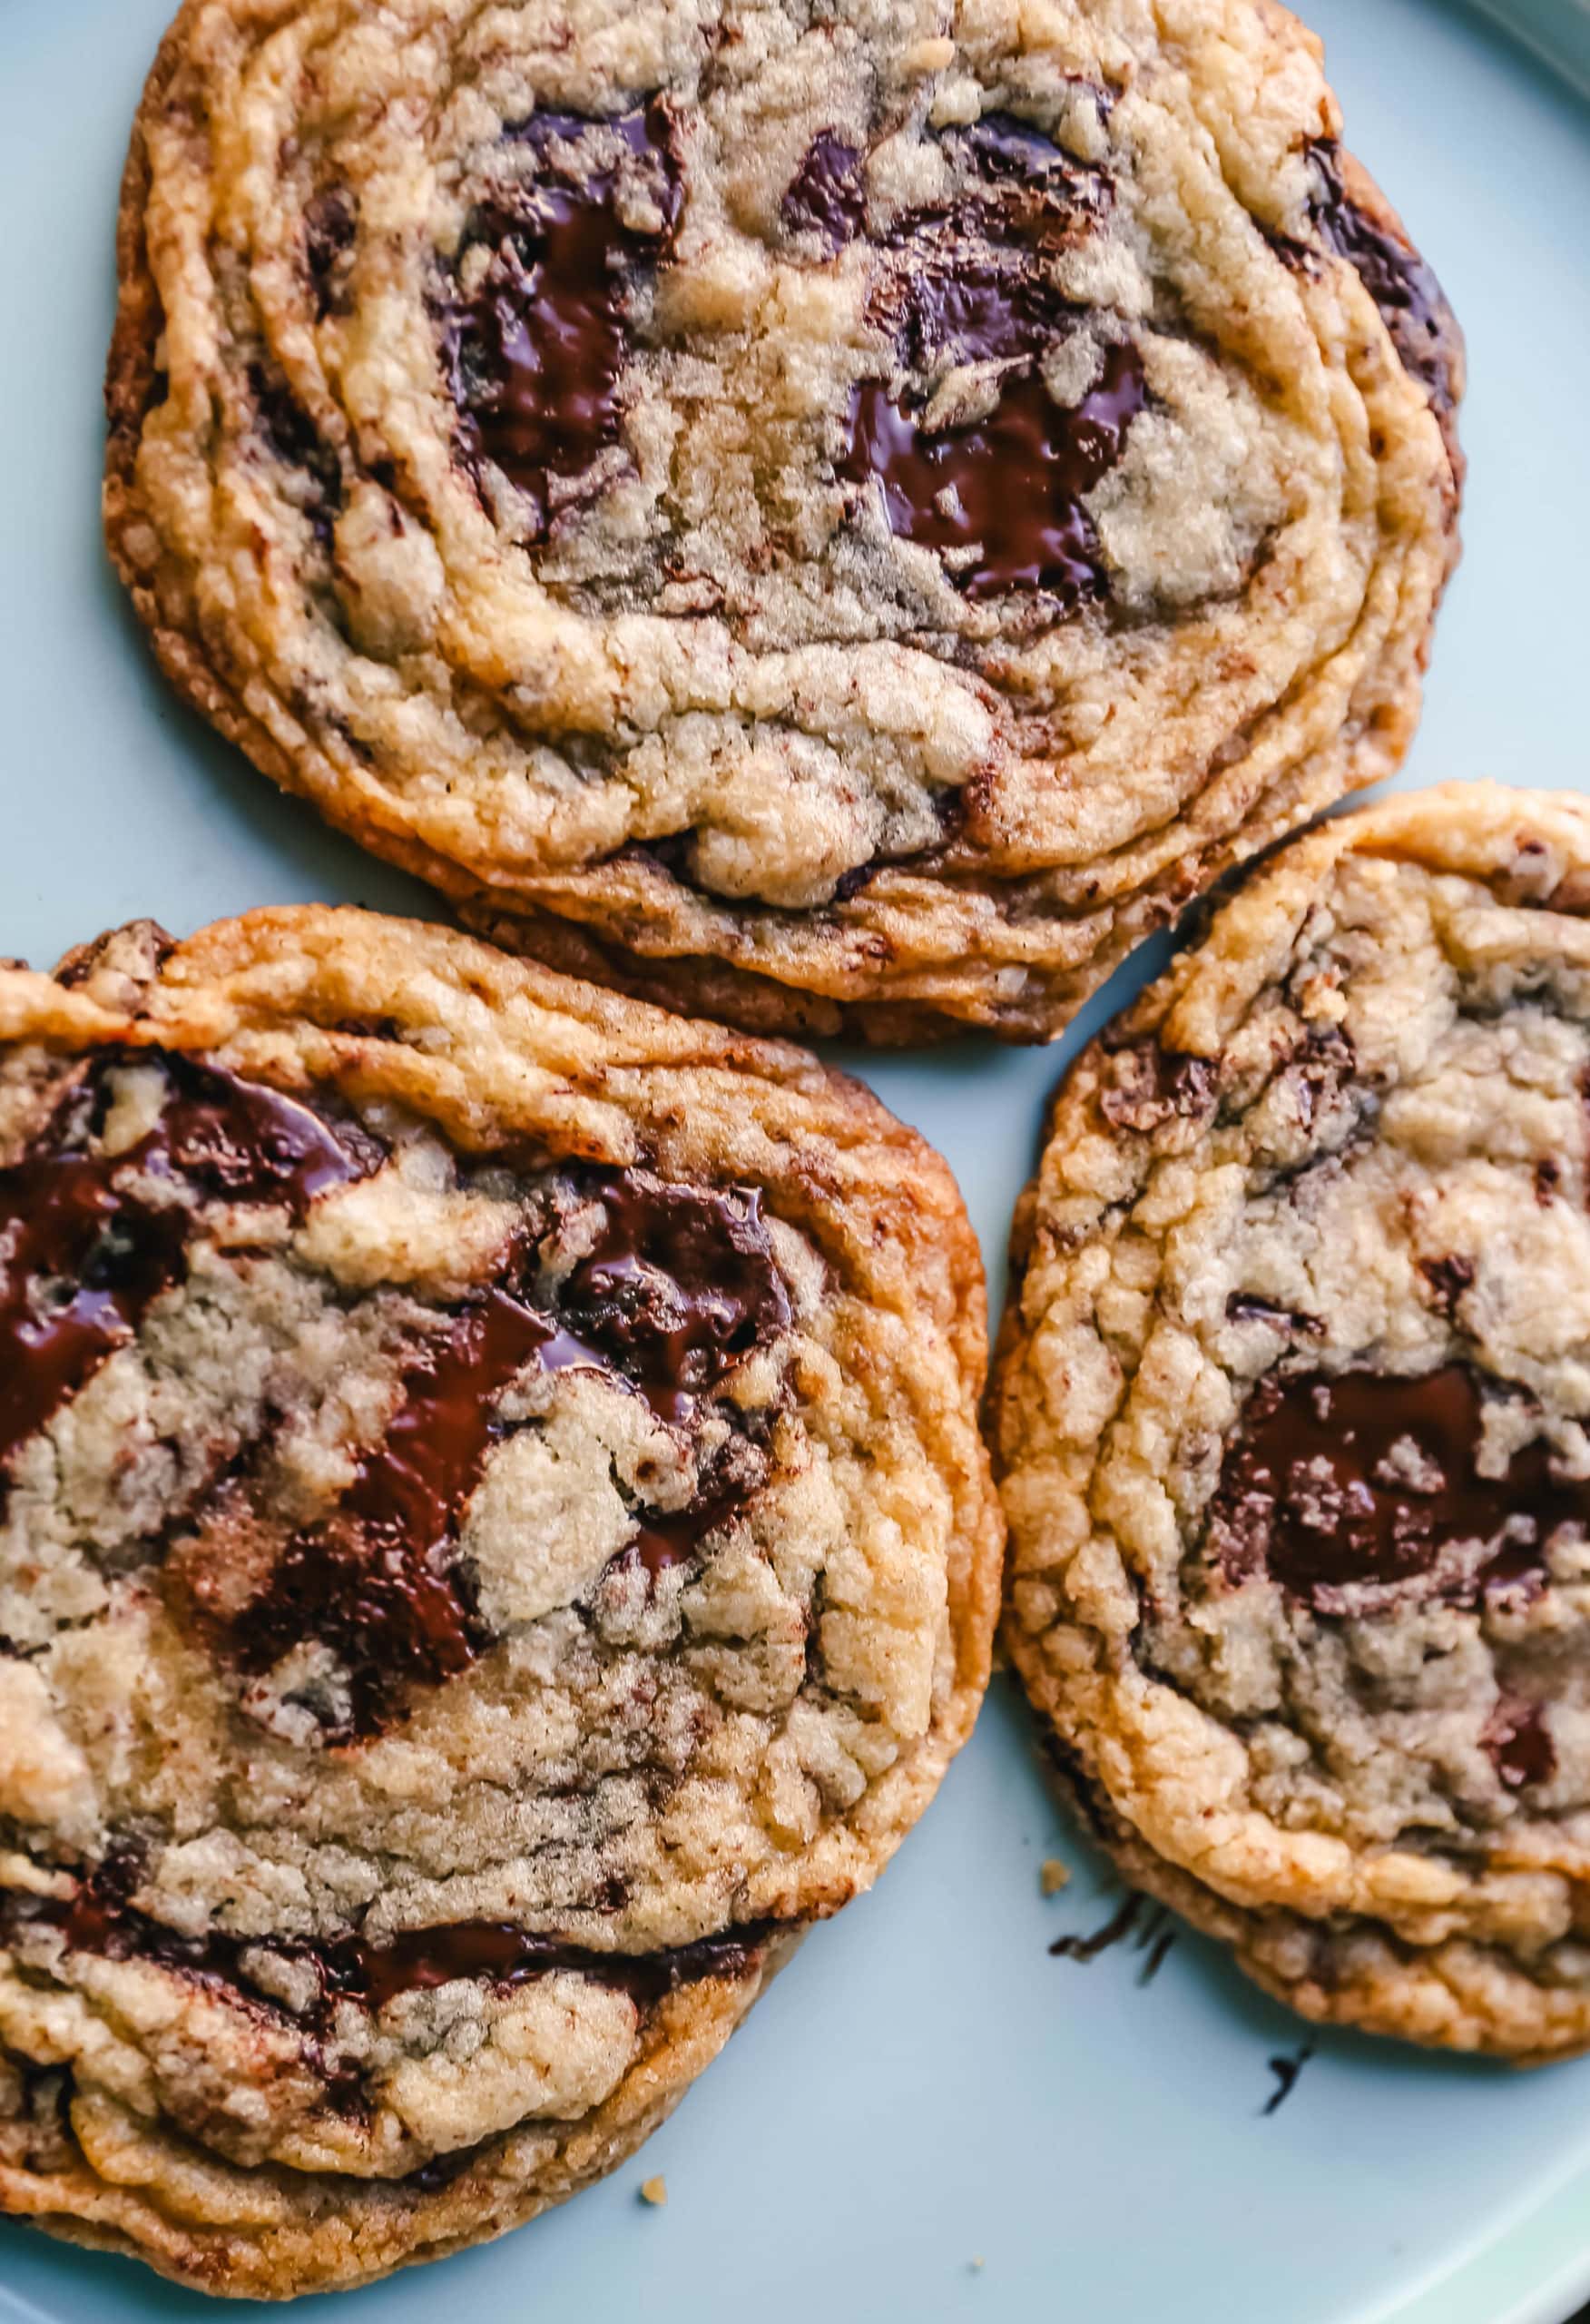
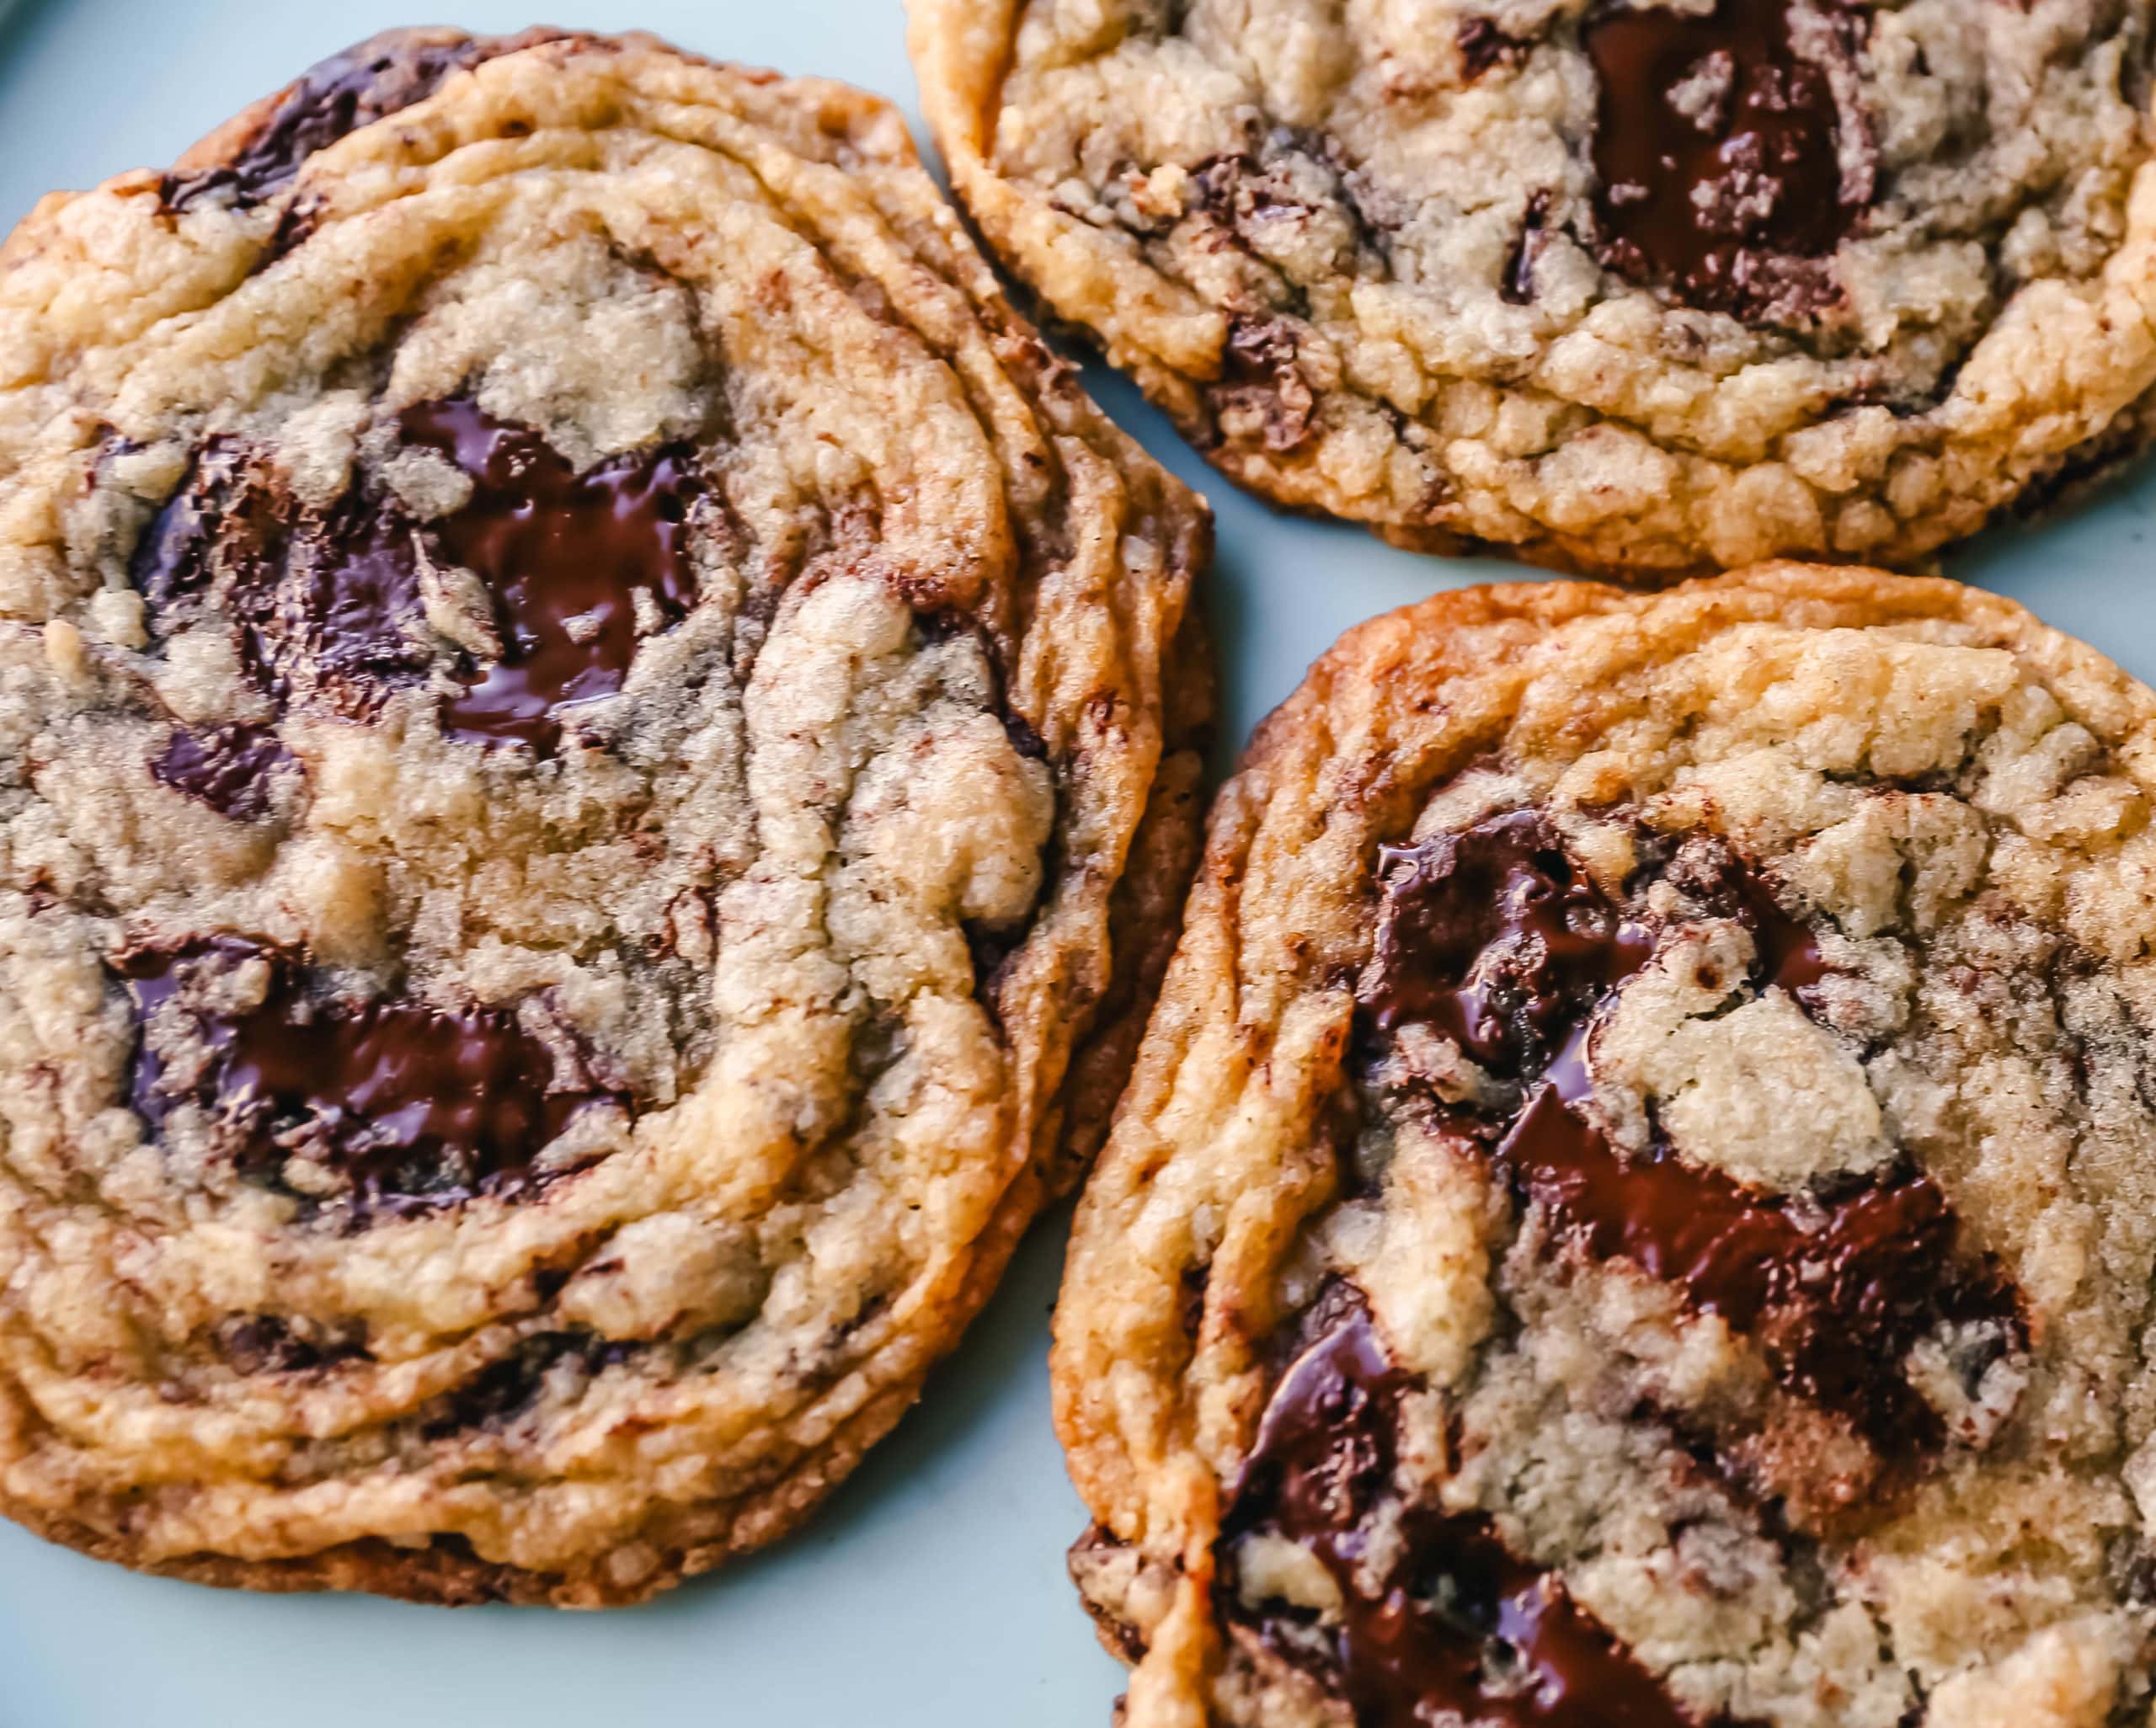
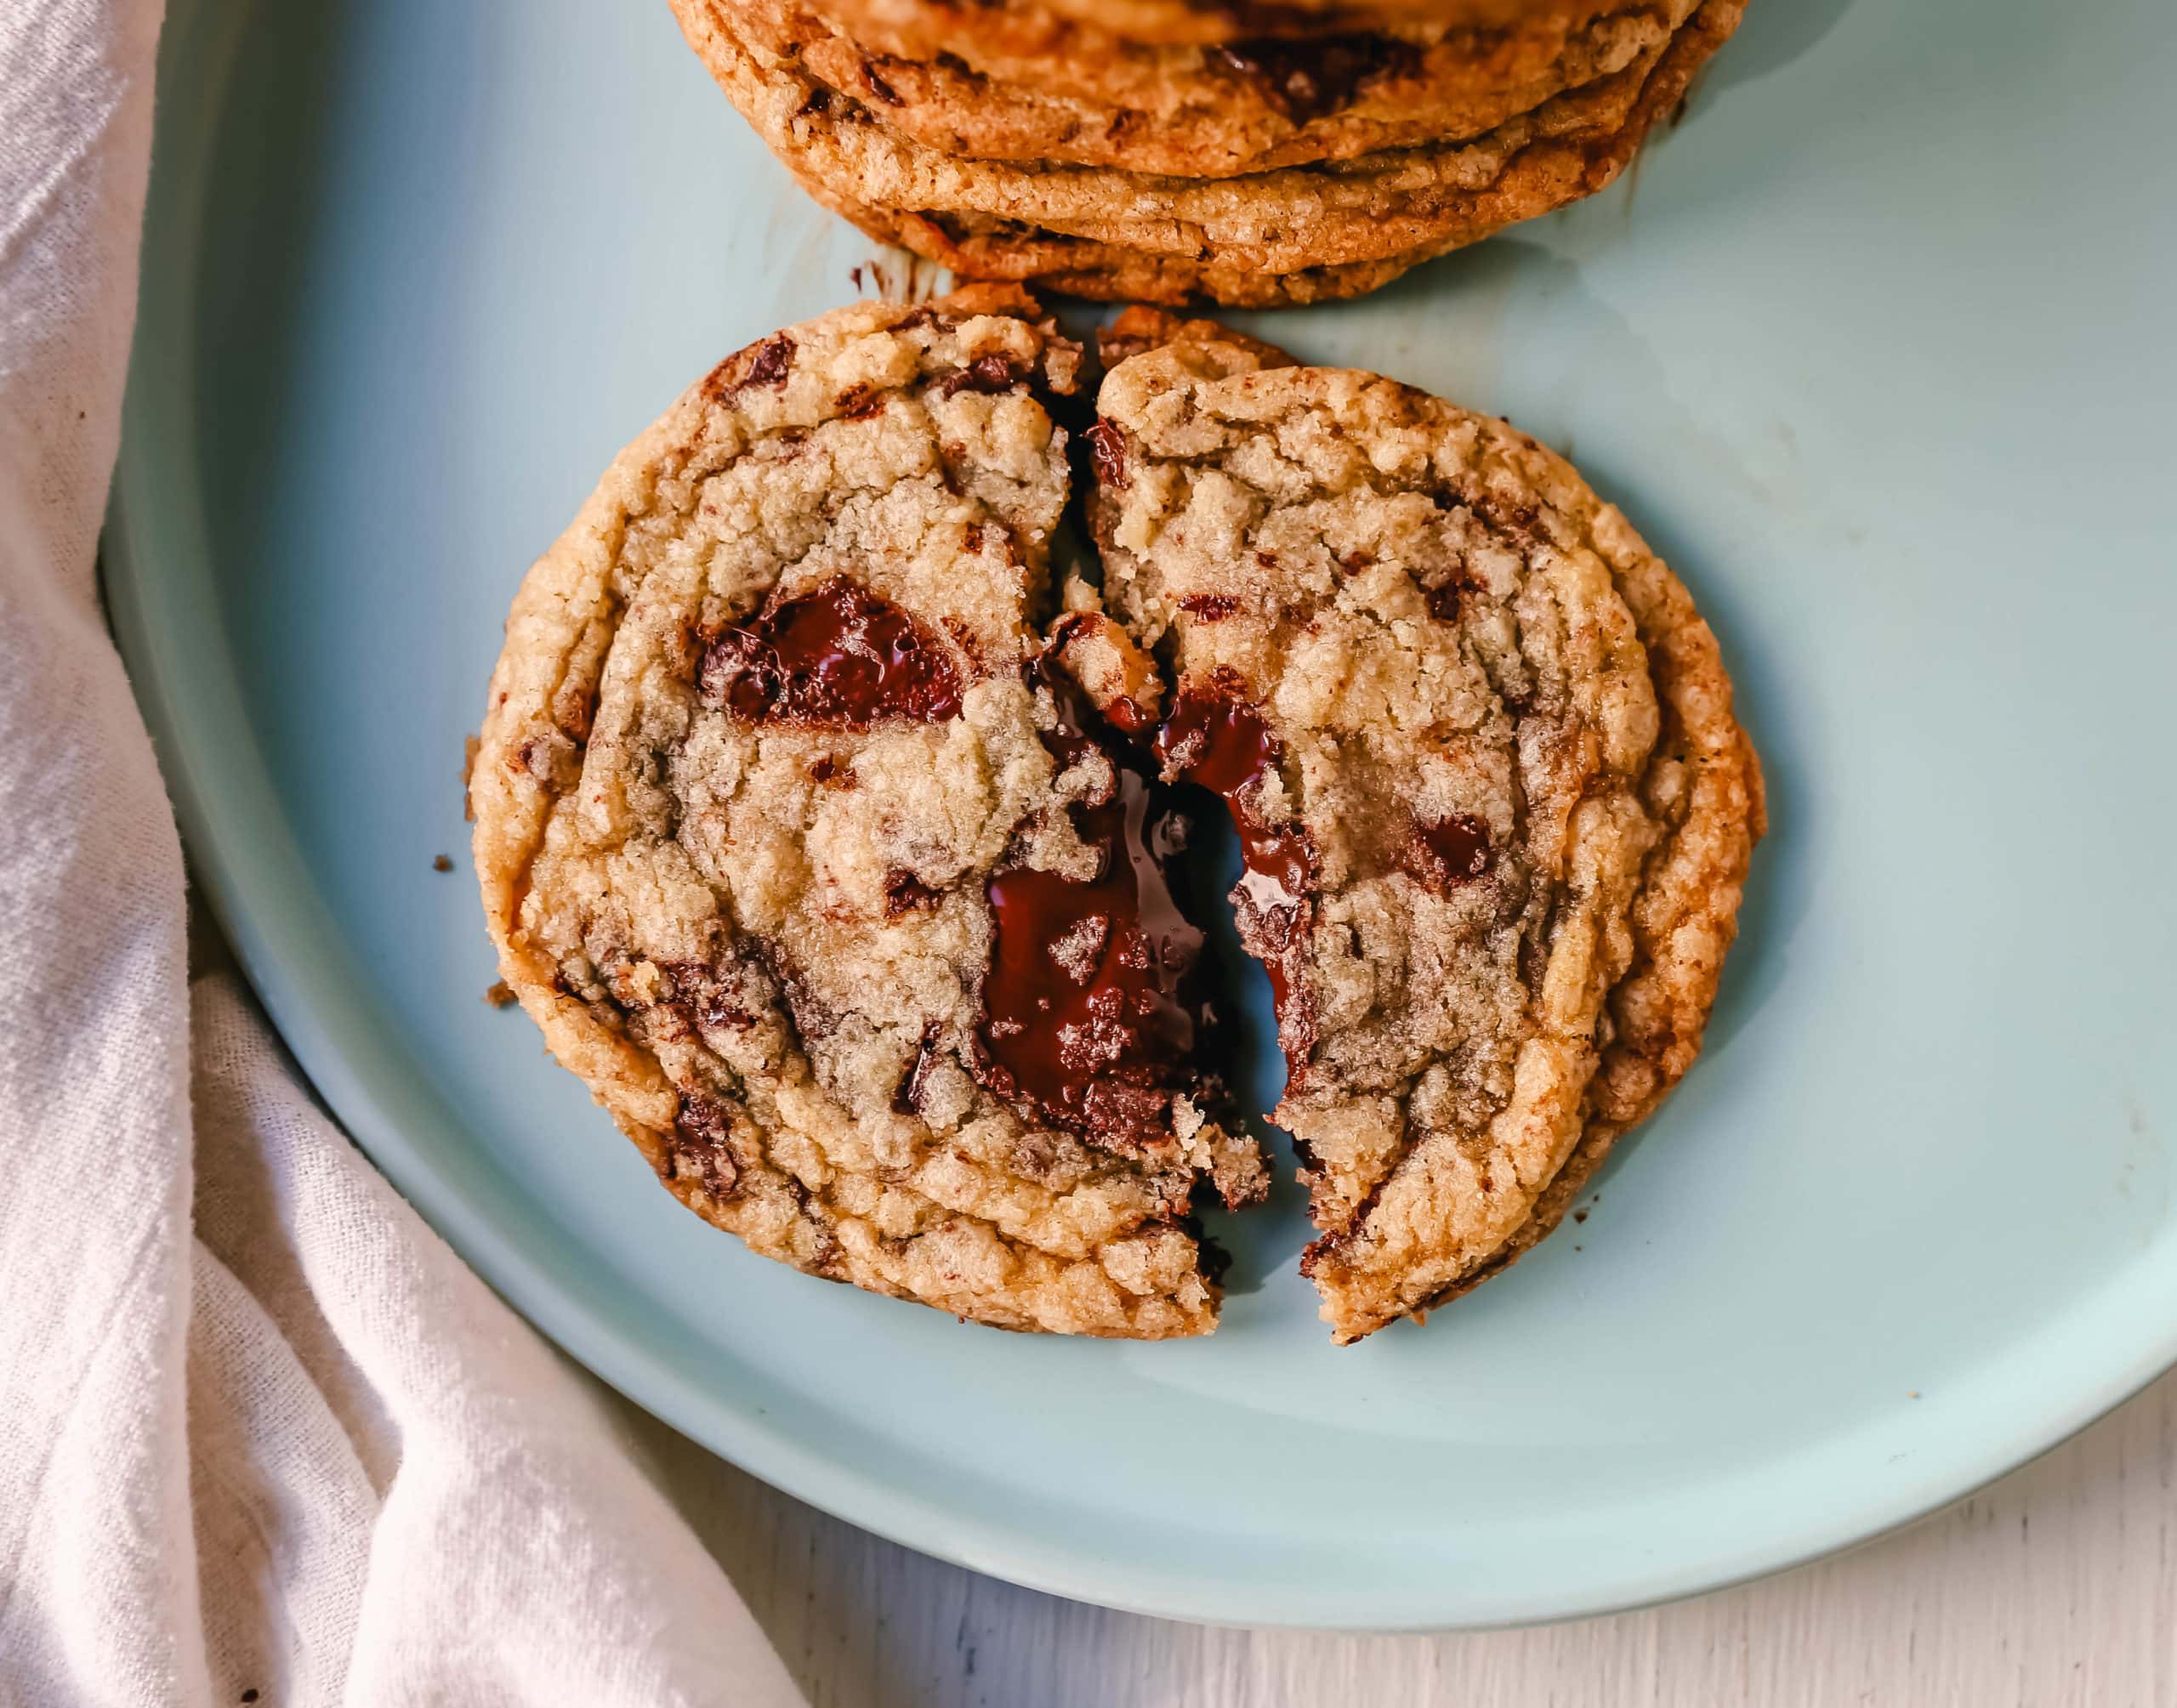
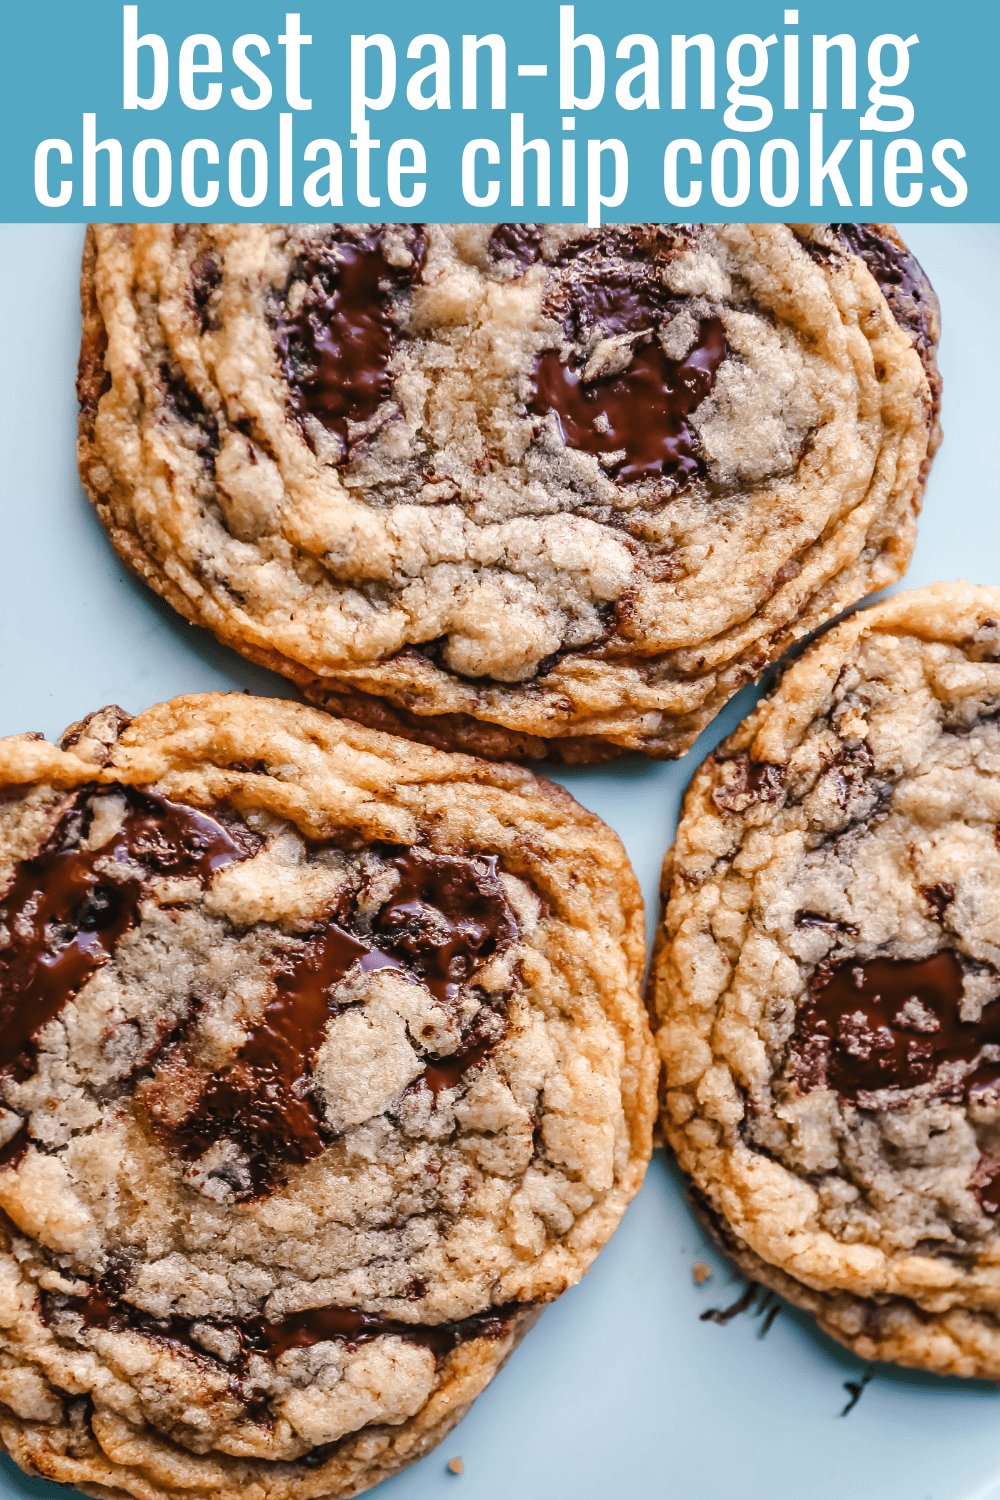
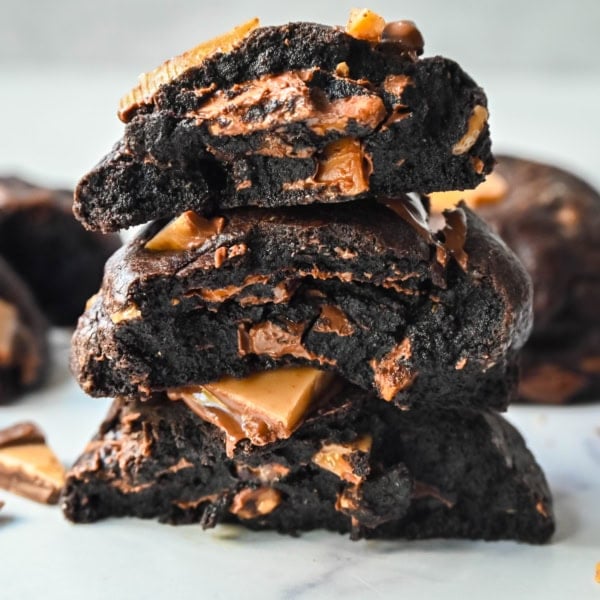
The famous pan banging chocolate chip cookies are thin and crispy with decadent melted dark chocolate and buttery, crispy edges and a chewy center.
Have you seen these cookies all over the internet? This technique became famous by Sarah Kieffer of the Vanilla Bean Baking Blog and it has caused quite the stir…in the best possible way.
If you have read Modern Honey for very long, you know that I love experimenting with all types of techniques, ingredients, oven temperatures, etc. I love to try it ALL and this pan-banging technique was fascinating. It created buttery, crispy edges and ridiculously decadent chocolate chip cookies.
So what does pan banging mean?
It is a method where bakers bang the baking sheet pan against the oven rack to create a thin cookie with wrinkled, buttery, crinkly edges. It creates a chocolate chip cookie with a crispy edge and a soft, gooey chocolate center.
I started out making this recipe as written but began tweaking it as I made more and more batches. This became the perfect thin chocolate chip cookie recipe!
This recipe calls for butter, a generous amount of sugar (which creates the crispy edges), brown sugar, egg plus one egg yolk, a touch of water, flour, baking soda, salt, and dark chocolate chunks.
There are a few ingredients and techniques that make these pan-banging cookies unique.
How to make the Best Pan-Banging Chocolate Chip Cookies:
Here are a few things that set this chocolate chip cookie recipe apart…
- The ratio of sugar to brown sugar. If we take the classic Nestle Tollhouse cookie recipe, it calls for 3/4 cup of brown sugar and 3/4 cup of sugar to 1 cup of butter. This recipe calls for 1 1/4 cup of sugar and 1/2 cup of brown sugar to 1 cup of butter. This extra granulated sugar ratio creates the beloved buttery, crispy edges. The original recipe only called for 1/4 cup of brown sugar and after testing it, I wanted a slightly chewier cookie so I reduced the sugar by 1/4 cup and increased the brown sugar by 1/4 cup.
- The liquid called for in this chocolate chip cookie recipe is 1 egg, 1 egg yolk, and 1 Tablespoon of water. The original recipe called for 1 egg and 2 Tablespoons of water. I liked the addition of fat and the structure and the flavor the egg yolk brought to the cookie dough.
- This recipe only calls for 2 cups of flour. The ratio of butter to flour is 1 cup to 2 cups. This is going to create a thin, buttery, flavorful cookie.
- I suggest using chocolate bars instead of chips for this recipe. Here’s the deal…chocolate chips are made to keep their shape. They aren’t going to fully melt when they hit the oven. I love to use chocolate bars cut into chunks because they melt so beautifully. I use the Trader Joe’s Dark Pound Plus Bars. You can also use Guittard semi-sweet baking bars or Guittard semi-sweet baking wafers. Since these cookies are so thin and flat, the chocolate chips may stick up and look a little wonky. You want the chocolate to melt in a thin layer so it is essential to use chocolate bars, not chocolate chips.
- These cookies are large and will expand so you only put 4 on a baking sheet. Sarah suggests lining the baking sheet with aluminum foil as it helps the cookies to expand and spread.
- I weigh each of my cookie dough balls so they are even. You can buy an inexpensive kitchen scale HERE. I would suggest making 3-ounce balls which is just under 1/3 cup.
- Once you roll out the cookie dough balls and place them on an aluminum foil-lined baking sheet, place the cookies and baking sheet in the freezer for 15 minutes. If your baking sheet doesn’t fit in your freezer, no problem, just put the cookie dough balls in for 15 minutes and then transfer to the baking sheet.
- Bake the cookies for 10 minutes and then the MAGIC happens! Open the oven and with an oven mitt, lift the side of the baking sheet up about 4-5 inches and carefully let it drop down against the oven rack.
Imagine yourself removing a baking sheet from the oven and banging it on the counter…except you do it in the oven. I do this 3 times. Then you repeat it every 2 minutes until you reach the baking time of about 16 minutes. - Always remember baking times can vary. If your oven runs hot, you may be baking for only 14 minutes.
If it runs slightly cooler, you may be at 17 minutes. Remember the cookies continue to bake once you pull them from the oven so I always veer on the side of underdone rather than overdone. A burned cookie isn’t recoverable. - Once you remove it from the oven, bang it one more time on the counter and let them wrinkle and crinkle.
Oh, you are going to love these crispy chocolate chip cookies!! This recipe is adapted from Vanilla Bean Blog. I changed the granulated sugar amount, the brown sugar amount, added an egg yolk, reduced the water amount, increased the chocolate amount, and decreased the cookie size.
Pin this now to find it later
Pin It
Pan Banging Chocolate Chip Cookies
Equipment
- 1 turner
Ingredients
- 1 cup Butter (softened)
- 1 1/4 cups Sugar
- 1/2 cup Light Brown Sugar
- 1 Tablespoon Water
- 1 large Egg
- 1 large Egg Yolk
- 1 teaspoon Vanilla Extract
- 2 cups Flour
- 1/2 teaspoon Baking Soda
- 3/4 teaspoon Salt
- 8 ounces Semi-Sweet Chocolate BARS* (chopped into pieces, some small and large)
Instructions
- In a large mixing bowl, add butter, sugar, and brown sugar. Beat for 3-4 minutes or until light and fluffy, scraping the sides of the bowl often.
- Add water, egg, egg yolk, and vanilla and beat for 1 minute longer.
- Fold in flour, baking soda, and salt. Fold in chocolate chunks.
- Line a baking sheet with aluminum foil (this helps to allow the cookies to spread). Roll each dough into 3-ounce balls (slightly less than 1/3 cup). Place only 4 on a baking sheet to allow for spreading.
- Place in the freezer for 15 minutes. While they are chilling, heat the oven to 350 degrees.
- Bake for 10 minutes. After 10 minutes of baking time, open the oven and use an oven mitt to lift the side of the baking sheet up about 4 inches and gently let it drop down against the oven rack. I repeat it again and then close the oven. After the cookies puff up again in 2 minutes, repeat lifting and dropping the pan. Repeat a few more times to create ridges around the edge of the cookie. Bake 15-17 minutes total, until the cookies have spread out and the edges are golden but the centers are still slightly undercooked.
Notes
Nutrition information is automatically calculated, so should only be used as an approximation.




Can you use chilled browned butter brought to room temp. ? If so do I need to add a little extra liquid ? I’d like to make for Super Bowl ! I used the original recipe and like you I felt they were a little sweet so I thought your idea of additional brown sugar less white and maybe the brown butter would solve that . ? Please let me know if you’ve tried the brown butter.
Delicious! I do use chips (mix of semisweet and milk chocolate) and love the taste.
Using the semi sweet chunks was such a game changer to me! I loved how it melted all into the cookie. Delicious.
I’m a huge Melissa fan and while the process worked great and the cookies looked great, for me, they were too sweet. I’d make them again but with less sugar and hopefully they still work. It’s really fun to see them get all crinkly after you bang each time.
I just pulled 2 batches of these from my double ovens AND …. WOW! JUST WOW!!
They turned out great & I can’t wait to share them with my coworkers!
This was a busy baking task, BUT fun & I followed the recipe to the tee!
My husband even got in on the pan banging & we had a good time!
Thanks for the recipe! 😊
Love how crispy the edges on these cookies were! They came out perfect.