This post may contain affiliate links. Please read our disclosure policy.
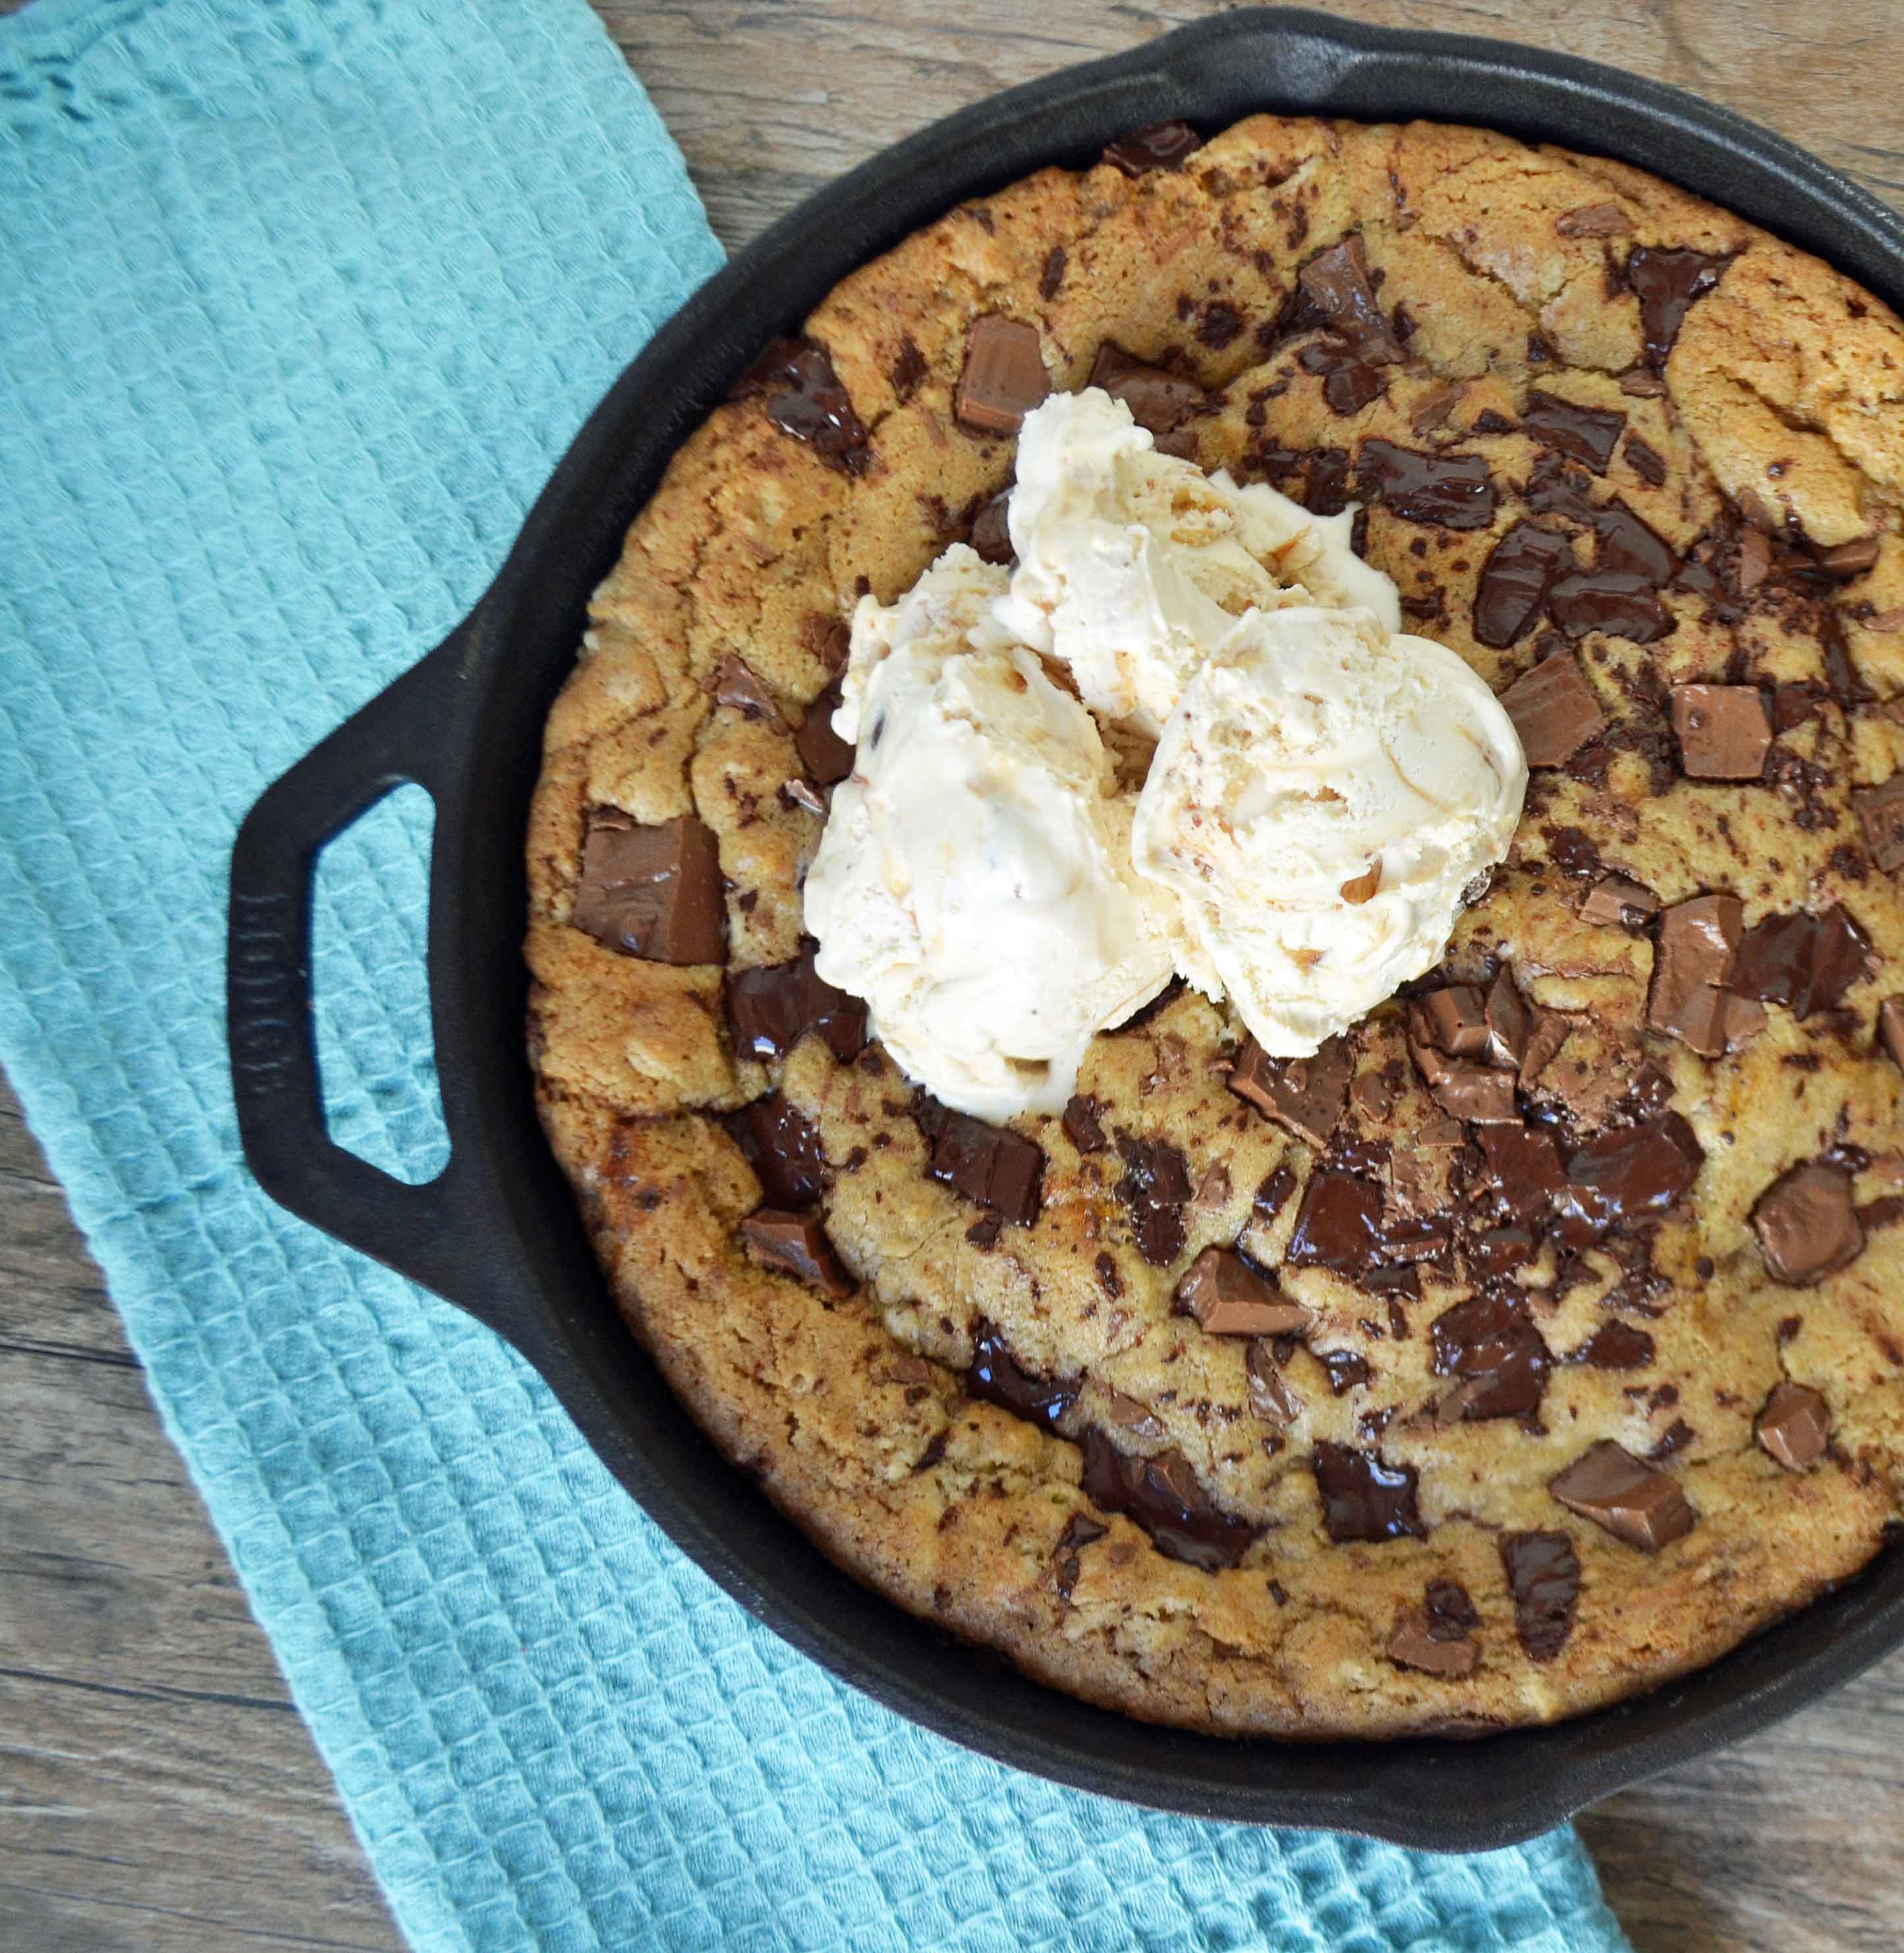
Pizookie
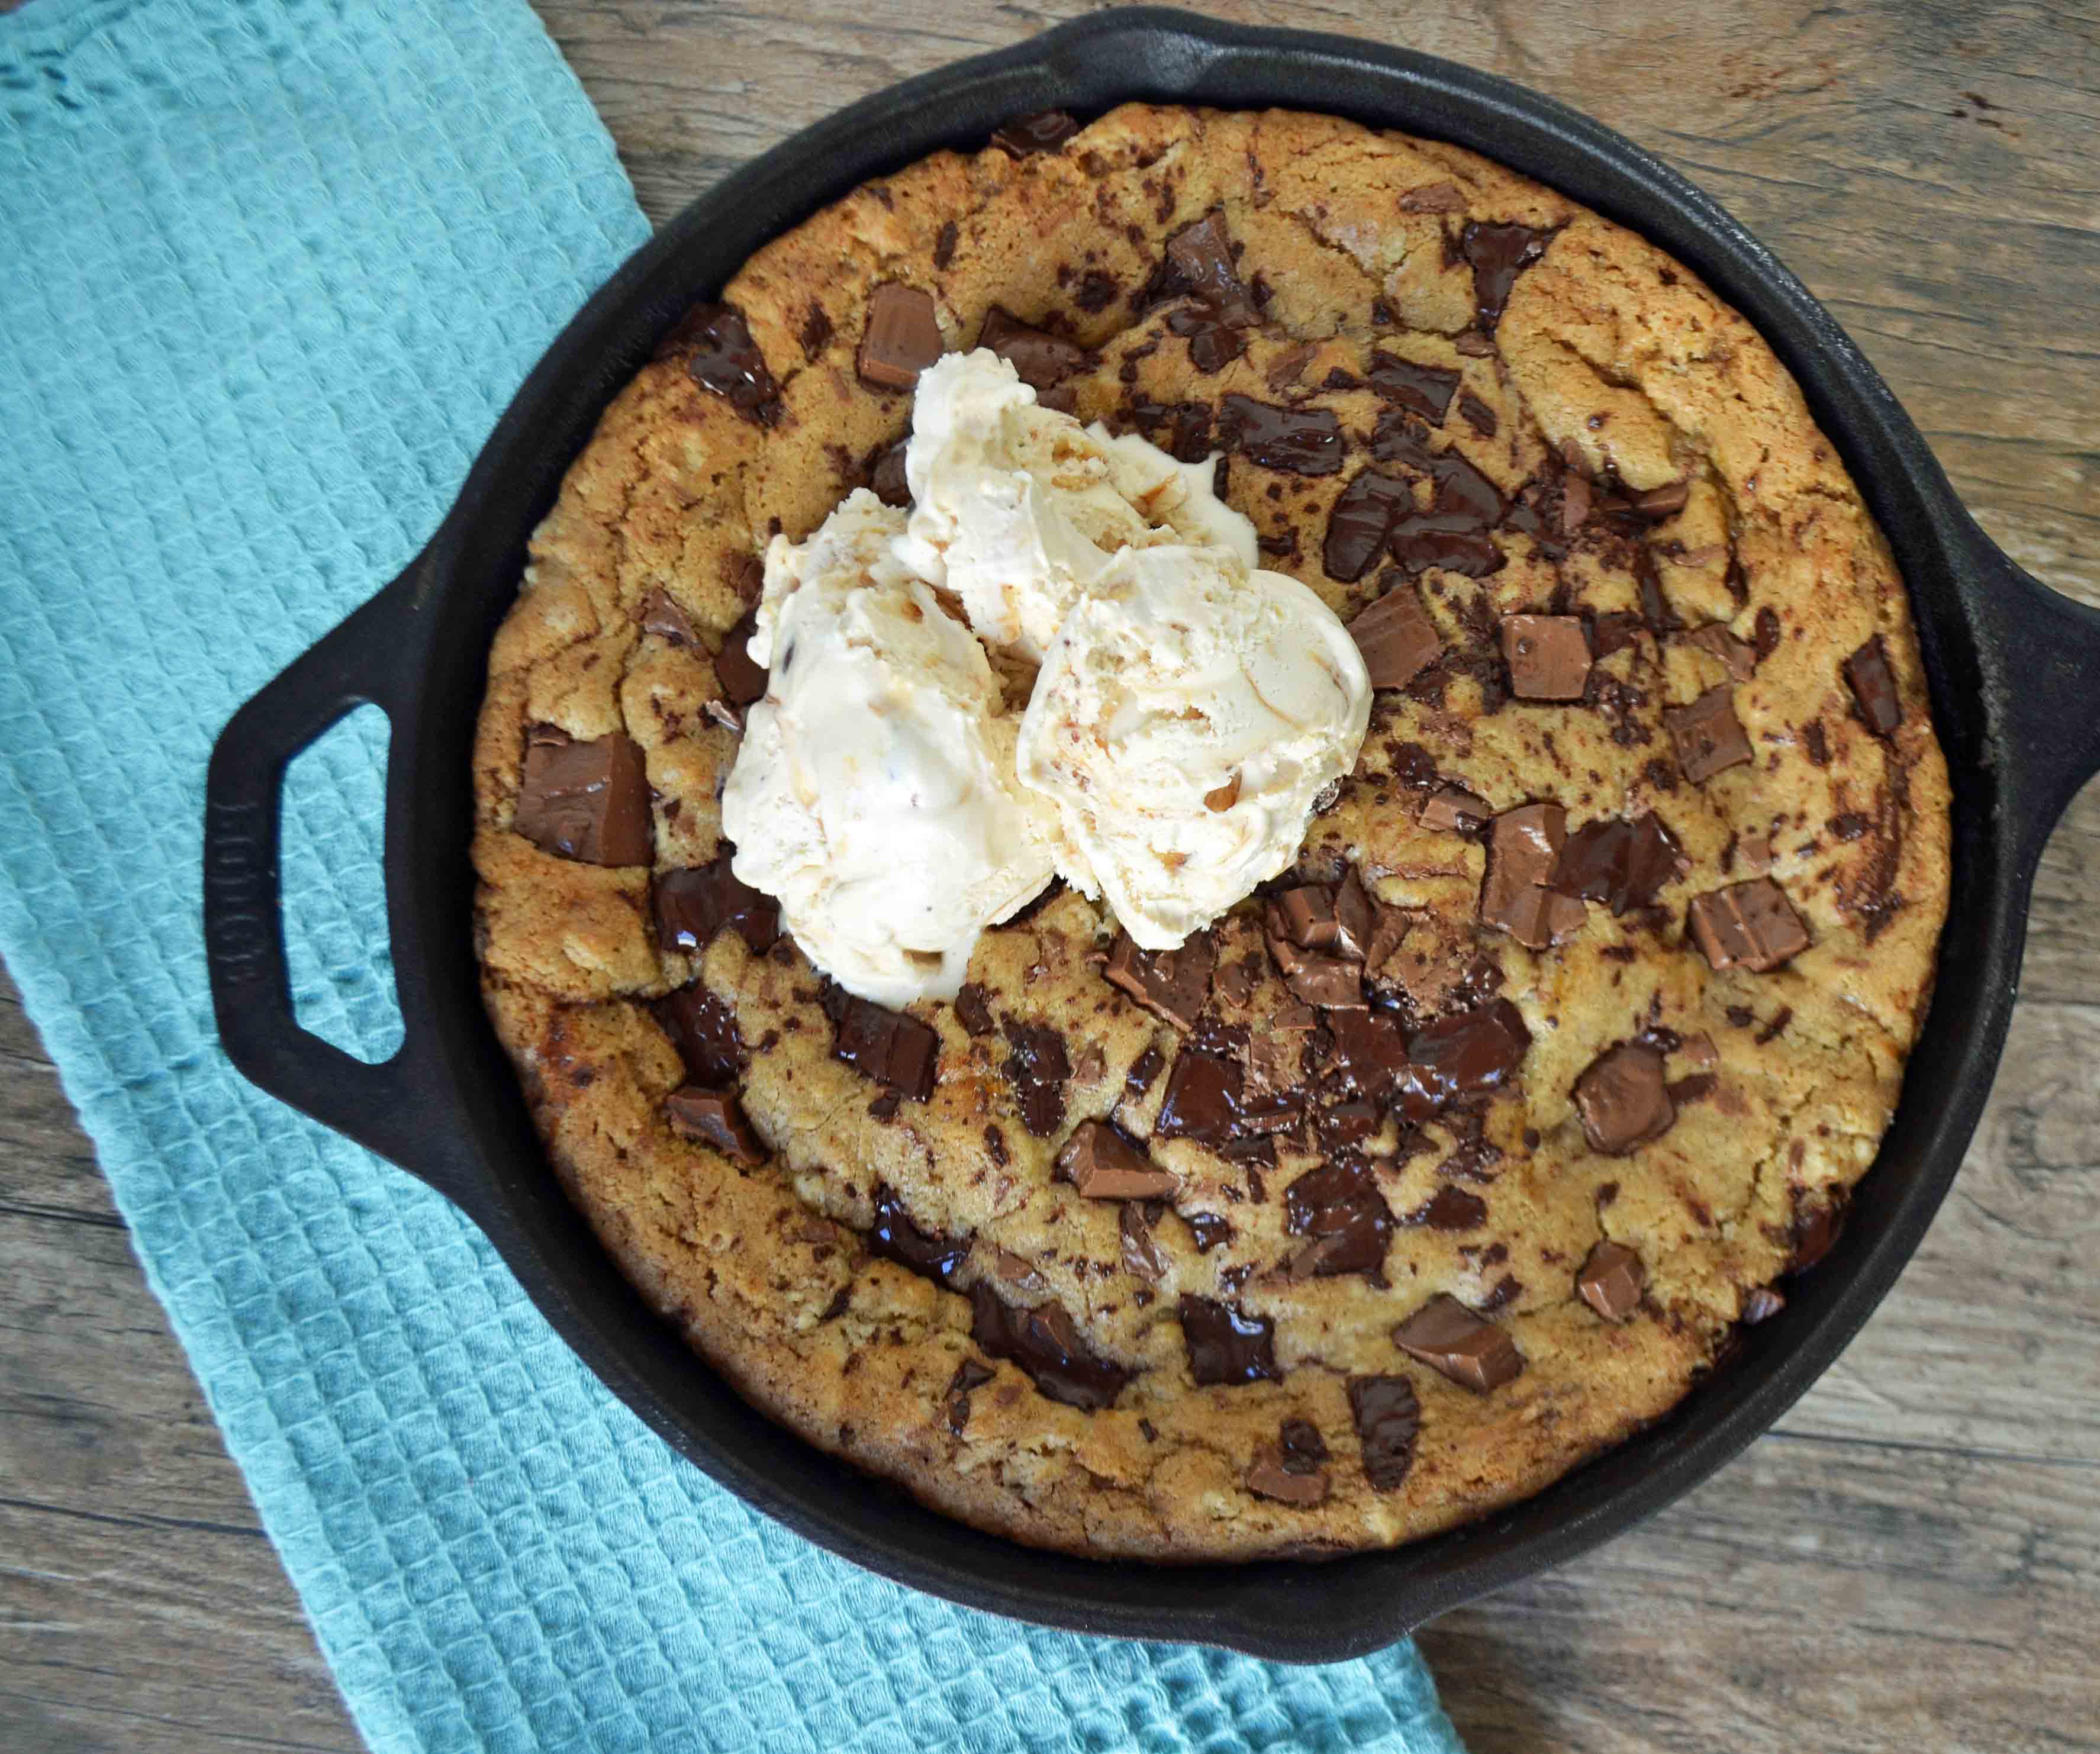
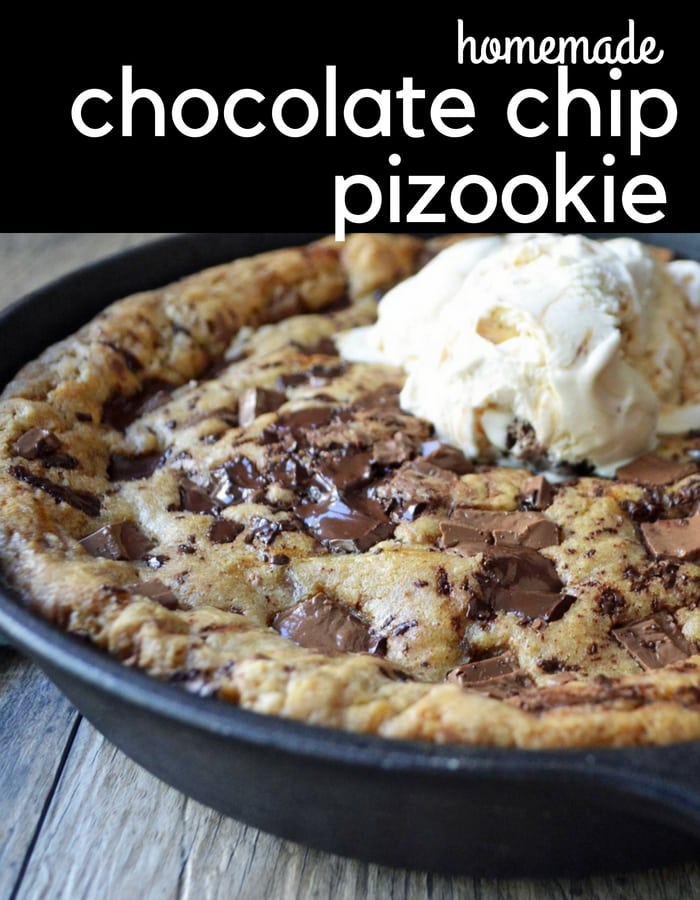
How to make a restaurant-style chocolate chip pizookie at home. This ooey gooey cookie pizookie recipe will have you begging for seconds!
Today is National Chocolate Chip Day and I couldn’t let this important holiday go by unrecognized! I mean….what gets us through the 3:30 homework rush better than chocolate?
If I could choose my absolute hands-down favorite dessert of all time, this IS it.
A restaurant here in the Valley of the Sun called Oregano’s is famous for their chocolate chip pizookie. A pizookie or skillet pizza cookie is basically a cookie shaped like a pizza eaten straight out of the oven. Since I can’t go to Oregano’s every time I have a craving for this perfect dessert, I had to figure out how to make it at home. There’s also the famous BJ’s pizookie. This the perfect BJ’s pizookie recipe.
Who else loves the combination of a warm chocolate chip cookie + vanilla ice cream? It’s beyond heavenly. I have tried countless of chocolate chip cookie recipes (trust me on this one) and this one makes the BEST chocolate chip skillet pizookie.
Lady’s Chocolate Chip Skillet Cookie is a warm, ooey, gooey chocolate chip cookie topped with vanilla bean ice cream. It all starts with browning the butter in a cast iron skillet and adding both white and brown sugar, then stirring until nice and smooth. It will look like smooth caramel and smells like homemade toffee.
Let it chill and then add fresh eggs, vanilla, flour, baking soda, salt, and milk chocolate chunks, and semi-sweet chocolate chips. Bake it in the oven and pull it out just a tad bit underbaked and top with vanilla bean ice cream. Have your spoon ready because you will want to dig in while it’s still warm!
How to make a Chocolate Chip Pizookie:
1. A cast iron skillet works brilliantly with this recipe and only costs about $10-$20. If you don’t have a cast iron skillet, you can substitute an oven safe skillet instead. Here are two options for cast iron skillets — Lodge Brand and Utopia Kitchen Brand.
2. After the butter is melted, add the sugars and take your time to stir it well to get it nice and smooth. It should have a golden gloss to it and look like melted caramel. This is my favorite wooden spoon to use in this recipe.
3. After adding sugars, chill in refrigerator (place pan on oven mit) for at least 10-15 minutes BEFORE adding eggs. The eggs will scramble if they are added while it’s too hot so get it close to room temperature.
4. Using a mixture of milk and semi-sweet chocolates are a perfect pairing but feel free to use your favorite type of chocolate. White chocolate macadamia is a fantastic option as well.
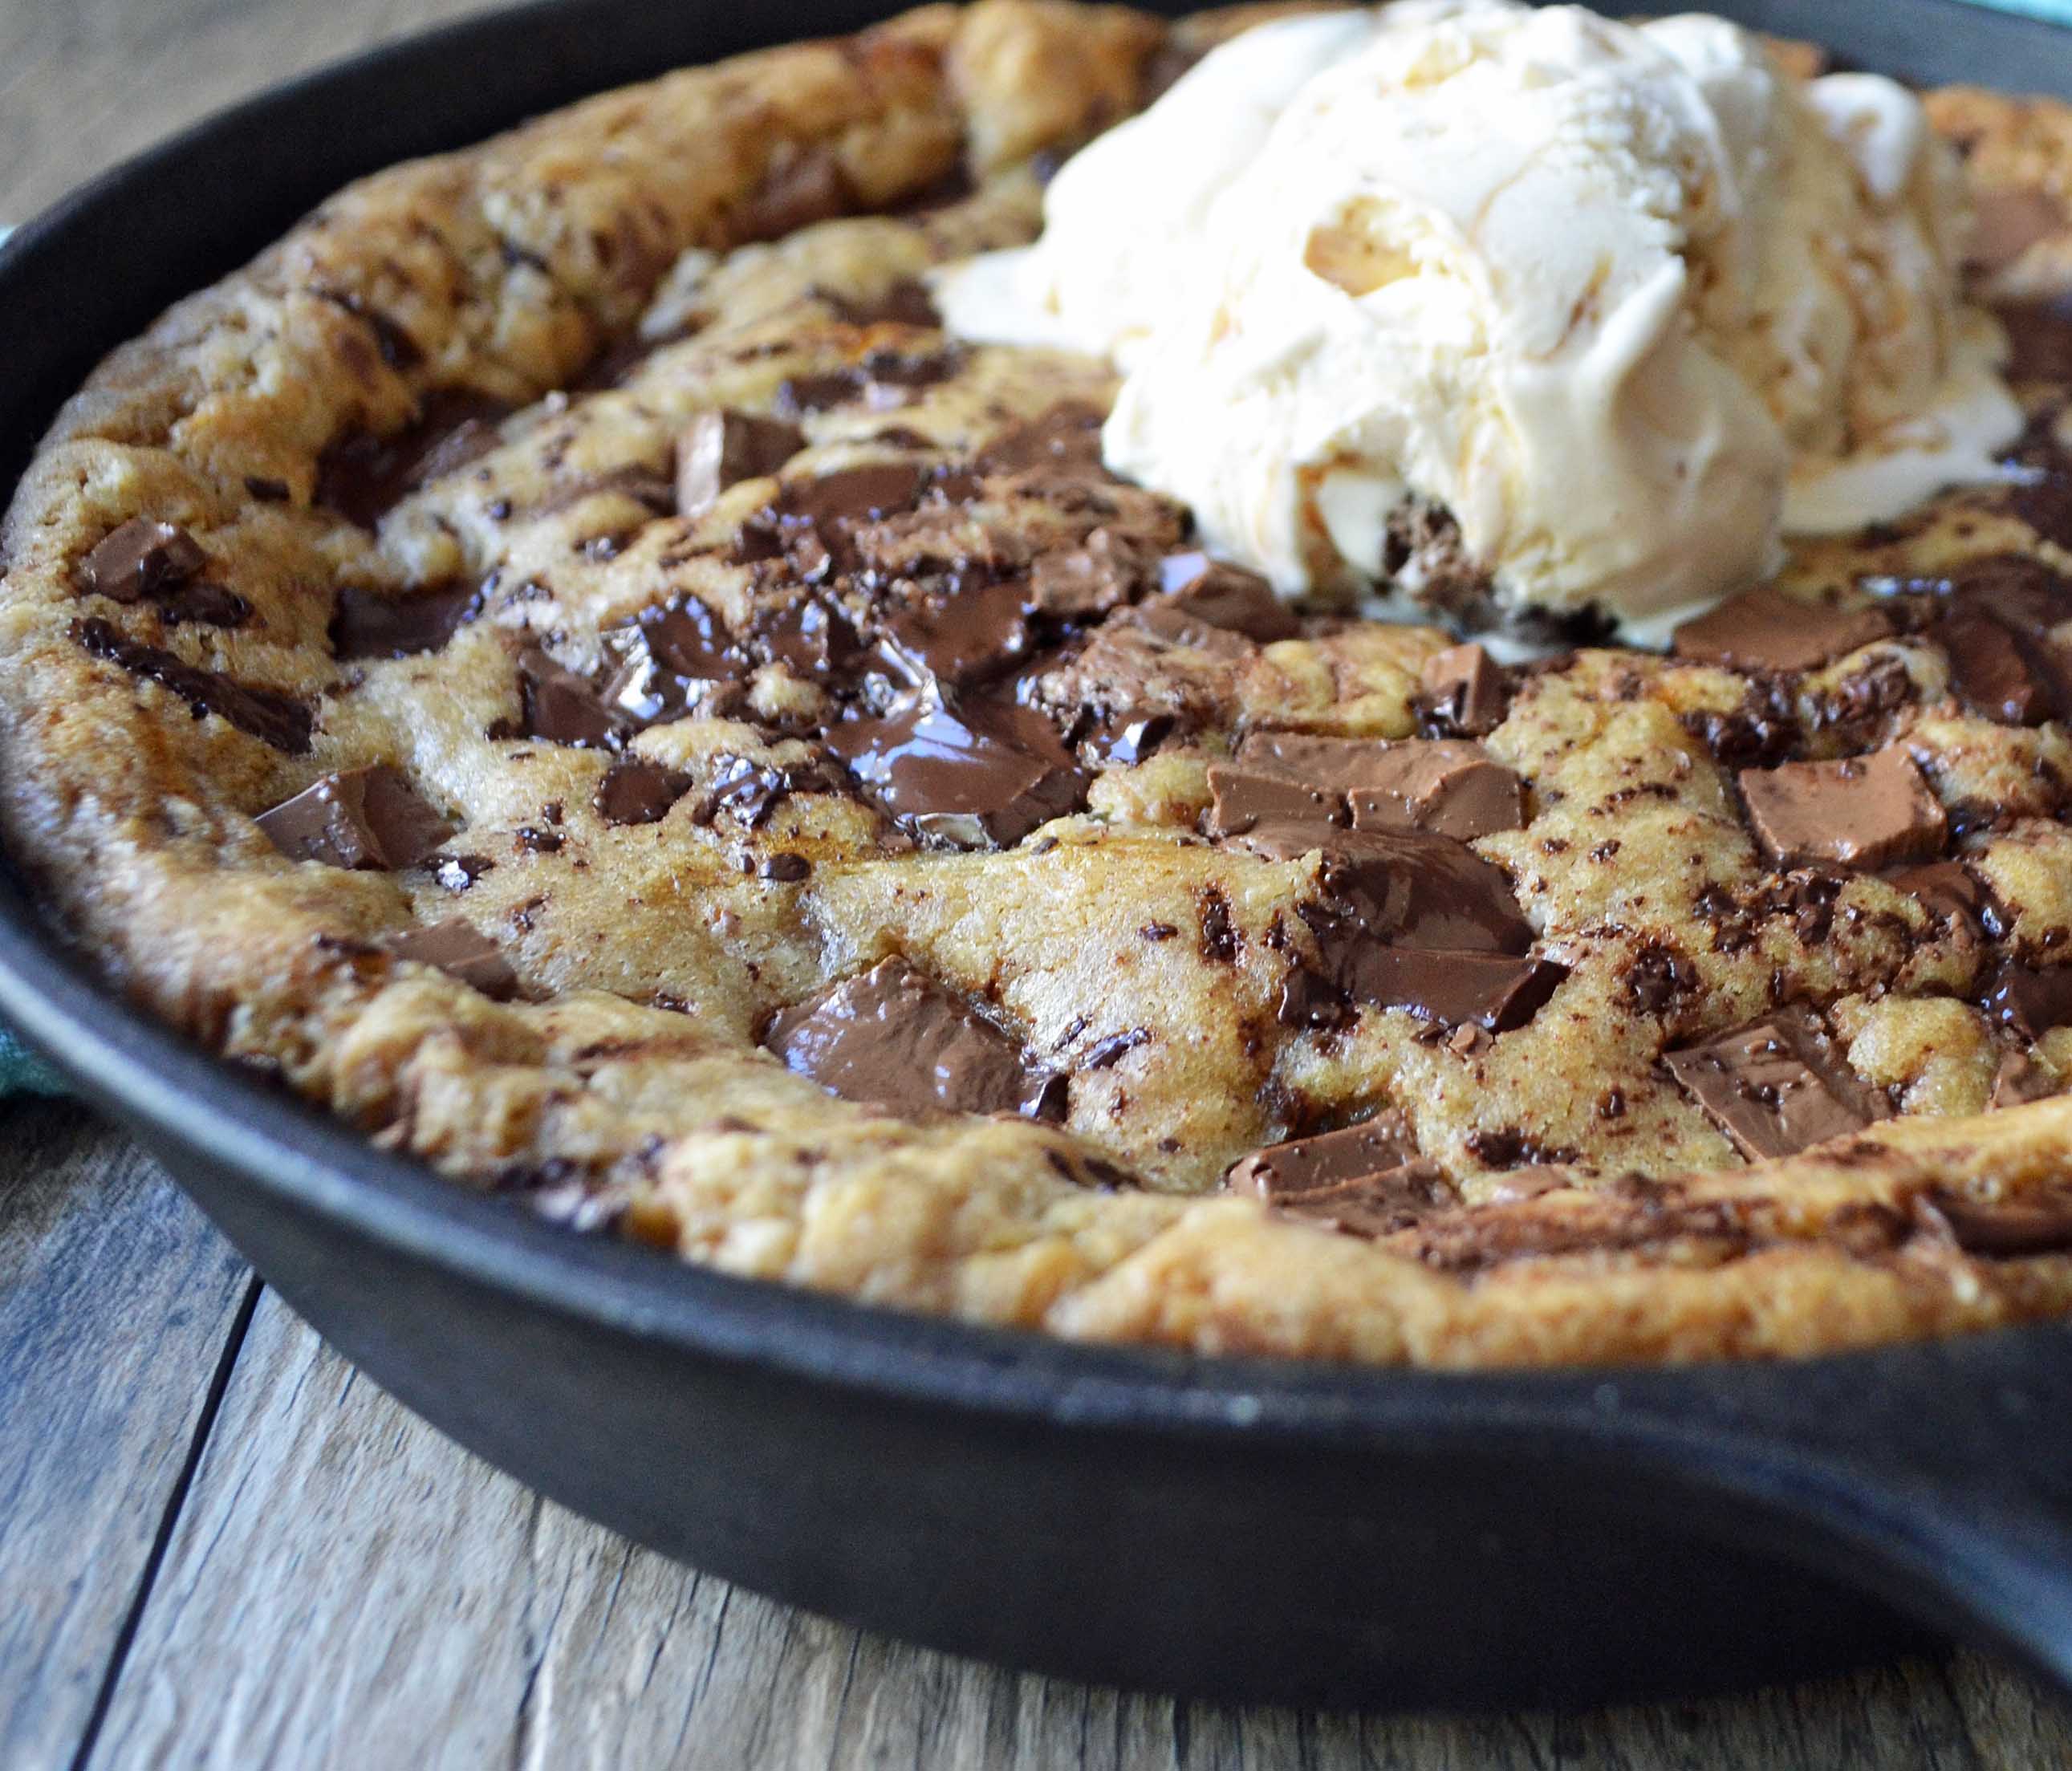
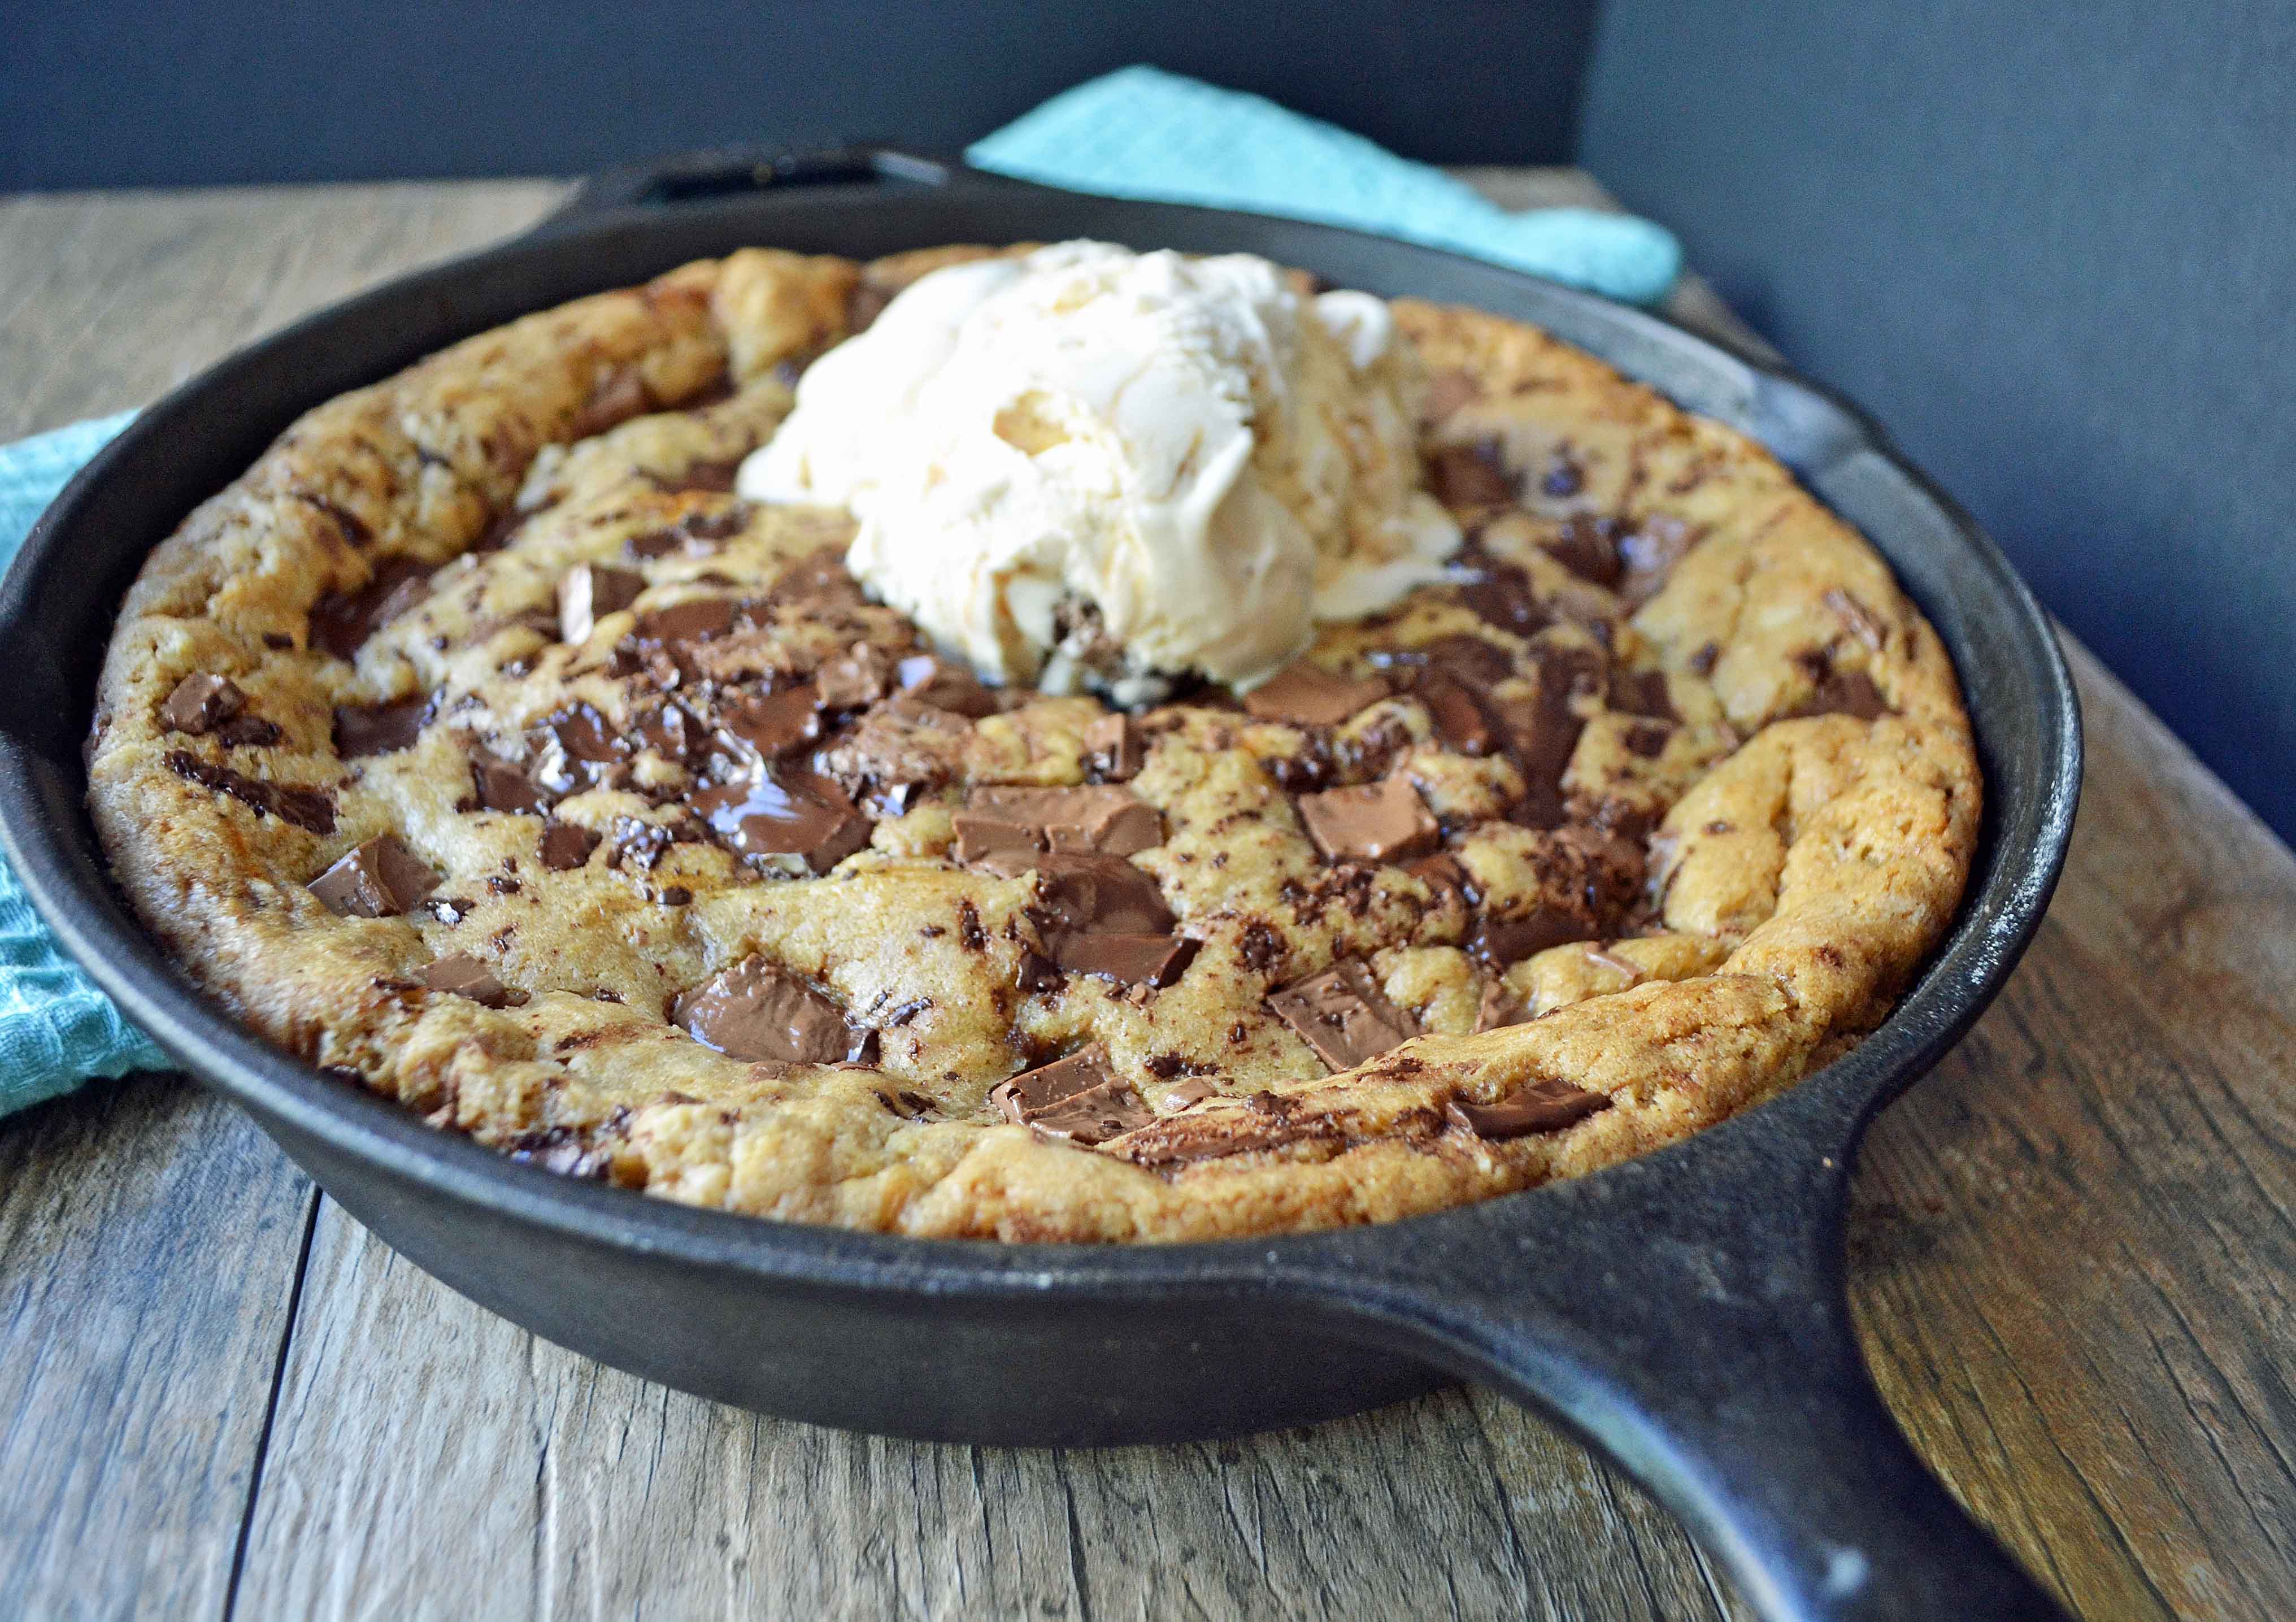
5. The baking time will depend on the depth of your skillet. If you are using a 10 inch skillet, it will cook slightly longer than if you are using a 12 inch skillet. You want to watch for the sides to become golden brown and start to get slightly crispy. The center will remain slightly gooey because that’s what makes a chocolate chip skillet cookie pizookie so dang good.
Watch this video to see how EASY it is to make a chocolate chip skillet cookie at home:
It’s makes such an easy cleanup since everything is done in one skillet! A perfect chocolate chip cookie sundae dessert that will make everyone happy and coming back for seconds. Find this skillet cookie recipe below!
Pin this now to find it later
Pin It
Lady's Chocolate Chip Skillet Cookie
Ingredients
- 1 cup Butter
- 1 cup Brown Sugar
- 1/2 cup Sugar
- 2 Eggs
- 1 teaspoon Vanilla
- 2 cups + 2 Tablespoons Flour
- 1 teaspoon Baking Soda
- 1/2 teaspoon Salt
- 3/4 cup Milk Chocolate Chunks
- 3/4 cup Semi-sweet Chocolate Chips
- Vanilla Bean Ice Cream
Instructions
- Preheat oven to 325 degrees.
- In a 10 or 12 inch cast iron skillet, melt butter over medium heat stirring often, until it starts to bubble and is completely melted. Turn heat to low and add sugar and brown sugar, stirring well. Keep stirring until smooth and glossy.
- Chill for 10-15 minutes (you don't want to add the eggs now or you will have scrambled eggs).
- Remove from refrigerator or freezer and add eggs and vanilla and stir well.
- Stir in flour, baking soda, and salt.
- Mix in chocolate and stir to combine. *check to see if dough is at room temperature before adding chocolate to prevent melting.
- Bake at 325 degrees for 26 - 33 or until the edges are lightly golden brown. *The inside will still be slightly gooey and that's the way it's meant to be. If the edges get too brown, Place some foil over edges. The smaller the pan, the thicker the dough which means a longer cooking time.
- Top with vanilla bean ice cream and eat warm.
Video
Nutrition information is automatically calculated, so should only be used as an approximation.
If you would like to see a short 1 minute video demonstration of this Lady’s Chocolate Chip Skillet Cookie (because I am a huge visual learner!), CLICK on this link for a 1 minute video and don’t be shy to share the LOVE on Facebook. 🙂
Thank you so much for your support and love! xo
Happy Baking!



In the end we really liked this recipe! Very sweet so the ice cream is a necessity to cut the sugar. In a 12-inch cast iron skillet it took us closer to 45 minutes to cook, and even then the middle was still completely raw. Hoping that was intended and it was safe to eat at that point. But it was a great way to make cookies, very easy to get out of the skillet, and we have a ton left over!
Forgot to add the stars to my review!
This is my favorite chocolate chip cookie cake/skillet recipe. My husband specifically requests this every year for his birthday! If I could give it 100000 stars, I would! 🙂
Hi, I made this today and it was a huge hit. the kids and the adults alike raved about how gooey it was.
Amazing recipe!
Made this and turned out great. For a half batch I reduced the butter to 6 tbls instead of 8 (which is 1/2 cup). Turned out great and may be helpful to avoid the cookie being too underdone. I think using 3/4 the amount of butter the recipe calls for is perfect!
It’s was so good. I actually mixed all the ingredients in a separate bowl then put it into the skillet. The cook time took 26 minutes then I had to cover top in foil so it wouldn’t burn but then let bake for about 10 more minutes and let it sit for another 10 and it was super good definitely going to try this again the right way!!!
I’ve really liked several recipes from this site, but this one was a total bust for me! I followed the written instructions exactly, TWICE, and it was a mess. The butter/sugar mixture burned the first time as I tried to achieve the “glossy” “melted caramel” step. Assuming I didn’t stir enough, I tried again, stirring constantly and pulling it as soon as it came together, but the mixture started to crystallize almost immediately. I mixed in the dry ingredients, then the wet to try to save it, and although it tasted ok, the texture was gross. When I watched the video afterwards, the butter and sugar are totally separated, which is fine, but certainly not what I would describe as looking like “melted caramel.” A time estimate and a more accurate description for that step would have been helpful. It looks absolutely delicious! Total bummer to waste all those ingredients. :/
I have made this recipe about 10 times and I agree -the directions for this step are vague and lack clues to help you know you’re on track. I also had the crystallizing issue at the beginning — three things: cook the butter LONGER til no foam (this means no water left so no crystallizing when you add sugar) and then in general you have to cook the mixture longer (like close to 20 minutes) AND at a lower temperature while stirring. Laborious. But it eventually does come together (usually with a little extra butter “floater”). I use a small whisk for this step that has silicone covers on the whisk tines. Hope this helps and encourages you to try again or helps another reader. It’s our families absolutely FAVORITE cookie recipe.
Update one year later and MANY cookies since.
Melt the butter and wait til foam starts, add white sugar and get it to boil while whisking, then add the brown sugar and whisk whisk whisk and it will become glossy and caramel consistency, no more floating butter!
In general WAY less time than my previously stated 20 minutes!
I followed the recipe and this was less of a chocolate chip cookie and much closer to a brownie in texture and crust. Good but not what I was going for.
Hi! I’d like to take this to a person’s
Home for dessert, so should I make the dough and refrigerate it and then bake it at their house?